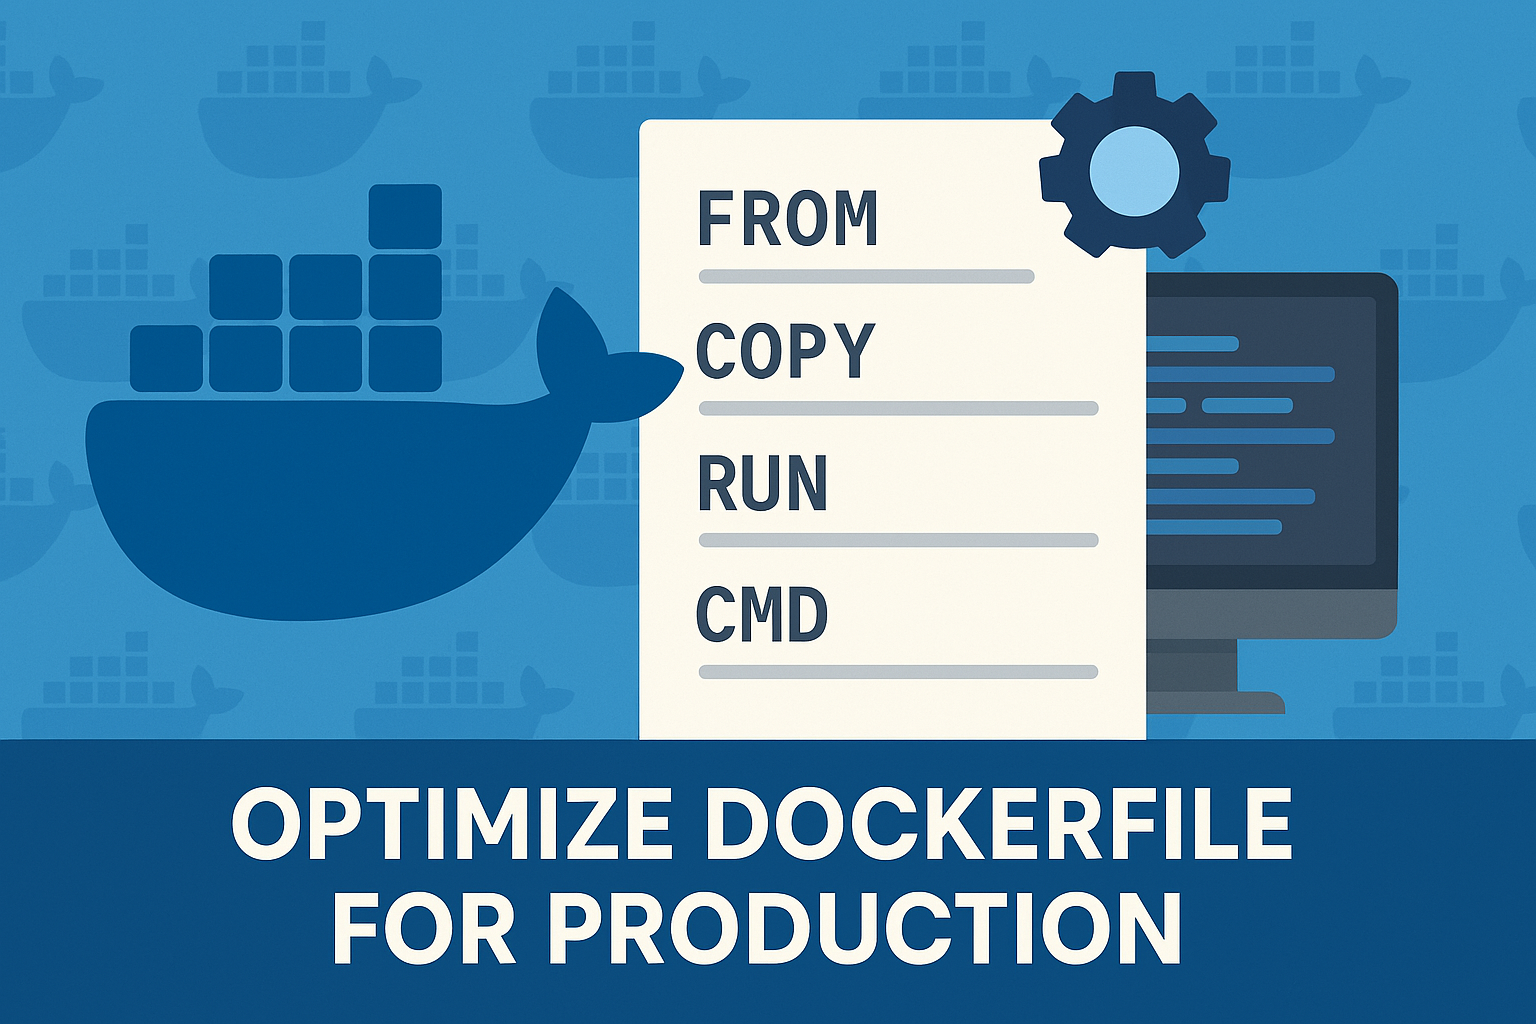
Docker images are the foundation of Docker containers, providing a lightweight and portable solution for packaging applications and their dependencies. Creating and managing Docker images effectively is essential for a smooth application development and deployment process. This article offers a practical guide on creating and managing Docker images, including the use of Dockerfiles, building images, and managing them using Docker commands.
1. Understanding Docker Images
Docker images are read-only templates that contain the application code, runtime environment, libraries, and dependencies needed to create a running Docker container. Images are stored in a hierarchical format, with each layer representing a change or an addition to the image. This layered structure allows images to be more efficient and portable, enabling the reuse of layers between different images and reducing the overall storage footprint.
2. Dockerfile: The Blueprint for Docker Images
A Dockerfile is a text file that contains instructions for building a Docker image. It serves as the blueprint for creating images and ensures that the build process is consistent and repeatable. A typical Dockerfile consists of the following components:
- FROM: Specifies the base image to be used.
- WORKDIR: Sets the working directory for the subsequent instructions.
- COPY or ADD: Copies files from the local filesystem to the image.
- RUN: Executes commands within the image.
- EXPOSE: Informs Docker which network ports the container will use.
- CMD or ENTRYPOINT: Specifies the default command to be executed when the container starts.
3. Creating a Dockerfile
To create a Dockerfile for your application, follow these steps:
- Create a new file named “Dockerfile” (without any file extension) in your application’s root directory.
- Open the Dockerfile in a text editor and define the base image using the FROM directive. For example, to use the official Node.js image, add the following line:1FROM node:14
- Set the working directory using the WORKDIR directive. This is where your application code and dependencies will be stored within the image:1WORKDIR /app
- Use the COPY directive to copy the necessary files from your local filesystem to the image. For a Node.js application, you might need to copy the package.json and package-lock.json files:1COPY package*.json ./
- Execute commands within the image using the RUN directive. For a Node.js application, you might need to install the npm dependencies:1RUN npm install
- Copy the rest of your application code using the COPY directive:1COPY . .
- Expose the network port used by your application with the EXPOSE directive:1EXPOSE 8080
- Specify the default command to run when the container starts using the CMD directive:1CMD ["npm", "start"]
4. Building a Docker Image
With the Dockerfile in place, you can build the Docker image using the following command:
docker build -t your-image-name .
Replace “your-image-name” with a name for your image. The -t flag assigns a name to the image, and the period (.) indicates that the Dockerfile is located in the current directory.
5. Managing Docker Images
Docker provides several commands to manage images:
- `docker images`: Lists all images stored on the local machine.
- `docker rmi your-image-name`: Removes a specific image.
- `docker tag your-image-name your-repo/your-image-name:tag`: Assigns a new tag or alias to an image.
- `docker push your-repo/your-image-name:tag`: Pushes the image to a remote repository like Docker Hub or a private registry. You need to log in to the repository using docker login` before pushing the image.
- `docker pull your-repo/your-image-name:tag`: Pulls an image from a remote repository to your local machine.
- `docker history your-image-name`: Displays the history and layers of an image, along with their sizes and commands.
- `docker save your-image-name -o image.tar`: Exports an image as a tar archive, which can be useful for transferring images between machines.
- `docker load -i image.tar`: Imports an image from a tar archive, making it available on the local machine.
- `docker inspect your-image-name`: Provides detailed information about an image, including its layers, environment variables, and configuration.
6. Optimizing Docker Images
To ensure your Docker images are efficient and secure, consider the following best practices:
- Use a minimal base image: Choose a base image with only the essential components required for your application, such as Alpine Linux-based images.
- Utilize multi-stage builds: Multi-stage builds allow you to create smaller and more efficient images by copying only the necessary files and artifacts from one stage to another.
- Combine RUN commands: Each RUN command creates a new layer in the image. Combining multiple commands using the && operator can reduce the number of layers and the image size.
- Clean up temporary files: Remove temporary files, caches, and build artifacts that are not required for the final image.
- Keep secrets out of images: Avoid including sensitive information like passwords and API keys in your images. Use environment variables or Docker secrets instead.
Conclusion
Creating and managing Docker images effectively is crucial for a seamless application development and deployment process. By following the practical steps and best practices outlined in this guide, you can build and manage Docker images with ease, ensuring that your applications run consistently and efficiently across different environments.

