React is an open-source JavaScript library for creating web frontend and UI components. It is developed and maintained by the Facebook and a large community of developers. This is also useful for creating mobile applications.
We will use yarn package manager to create a reactjs application and make production build. Pm2 to run and monitor react application.
This tutorial will help you to create a new React.js Application on a developer system. Also help you to run reactjs application and make a production build.
Prerequisites
React.Js application’s can be run on any platform having node.js installed. We preferred to install Node.js using NVM package manager.
Assuming you already have installed node on your system. If not, visit below link to install node.js first.
Also install yarn package manager:
npm install -g yarn
Step 1 – Create a React Application
There are multiple ways to create a new react application on a developer system. For example, use yarn, npx or npm init commands to create a new Read application with latest version.
For this tutorial, we will use npm init to create a new react application.
yarn create react-app myreactapp
Except yarn, you can also use npx (npx create-react-app myreactapp) or npm (npm init react-app myreactapp) commands to create React.js application.
On successful application creation, you will see a long result on screen. At the end, you will find the result like below with some useful commands.
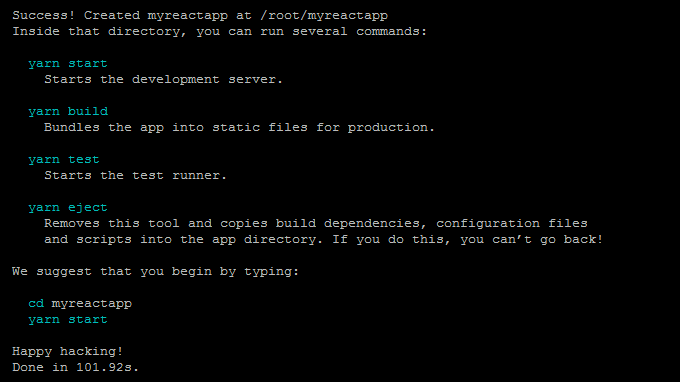
Step 2 – Running React App in Developer Mode
Once you have created your React application. This will create a folder in current directory with project name. Switch to that project and run yarn start to start application.
cd myreactappyarn start
Output:
Compiled successfully!

You can now view myreactapp in the browser.

  Local:            http://localhost:3000
  On Your Network:  http://192.168.10.200:3000

Note that the development build is not optimized.
To create a production build, use yarn build.
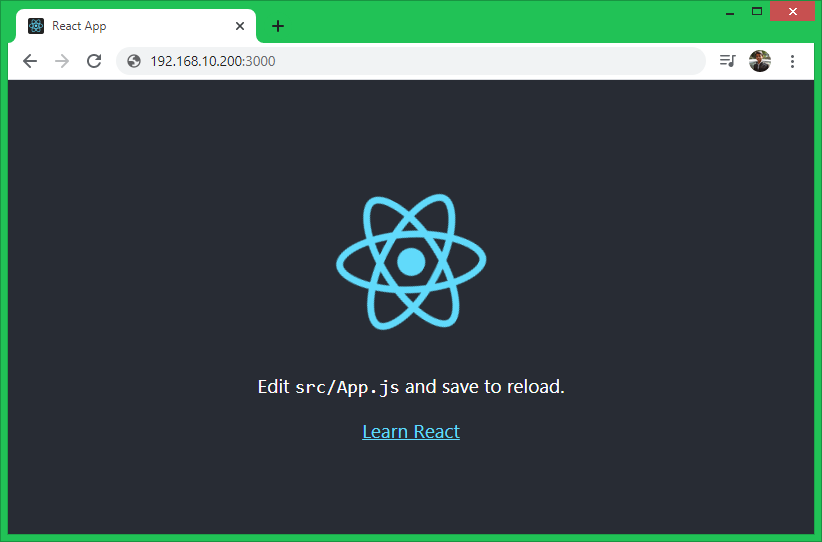
The default react application start on port 3000. Access your React application using 3000 port with system IP address. For local machine use “localhost” followed by port.
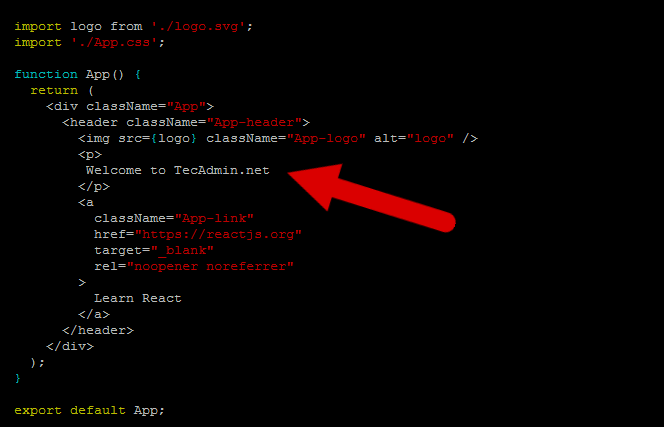
Step 3 – Start Editing React.js Application
Let’ start building awesome application using react.js. As displayed on the screen, edit src/App.js file in a text editor. Then navigate under the function App(). Here you can add your content to be displayed on the home page.
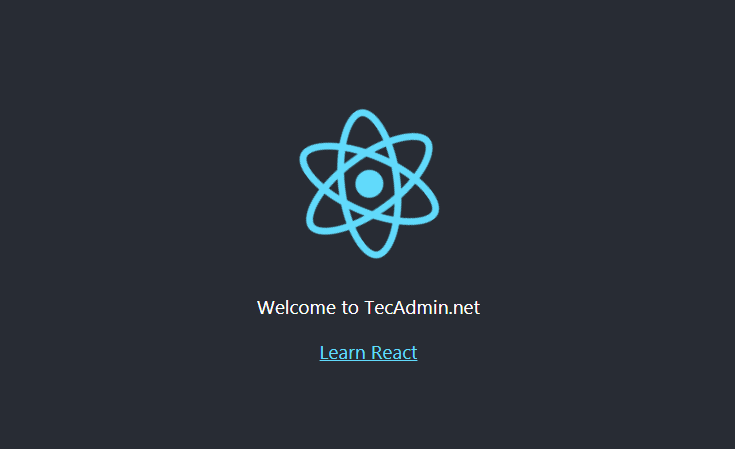
Save your file. The browser will automatically reload page and display the updated content. This is very helpful to see changes on the fly.
Step 4 – Running React Application with PM2
Process manager (pm2) for Node.JS applications with a built-in load balancer. It provides you easy way to manager, run and monitor Node applications.
In order to use pm2, make sure it is installed on your system. Also, it can be installed with following command:
npm install -g pm2
Next, switch to your react application and run the following command.
pm2 start yarn --name "MyReactApp" -- start
Here --name "MyReactApp" defined the name of your application, display under list of pm2 applications. start is the parameter passed to yarn command line.
The above command will start your React application on defined port. You can access applicaton in a web browser.
Below pm2 commands will help you to check application status, stop and start the applications.
pm2 status MyReactApp# Check application status pm2 stop MyReactApp# Stop application by name pm2 start MyReactApp# Start application by name
To view the logs generated by the application use following command. This is helpful for debugging purposes.
pm2 logs MyReactApp
Step 5 – Create Production Build
Once your application is ready to deploy on production environment. Let’s generate a production build from your react.js source application.
To generate production build, open a terminal and change to react application directory. Then execute the command:
yarn build
On successful build, it will generate production files in the build directory under React.js root directory. You can deploy all files from build directory to the production server.
ls -l build/

-rw-r--r-- 1 root root 1092 Mar 22 12:06 asset-manifest.json
-rw-r--r-- 1 root root 3870 Mar 22 12:06 favicon.ico
-rw-r--r-- 1 root root 3022 Mar 22 12:06 index.html
-rw-r--r-- 1 root root 5347 Mar 22 12:06 logo192.png
-rw-r--r-- 1 root root 9664 Mar 22 12:06 logo512.png
-rw-r--r-- 1 root root  492 Mar 22 12:06 manifest.json
-rw-r--r-- 1 root root   67 Mar 22 12:06 robots.txt
drwxr-xr-x 5 root root 4096 Mar 22 12:06 static
Conclusion
Lets create an awesome user interface with React.