A .PFX (Personal Information Exchange) file is used to store a certificate and its private and public keys. For example, if we need to transfer an SSL certificate from one windows server to another, You can simply export it as a .pfx file using IIS SSL export wizard or MMC console.
Sometimes we need to extract private keys and certificates from the .pfx file, but we can’t directly do it. This article can be helpful for you to do the same. This article will also be helpful for you to migrate an SSL certificate to AWS ELB because ELB required private keys and certificates separately.
In order to use the below commands, you must have OpenSSL installed on your Windows or Linux system
1. Extract the Private Key from PFX
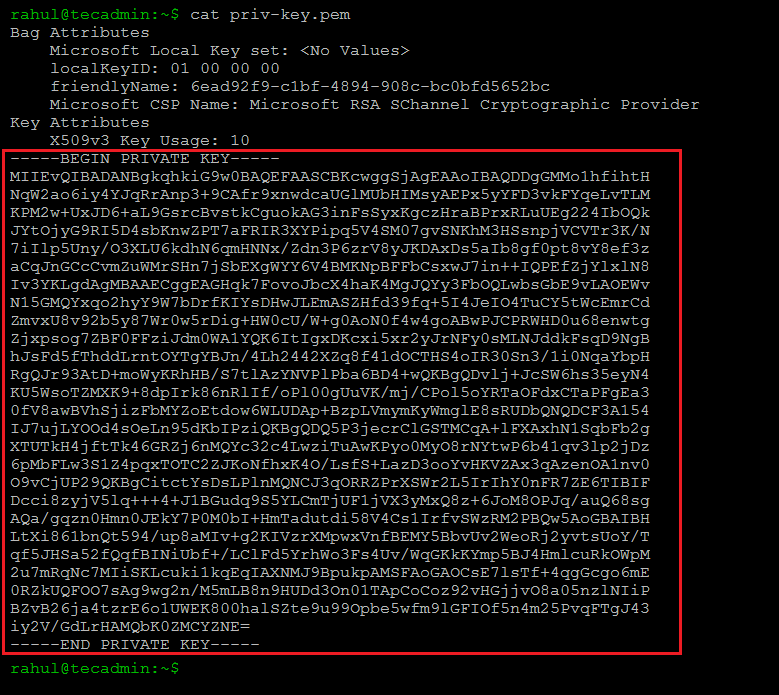
The following command will extract the private key from the .pfx file. A new file priv-key.pem will be generated in the current directory. This command will prompt a password set on the pfx file.
openssl pkcs12 -in myfile.pfx -nocerts -out priv-key.pem -nodes

Open the result file (priv-key.pem) and copy text between and encluding —–BEGIN PRIVATE KEY—– and —–END PRIVATE KEY—– text.
2. Extract the Certificate from PFX
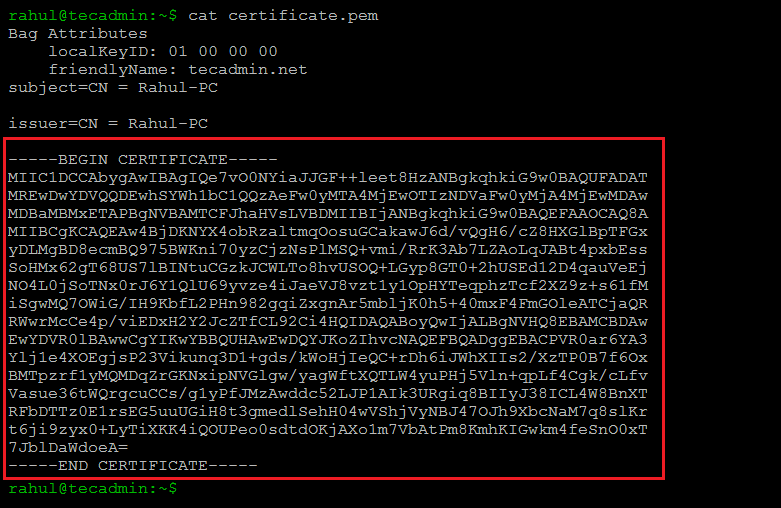
Next, extract the SSL certificate file from the pfx file. The following command will extract the certificate from the .pfx file and save it to the certificate.pem.
openssl pkcs12 -in myfile.pfx -nokeys -out certificate.pem

Open the result file (certificate.pem) and copy text between and encluding —–BEGIN CERTIFICATE—– and —–END CERTIFICATE—– text. This file may also include the other certificate chain. The first block will be your domain certificate and the others will be the chain. You can copy all the certificates in one file and use it.
Conclusion
In this how-to guide, you have learned to extract certificates and private keys from a PFX file. It is more helpful for migrating SSL certificates from Windows to Linux servers.
12 Comments
Thanks you so much for great help. It is working.
Thank you! so much it’s worked..
Great! Exactly what I want it, I found here.
Very nice web site.. too much knowledge data.
Please could help one .cer to pfx converstion method
Hi Rahul,
I have used the same command to convert a pks cert to a pem cert when I did this I noticed that the RSA key was showing as unencrypted i.e. when I open the pem in notepad the rsa key does not say “Encrypted” is this normal behaviour when converting in openssl? I need to have a certificate with the private key without hte passphrase so do I still need to remove the passphrase or was this done as part of the conversion process in openssl?
Perfect, thanks for the help!
a silly question. how do I find the pfx file? or normally where it’s located in a Linux Redhat?
Thank you for this. I looked all over for this exact information. A nice clean page, good info. You helped me get past a major hurdle.
Thanks
Perfect
Thanks, worked great.
Thanks, it worked
Thankyou it worked
Thank you. I need it.