Apache ActiveMQ is a widely used open-source messaging and integration patterns server. It’s written in Java and supports JMS (Java Messaging Service) as well as other cross language clients and protocols.
In this article, we’ll walk through the process of installing and setting up Apache ActiveMQ on an Ubuntu 22.04 system.
Prepare Your System
The ActiveMQ can be configured on any system that has Java installed. So make sure that your Ubuntu 22.04 Linux system has Java installed.
You can install Java on your with the following commands.
sudo apt update
sudo apt install default-jdk
It’s a good practice and recommended for running applications as non-root users. To create a user on your system, type:
sudo adduser activemq
Set the password to complete the user creation.
Now, the Ubuntu 22.04 is ready for Apache ActiveMQ installation. Go through the below steps:
Install Apache ActiveMQ on Ubuntu 22.04
First of all, download the latest version of Apache ActiveMQ source code from its official download page.
As of today, ActiveMQ 5.17.0 is the latest available version, that can be downloaded with the following commands.
<!-- the default port number for the web console -->
<property name="host"value="localhost"/>
<property name="port"value="8161"/>
</bean>
Change host value from localhost to system IP address or set 0.0.0.0 to listen on all interfaces.
Save the file and close it.
Running ActiveMQ As Systemd Service
Systemd is the default system and service manager for the latest Linux operating systems. To make the service startup easier, create a configuration file for ActiveMQ as below:
In case of a different version or location of ActiveMQ, update the configuration as per your system.
Save the file and close it.
Now reload the systemctl daemon to read the new configuration file.
sudo systemctl daemon-reload
After that, enable the ActiveMQ systemd service to auto-start on system boot. Also, start the service.
sudo systemctl enable activemq.service
sudo systemctl start activemq.service
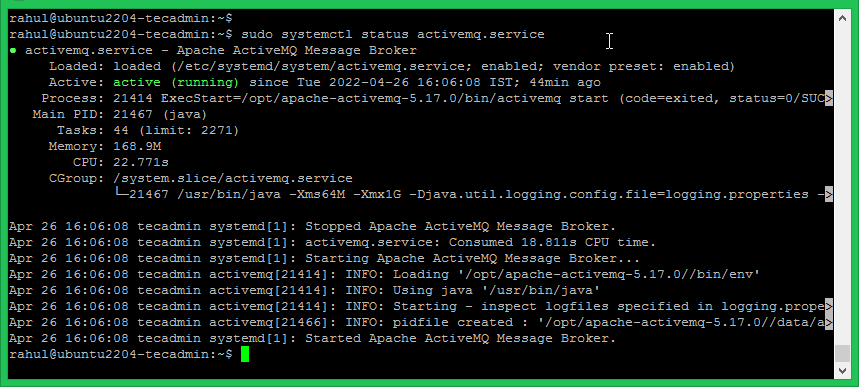
Once the service is started, make sure that ActiveMQ service is up and running:
sudo systemctl status activemq.service
Apache ActiveMQ Borker Running Service
That’s it. The Apache ActiveMQ service is up and running on Ubuntu 22.04 LTS system.
Test Installation
As the ActiveMQ installation is completed on the Ubuntu system. Let’s test if the installation is succeeded successfully.
If the UFQ firewall is active and you are accessing the Apache ActiveMQ from a remote host, make sure to open the 8161 port. You can open the UFW port with the following command.
sudo ufw allow 8161/tcp
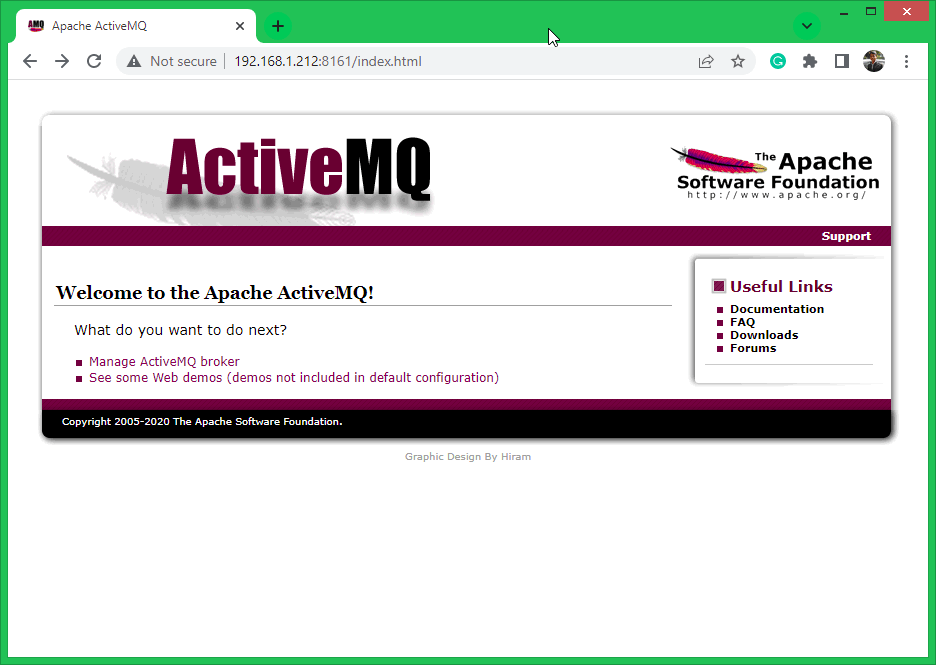
Now, open a browser and access
http://server-ip:8161/
Apache ActiveMQ Homepage
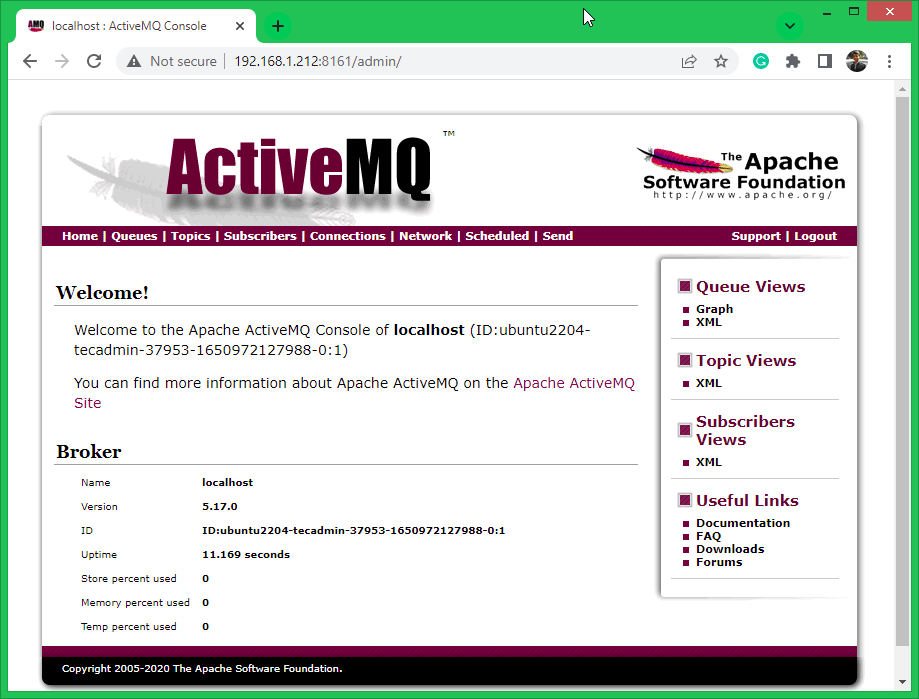
You can access the ActiveMQ admin section with the following URL:
http://server-ip:8161/admin
Username: admin
Password: admin
Apache ActiveMQ Broker Admin Interface
Conclusion
You’ve now successfully installed and configured Apache ActiveMQ on Ubuntu 22.04. From here, you can start integrating it into your applications or dive deeper into its configuration to tailor it to your specific needs.

1 Comment
Useful article Rahul!
The jetty.xml part is a gem!
It will be very nice to make a new version of this article, but now using containers.
Thanks!