Apache Solr is an open-source search platform built upon a Java library called Lucene. Solr is a popular search platform for web sites because it can index and search multiple sites and return recommendations for related content based on the search query’s taxonomy.
This guide will walk you through the installation process of Apache Solr on a Fedora system. Please note that the instructions below assume that you have root access to your Fedora system.
Prerequisites
Before we begin, you’ll need:
- A Fedora system
- Access to a terminal window/command line
- A user account with sudo or root privileges
Step 1: Update System Packages
First, we need to update the system packages to their latest versions. Open your terminal and execute the following command:
sudo dnf update -y
Step 2: Install Java
Since Apache Solr is built on Java, we need to install it first. You can check if Java is already installed by using the command:
java -version
If Java is not installed, or the version is lower than 11, install or update it by using the following command:
sudo dnf install java-11-openjdk-devel
Verify the installation by checking the Java version again.
Step 3: Install Apache Solr
Next, we’ll download and install Apache Solr. As of today in Jan 2024, the latest version was 9.4.1, but you should replace “9.4.1” in the following commands with the version number of the latest stable release available.
wget https://dlcdn.apache.org/solr/solr/9.4.1/solr-9.4.1.tgz
Once the download is completed, extract the Solr files from the downloaded package using the following command:
tar xzf solr-9.4.1.tgz solr-9.4.1/bin/install_solr_service.sh --strip-components=2
Now, run the installation script:
sudo bash ./install_solr_service.sh solr-9.4.1.tgz
This will install Solr as a service on your machine, running on the default port 8983.
Step 4: Verify Installation
To make sure that Solr is installed correctly, you can check its status by using the following command:
sudo systemctl status solr
If Solr is running correctly, you should see output indicating that the service is active (running).
You can also access the Solr admin panel by opening a web browser and navigating to http://localhost:8983/solr
Step 5: Configure Solr (Optional)
Apache Solr is now installed and running on your Fedora system. Next, you might want to configure Solr for your specific needs. For example, you might want to create a new Solr core:
sudo su - solr -c "/opt/solr/bin/solr create -c -n data_driven_schema_configs"
Replace <corename> with the name of your new core.
Step 6: Allow Solr Access on Public Network
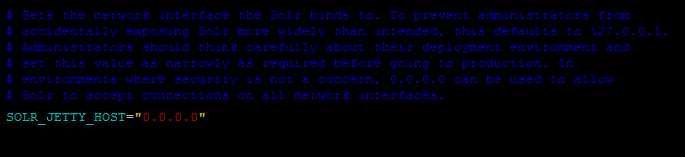
The default Apache Solr runs on localhost only. To allow the Solr server publically accessible over networks, edit the /etc/default/solr.in.sh configuration file.
sudo vim /etc/default/solr.in.sh
Search for the SOLR_JETTY_HOST variable. Uncomment it by removing the starting hash (#) symbol. Set the value to “0.0.0.0”.
Save the configuration file and restart Solr service:
sudo service solr restart
You also need to open the port in the system firewall. The below-mentioned command will open port 8983 in firewalld.
sudo firewall-cmd --permanent --add-port=8983/tcpsudo firewall-cmd --reload
Step 7: Access Solr Web Admin Panel
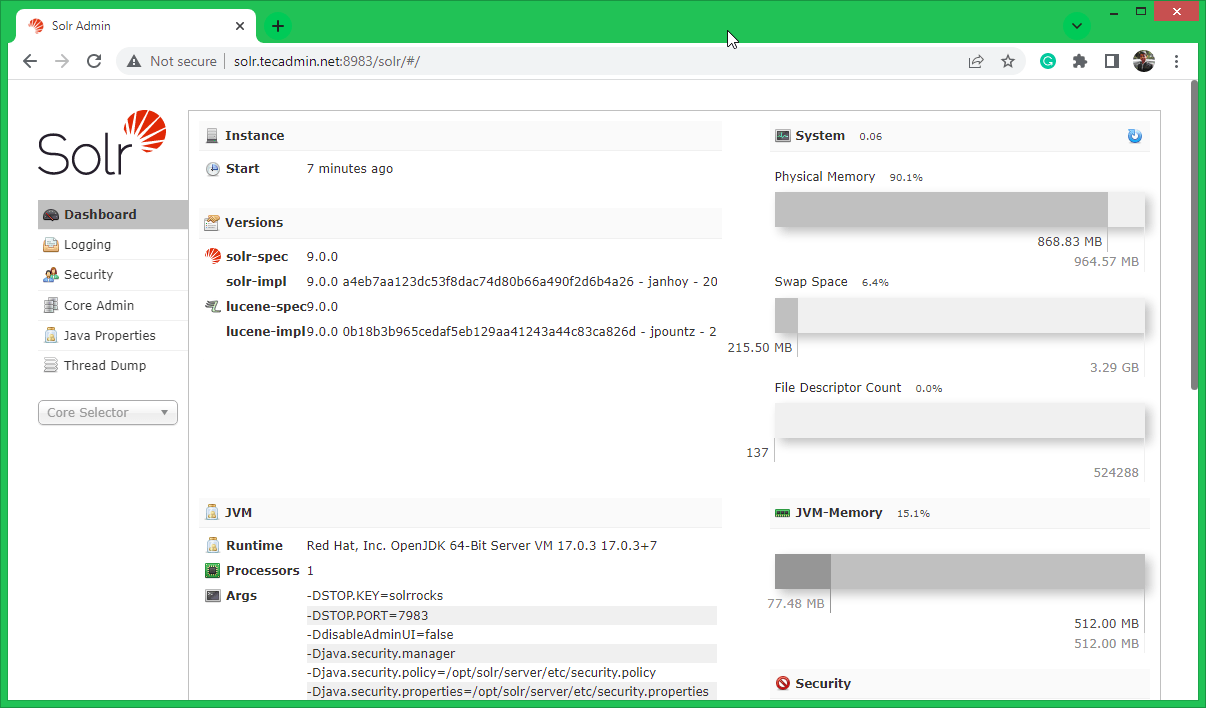
The default Apache Solr runs on port 8983. You can access the Solr port in your web browser and you will get the Solr dashboard.
I already have mapped the domain solr.tecadmin.net with the Fedora server IP address.
http://solr.tecadmin.net:8983/
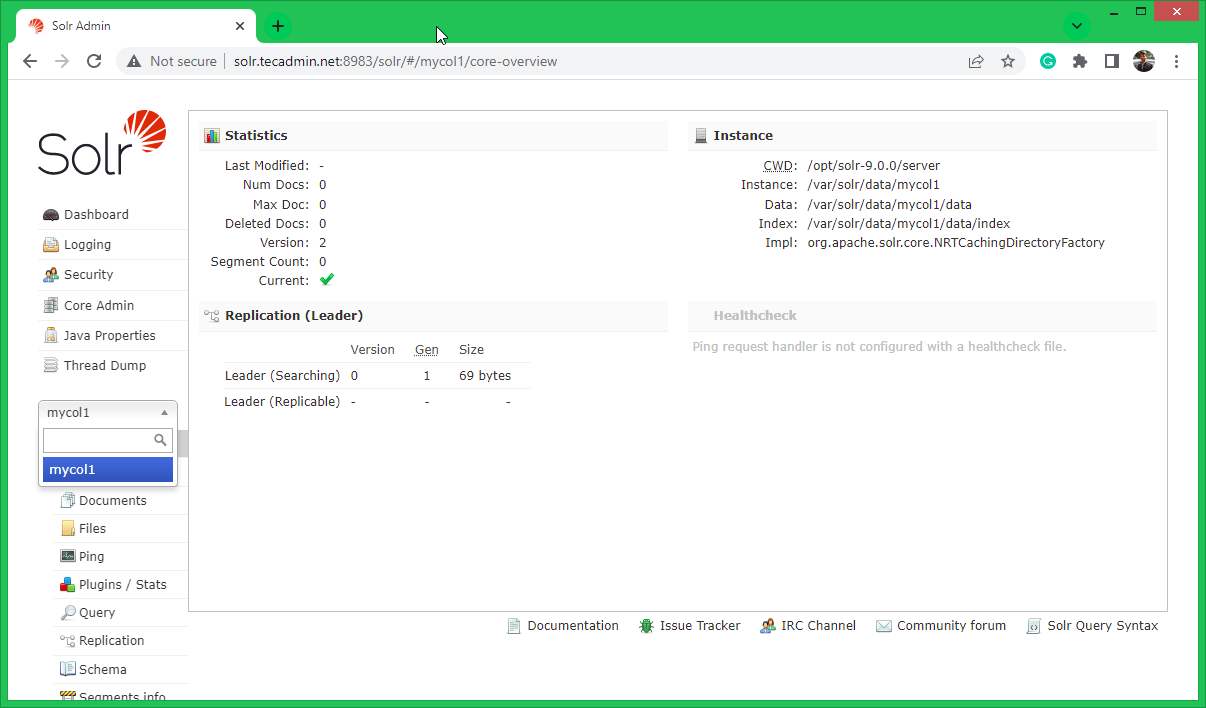
Here you can view statics of created core in previous steps named “mycol1”. Click on “Core Selector” on the left sidebar and select created collection.
Conclusion
Congratulations, you have installed Apache Solr on your Fedora system! From here, you can further configure Solr to fit your needs, or start indexing and searching documents using the Solr API. Be sure to refer to the official Solr documentation for more detailed information about what you can do with Solr.
Please note that this guide is intended for use on a local development machine. If you’re installing Solr on a production server, there are additional considerations you’ll need to take into account. This might include securing your Solr instances with authentication, setting up an SSL certificate, fine-tuning your server settings for optimal performance, and setting up a proper backup strategy.


11 Comments
We recommend installing the ‘lsof’ command for more stable start/stop of Solr
id: solr: no such user
Creating new user: solr
Extracting solr-8.4.1.tgz to /opt
Installing symlink /opt/solr -> /opt/solr-8.4.1 …
Installing /etc/init.d/solr script …
Installing /etc/default/solr.in.sh …
Service solr installed.
Customize Solr startup configuration in /etc/default/solr.in.sh
su: Permission denied
su: Permission denied
Where do I need to download it before install ? opt or local? Do I have to command with root account ?
Thanks
Download it under /tmp directory.
Here small update for Centos 7.5 + Solr 7.4
Install Java
sudo yum install java-1.8.0-openjdk
Install Solr
cd /usr/local
wget http://apache.lauf-forum.at/lucene/solr/7.4.0/solr-7.4.0.tgz
tar xzf solr-7.4.0.tgz solr-7.4.0/bin/install_solr_service.sh –strip-components=2
sudo bash ./install_solr_service.sh solr-7.4.0.tgz
Core creation
sudo su – solr -c “/opt/solr/bin/solr create -c NAMEOFCORE -n data_driven_schema_configs”
Thanks Rahul, In my installation I got stuck in step 4 of this manual.
after running: sudo su – solr -c “/usrlocal/solr/bin/solr create -c mycol1 -n data_driven_schema_configs”.
i get error : /usrlocal/solr/bin/solr: No such file or directory
which is true – this path does not exist.
I tried /usr/local/… thinking that you had a typo but didnt work…
I also tried creating those directories that didnt help.
By now you probably understand that i don’t have much experience with linux 🙂
can you please explain what am i doing wrong?
Thanks Atias, I have fixed typo in command. What error are you getting with the correct path command?
Hi,
# sudo su – solr -c “/opt/solr/bin/solr create -c gettingstarted -n data_driven_schema_configs”
ERROR: Failed to create new core instance directory: /opt/solr/server/solr/gettingstarted
I get the above error while create a core. How do I fix this?
sol[r]= S%#t Outta luck [redo]
Same Error i have
WARNING: Using _default configset with data driven schema functionality. NOT RECOMMENDED for production use.
To turn off: bin/solr config -c bck43 -p 8983 -action set-user-property -property update.autoCreateFields -value false
ERROR: Failed to create new core instance directory: /opt/solr-8.4.1/server/solr/bck43
Thank you so much Rahul. You saved me buddy.
Thanks TecAdmin, I have successfully installed Solr … How do I insert data to collection?