The .NET Core is a free and open-source software framework designed with keeping Linux and macOS in mind. It is a cross-platform successor to .NET Framework available for Linux, macOS and Windows systems. .NET core framework already provides scaffolding tools for bootstrapping projects.
This tutorial is an walk through to install .NET core on Ubuntu 18.04 Linux system. Also created a sample application using .NET core.
Step 1 – Setup PPA
The Microfosft offical team provides and debian packages to create PPA on Ubuntu systems. You just need to download the debian package and install on your system.
Press CTRL + ALT + T to open a terminal on Ubuntu system and configure Microsoft PPA by run the following commands:
wget https://packages.microsoft.com/config/ubuntu/18.04/packages-microsoft-prod.debsudo dpkg -i packages-microsoft-prod.deb
Step 2 – Install .NET Core on Ubuntu
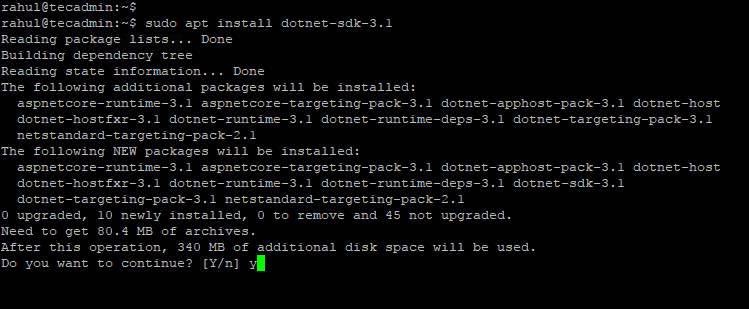
Dotnet core is the Software development kit used for developing applications. If you are going to create a application or making changes to existing application, you will required .net core sdk package on your system.
To install Dotnet core on Ubuntu 18.04 LTS system, type:
sudo apt updatesudo apt install apt-transport-https -ysudo apt install dotnet-sdk-3.1
To install the previous version of .Net Core SDK 2.1, type:
sudo apt install dotnet-sdk-2.1
Step 3 – Install .NET Core Runtime Only
.NET Core Runtime is required for the system, where you only need to run application. For example, production or stating environments are required to run applications only.
To install Dotnet core runtime on Ubuntu 18.04 Linux system, execute:
sudo apt updatesudo apt install apt-transport-https -ysudo apt install dotnet-runtime-3.1
To install the previous version of .Net core runtime 2.1, type:
sudo apt install dotnet-runtime-2.1
Step 4 – Create Dotnet Core Application
Let’s create a sample application with dotnet core on your Ubuntu system. Create a new console application with the command:
dotnet new console -o HelloWorld
The Above command will create dotnet application on your system. This will create a directory named “helloworld” in under the current directory. Switch to this directory and start working your application.
cd HelloWorld
Make your changes to application and execute below command to run this application.
dotnet run

Conclusion
In this tutorial, you have learned to install Dotnet Core on Ubuntu 18.04 LTS Linux system.
1 Comment
Good Post