.NET Core is an open-source modular, cross-platform, and open-source framework developed and maintained by Microsoft that runs on Windows, Linux, and other operating systems. It was initially released as the new framework called ‘Core’. But, with the release of the ‘Core’ Framework, it got renamed as .NET Core. It is a lightweight and modular framework that can be used to build web applications and services, console applications, and even desktop applications.
Now you can directly install the latest version of .NET Core on macOS from the OS itself. Let’s take a look at how you can install .NET Core on your Mac device.
How to Install .NET Core on macOS
The Microsoft .NET Core team provides an installer file for macOS, Linux, and Windows. That can be downloaded from its official download page. Follow the below steps to download and install .Net core on the macOS system.
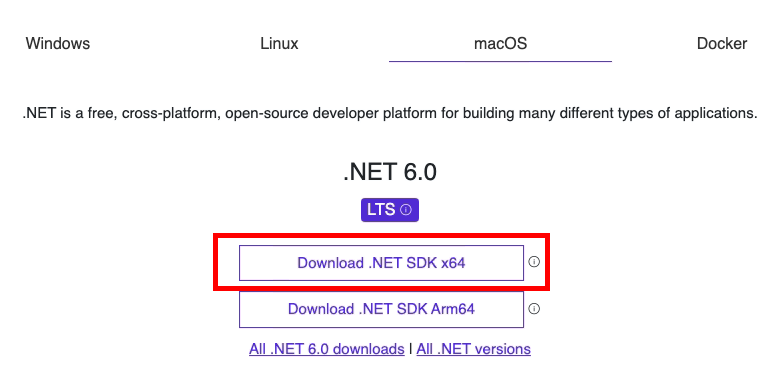
- You can easily install the latest version of .NET Core on macOS. Visit the official download page of .NET core and download the installer file for the macOS.
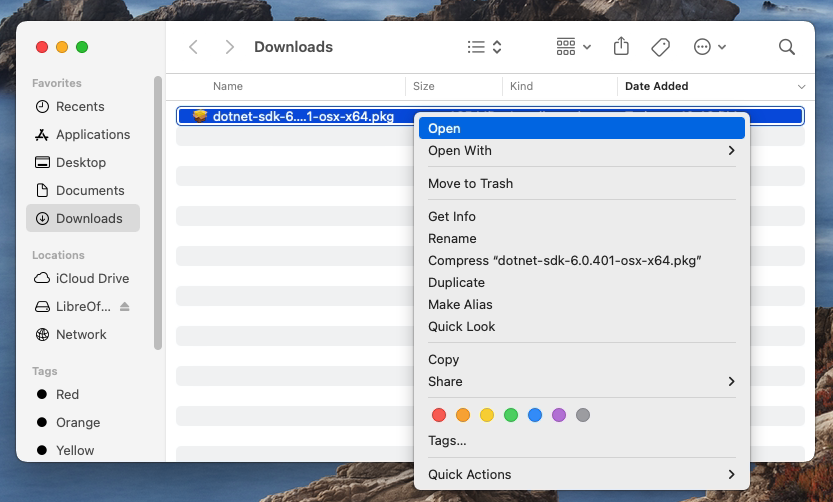
Download dotnet core for macOS - Once the download is completed, open the ‘Downloads’ folder. You will find the downloaded file there. Right-click on the file and select Open to begin the installation.
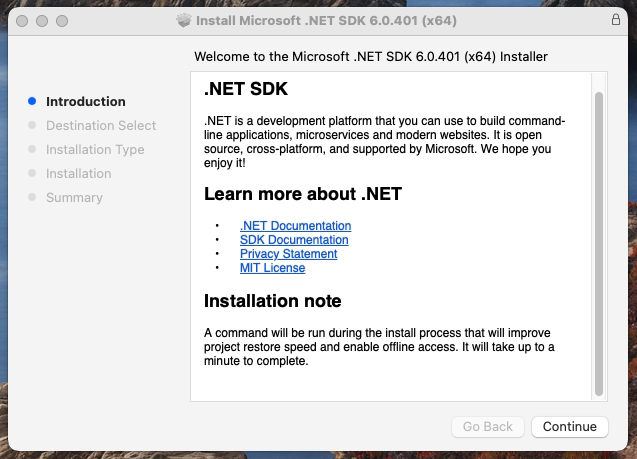
Begin dotnet core installation on macOS - An installation Wizard will be started. You can simply continue with the default values. Complete all the steps to finish the installation.
Installing Dotnet core on macOS 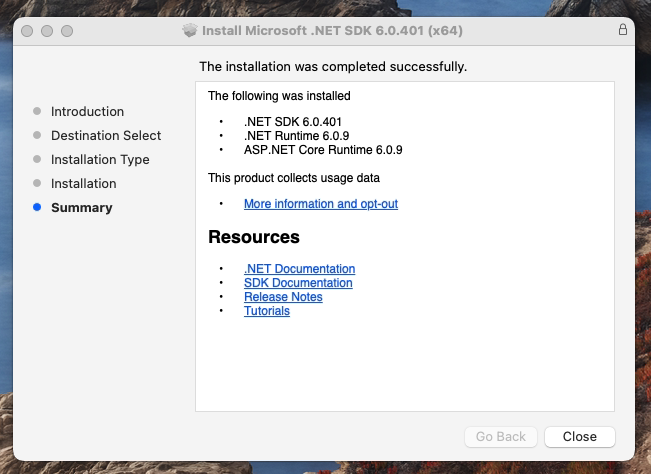
Finished installation - .NET Core installation is successfully finished on your macOS system. Open a terminal and check the installed version of the .NET core with the following command.
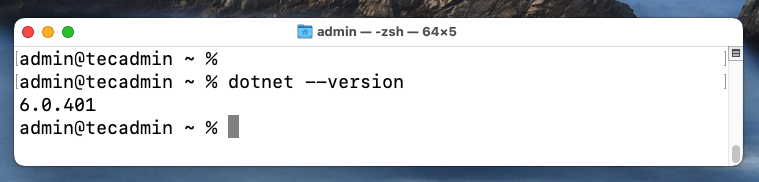
Check Dotnet core version
Conclusion
Now that you know how to install .NET Core on macOS, it is time to get started. With the latest release, developing and building applications using .NET has become even easier. You can now easily download and install the latest version of .NET Core on your macOS device. And, by using the .NET Core SDK, you can build cross-platform applications using C#. Once you have installed the latest version of .NET Core on your macOS device, it’s time to create your first application. There are several ways to build an application using .NET Core. The best thing is that you have the power to choose whichever way you like best.
1 Comment
Thanks