Installing NVM (Node Version Manager) on Ubuntu 20.04 is easy. NVM lets you manage multiple versions of Node.js on your computer. This is helpful if you need to switch between different versions for different projects.
In this guide, we will show you step-by-step how to install NVM on Ubuntu 20.04. We will also explain how to use it to install and manage different versions of Node.js. By the end, you will be able to easily switch between Node.js versions and keep your projects running smoothly.
Installing NVM on Ubuntu 20.04: Step-by-Step
Here is the step-by-step instructions to install and use NVM on Ubuntu systems. Before installation make sure to fulfill the following requirements.
- You need a running Ubuntu 20.04 Linux system with access to the terminal.
- Log in with the user account where you want to install Node.js.
Step 1: Installing NVM on Ubuntu
To install NVM, you need to run a shell script on your Ubuntu 20.04 system. Open a terminal or connect to a remote system using SSH.
- First, install curl with the following command:
sudo apt install curl - Next, run the NVM installer script using curl:
curl https://raw.githubusercontent.com/creationix/nvm/master/install.sh | bash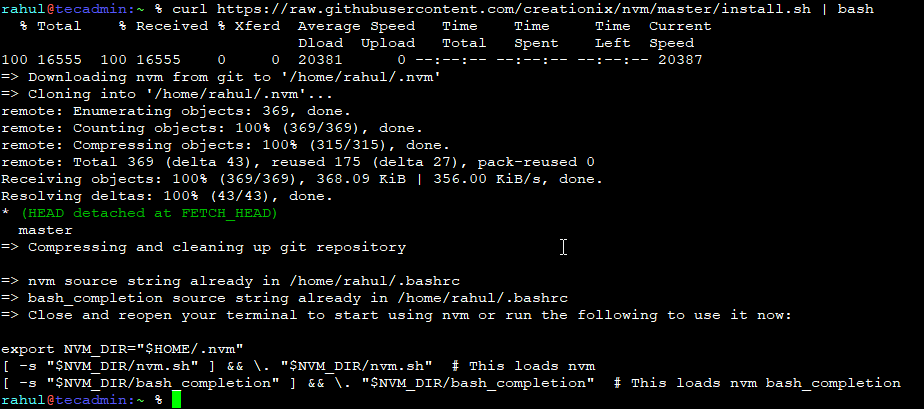
How to Install NVM on Ubuntu 20.04 The installer script adds NVM to your login script.
- To activate it, either log out and log back in or run:
source ~/.bashrc
NVM command-line tool is now installed and configured successfully on your Ubuntu system.
Step 2: Installing Node using NVM
As you already have NVM installed, Now you can install multiple Node.js versions on your system. Remember that the Node version installed with NVM is user specific. It keeps all files under $HOME/.nvm directory.
- To install the latest Node.js version, type:
nvm install node - To install a specific version of Node.js, use:
nvm install 18.16.0Replace
18.16.0with the version you need. - To install the latest Long Term Support (LTS) version, use:
nvm install --ltsThe first version you install becomes the default. New terminal sessions will use this default version.
Step 3: Working with NVM
NVM provide large number of command line options to manage node versions. Here is the frequently used commands:
- To list the Node.js versions installed on your system, use:
nvm ls - To see all available Node.js versions for installation, use:
nvm ls-remote - To use a different Node.js version for the current terminal session, use:
nvm use 18.16.0Replace
18.16.0with the version you want.
- To find the default Node.js version for the current user, type:
nvm run default --version - To run a Node.js script with a specific version, use:
nvm exec 18.16.0 server.js
Step 4: Uninstalling a Node Version (Optional)
To uninstall a specific Node.js version, use the nvm uninstall command followed by the version number. For example, to uninstall version 18.16.0, use:
nvm uninstall 18.16.0
Replace 18.16.0 with the version you want to uninstall.
Conclusion
In conclusion, installing NVM on Ubuntu 20.04 is straightforward and useful for managing multiple versions of Node.js. With NVM, you can easily switch between Node.js versions to suit different projects and requirements. Following this guide, you have learned how to install NVM, use it to install Node.js, and switch between versions. This tool simplifies your development process and ensures that your projects run with the appropriate Node.js version. Keep practicing these steps to become more comfortable with using NVM and managing your development environment effectively.
12 Comments
Very simple and on point. Thank you very much!
how to uninstall nodejs if i have more than 1 version?
Use command:
nvm uninstall 18.16.0Replace 18.16.0 with your desired version
It really worked for me. Awesome
Simplest way I have seen so far
Thanks
Thanks for this. My repositories were so trashed, I had to start from scratch. This was very helpful.
To set any version into Default use this.
nvm alias default [version_here]
On point. Really helpful
This article saved me brother. Thank you!
nice own bro. it helped alot
Awesome
Sir you did awesome blog with answers, as am developer I really appreaciate for your work. Thank you for such a brief block with correct details. I wish you that you continue like this..