PyCharm is the best IDE for Python development. This Python IDE is available in professional and community editions. The community edition is freely available, but professional edition has more features. Visit here to find the difference in community and professional edition.
This tutorial describe you to how to install PyCharm in Ubuntu 18.04 LTS Linux systems.
Prerequisites
Login with a sudo privileged account on your Ubuntu system. Then, launch a terminal from all applications or use CTRL+ALT+T shortcut keys.
Step 1 – Install PyCharm on Ubuntu 18.04
PyCharm comes in 2 edition, The first one is a community edition available freely for the users. It is recommended for the students for Python developer learners. A professional version also comes with multiple features required for the professional developers.
Install one of the below edition as per your requirements:
- Install community edition – The community edition have large number of features to start working with the PyCharm IDE.
sudo snap install pycharm-community --classic - Install professional edition – The professional edition comes with multiple advance features the software developers. It comes with a 30 days trial license.
sudo snap install pycharm-professional --classic
That’s it. The above instructions will install PyCharm on Ubuntu system.
Step 2 – Launch PyCharm
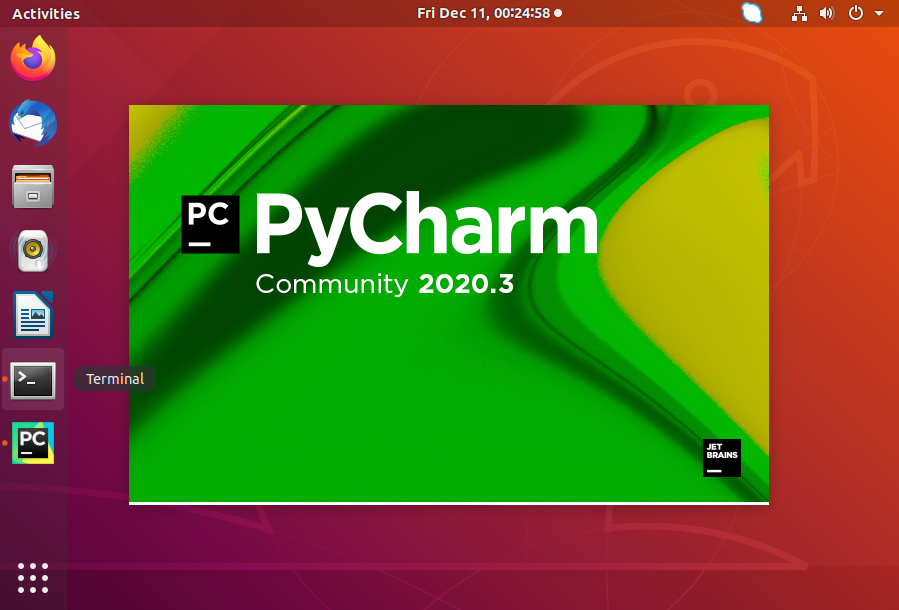
Click on show applications icon at lower left corner. Then type “pycharm” in search box, You will see a PyCharm launcher icon.
Click on launcher icon to start the PyCharm IDE on your Ubuntu system.

Step 3 – Uninstall PyCharm
Umake also allows removing packages from the system. If you don’t need it anymore, you can remove PyCharm anytime using the following command.
sudo snap remove pycharm-community
Conclusion
This tutorial helped you to install PyCharm on Ubuntu 18.04 LTS systems. Enjoy the development with feature rich IDE for Python applications.
