The Web Server Gateway Interface (WSGI in short) is a simple method for the web servers to forward requests to the web applications or frameworks written in Python. The WSGI is the specification, which describes how a web server communicates with the web applications.
The mod_wsgi is an Apache module used to serve Python scripts over HTTP. This tutorial helps you with how to install the Apache mod_wsgi module on Ubuntu 20.04 system.
Prerequisites
Login to your Ubuntu 20.04 server console with sudo privileged account.
Step 1 – Installing Python
You must have installed the required Python version on your system. For the Ubuntu systems, you can use the apt package manager to install Python on your system.
sudo apt update
sudo apt install python3 libexpat1
Step 2 – Install Apache with mod_wsgi Module
Next, you need to install the Apache webserver including the Apache utility package and mod_wsgi Python module on your system. To install these packages run the following commands.
sudo apt install apache2 apache2-utils ssl-cert libapache2-mod-wsgi
After installation, restart the Apache service to reload all modules.
sudo systemctl restart apache2
Step 3 – Setup Apache for WSGI
Now, we will create a sample python script to serve via mod_wsgi Apache module. Create a Python script and edit in your favorite text editor:
mkdir -p /var/www/scripts
sudo nano /var/www/scripts/test_wsgi_script.py
Add the following content:
1 2 3 4 5 6 7 8 9 10 | def application(environ,start_response): status = '200 OK' html = '<html>\n' \ '<body>\n' \ ' Hooray, mod_wsgi is working\n' \ '</body>\n' \ '</html>\n' response_header = [('Content-type','text/html')] start_response(status,response_header) return [html] |
Save your Python script and close the file.
Next, configure the Apache server to serve this file over the HTTP protocol. Let’s create a configuration file to serve the wsgi_test_script.py script with the directory URL.
sudo nano /etc/apache2/conf-available/mod-wsgi.conf
Add the following content:
WSGIScriptAlias /test_wsgi /var/www/scripts/test_wsgi_script.py
After completing the above steps enable mod-wsgi configuration and restart Apache service.
sudo a2enconf mod-wsgi
sudo systemctl restart apache2
Step 4 – Test Setup
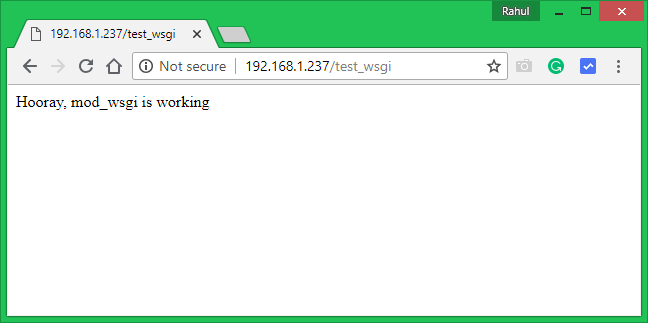
The Python script is ready to serve over Apache. You can test the script by accessing the following URL in a web browser. Make sure to change SERVER_IP_OR_HOSTNAME with the actual server IP or domain name pointed to the IP.
http://SERVER_IP_OR_HOSTNAME/test_wsgi
See below screenshot:
Conclusion
In this tutorial, you have learned to deploy Python script over Apache web server using mod_wsgi module on Ubuntu system.

7 Comments
There is an error in your Python code that generates the following error:
TypeError: sequence of byte string values expected, value of type str found
The code should be:
def application(environ,start_response):
status = ‘200 OK’
html = b’\n’ \
b’\n’ \
b’ Hooray, mod_wsgi is working\n’ \
b’\n’ \
b’\n’
response_header = [(‘Content-type’,’text/html’)]
start_response(status,response_header)
return [html]
When ran test_wsgi, I got the below:
Internal Server Error
The server encountered an internal error or misconfiguration and was unable to complete your request.
Please contact the server administrator at webmaster@localhost to inform them of the time this error occurred, and the actions you performed just before this error.
More information about this error may be available in the server error log.
Apache/2.4.52 (Ubuntu) Server at 192.168.1.11 Port 80
not work at all.:-(((
Hi Anao, What issue are you facing?
I noticed that zuck. It still worked but it gives me the creeps when using 2.7
Hey, fix it that its libapache2-mod-wsgi-py3 for PHYTHON3
Thanks for that clarification. Life saver!
I now see “3.7.3 (default, Jan 22 2021, 20:04:44)” instead of “2.7.16 (default, Oct 10 2019, 22:02:15)”
I wonder if there’s a way, besides compiling, to get version 3.9, or at least 3.8, because I now get a strange syntax error about the walrus operator ( := ) not working… 🙁