Network monitoring is an essential aspect of system administration, especially for large enterprise networks. The ability to monitor network performance helps to ensure that the network is functioning optimally and proactively identify potential problems. One of the most widely used network monitoring tools is Cacti. This open-source tool provides a comprehensive and intuitive web-based interface for monitoring network performance.
In this article, we will guide you through the process of installing Cacti on CentOS and RHEL-based systems. We will also explain how to configure and use Cacti to monitor network performance.
Prerequisites
- A system running CentOS or RHEL-based distribution
- Root access to the system
- A working internet connection
Step 1: Set Up Apache, MySQL and PHP
In order to install cacti you required a webserver, database and PHP to work. If you have already installed it skip this step else follow below commands.
# yum install httpd httpd-devel
# yum install mysql mysql-server
# yum install php php-pear php-common php-gd php-devel php-mbstring php-cli php-mysql
Step 2: Install other Required Packages
Cacti required RRDTool to retrieve manage data ,PHP SNMP module to access data and net-snmp. Use following commands to install it.
# yum install rrdtool php-snmp net-snmp-utils p net-snmp-libs php-pear-Net-SMTP
Step 3: Start Services
Start all the required services to work with them using following commands.
# service httpd start
# service mysqld start
# service snmpd start
Configure all services to auto start on system boot.
# chkconfig --levels 345 httpd on
# chkconfig --levels 345 mysqld on
# chkconfig --levels 345 snmpd on
Step 4: Install Cacti on RHEL/CentOS Systems
Install cacti on your system using yum package manager.
# yum install cacti
Step 5: Setup MySQL database and User Accounts
Setup MySQL database and user account for cacti installation and assign priviledges to user on database.
# mysql -u root -p
mysql> create database cacti;
mysql> GRANT ALL on cacti.* to cactiusr@'localhost' IDENTIFIED BY 'SecretPassword';
mysql> FLUSH PRIVILEGES;
mysql> quit;
Step 6: Restore Cacti Database
Use below command to restore default cacti database
# mysql -u cactiusr -p cacti < /usr/share/doc/cacti-0.8.8a/cacti.sql
It may change location of cacti.sql file as per version installed of cacti. Use below command to locate file.
# rpm -ql cacti | grep cacti.sql
/usr/share/doc/cacti-0.8.8a/cacti.sql
Step 7: Edit Database Configuration File
Make below changes in cacti database configuration file to connect application with database.
# vi /etc/cacti/db.php
$database_type = "mysql";
$database_default = "cacti";
$database_hostname = "localhost";
$database_username = "cactiusr";
$database_password = "SecretPassword";
$database_port = "3306";
$database_ssl = false;
Step 8: Configure Aapche to Network Accessible
Edit cacti apache configuration file to make is accessible over network.
# vim /etc/httpd/conf.d/cacti.conf
Alias /cacti    /usr/share/cacti

<Directory /usr/share/cacti/>
       <IfModule mod_authz_core.c>
                # httpd 2.4
               Require host 192.168.1.0/32
       </IfModule>
       <IfModule !mod_authz_core.c>
                # httpd 2.2
               Order deny,allow
               Deny from all
               Allow from 192.168.1.0/32
       </IfModule>
</Directory>
Step 9: Enable Cacti Cron
Edit
# vi /etc/cron.d/cacti

*/5 * * * *     cacti   /usr/bin/php /usr/share/cacti/poller.php > /dev/null 2>&1
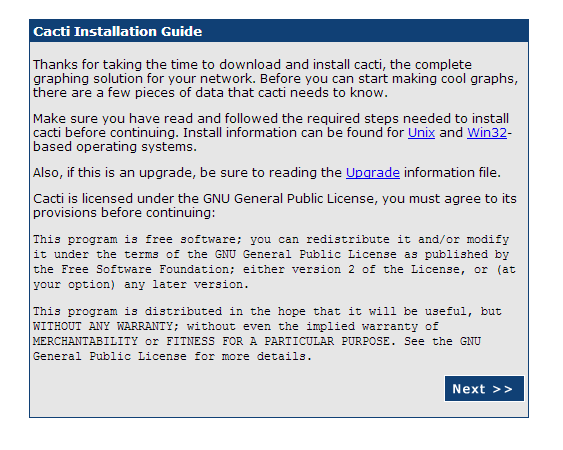
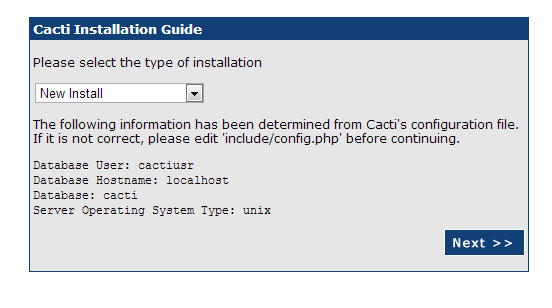
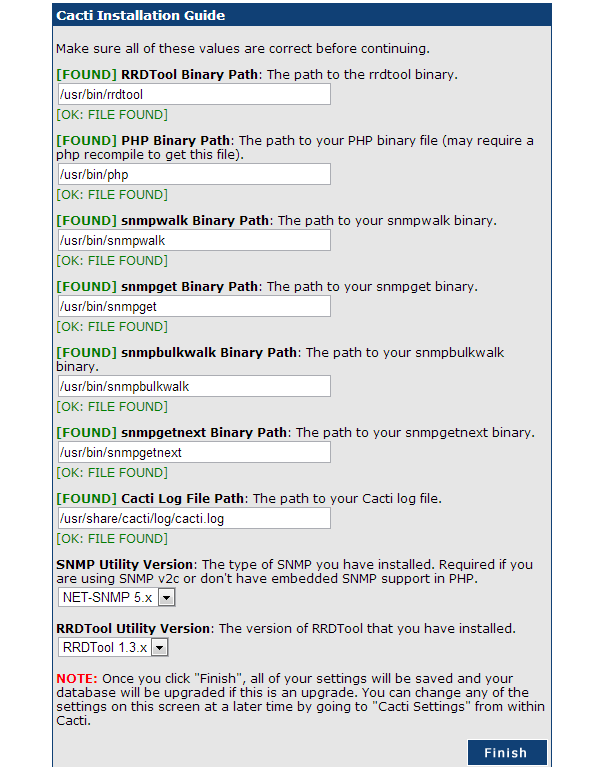
Step 10: Start Cacti Web Installer.
Access Cacti url in your brower, First time it will redirect to web installer. Follow the steps as per below screenshots.
URL: http://192.168.1.190/cacti/
After Finish the setup, it will redirect to loign scren, use below given username and password to login. At first login it will force to change password.
Username: admin
Password: admin
Thanks for reading this article. If you get this article helpful, please don't forgot to share it.