Django is a high-level Python Web framework for the rapid development of applications. It is developed by the Django Software Foundation in the year 2005. At the time of editing this tutorial, Django 3.0.3 is available for application development. This tutorial helps you to install and create a sample application with Django on CentOS 8 and RHEL 8 Linux systems.
Step 1 – Install Python
CentOS 8 minimal installation systems do not have default Python installed. You can install Python 3 on your CentOS 8 via default repository. Just execute the following commands to install Python and PIP on your system.
sudo dnf install python3 python3-pip
Then check the Python and pip version:
python3 -V

Python 3.6.8
pip3 -V

pip 9.0.3 from /usr/lib/python3.6/site-packages (python 3.6)
Step 2 – Install Django on CentOS 8
Django source code is available in the Github repository. But this tutorial uses pip3 for the Django installation on CentOS 8 and RHEL 8 Linux. Simply run the following command from the system terminal:
pip3 install Django
You will get a django-admin command for creating new projects. Check the current installed verson:
django-admin --version

3.0.3
Step 3 – Create Django Application
You have Django installed on your system. Let’s create a new Django application. The django-admin command provides you the option to create a new Django application via command line. First, navigate to the directory you need to create a new application.
Then use the django-admin startproject command followed by the application name to create a new Django application on a Debian Linux.
cd /var/www
django-admin startproject django_app
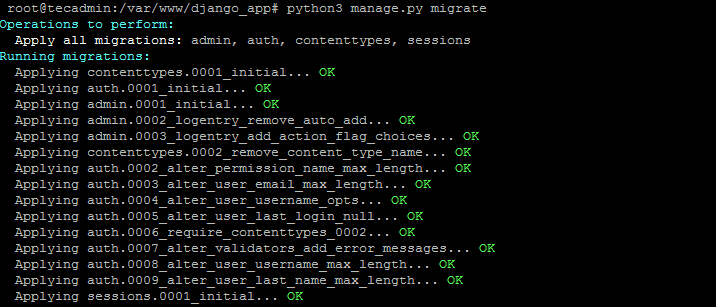
After that migrate the pending changes.
cd django_app
python3 manage.py migrate
Step 4 – Create Admin User
Now, create a superuser account for the administration of the Django application. Run the following command from your Django application directory.
python3 manage.py createsuperuser
Step 5 – Run Django Application
A new Django application is ready to use. By default, Django doesn’t allow external hosts to access the web interface. To allow external hosts, edit settings.py file and add IP under ALLOWED_HOSTS.
vi django_app/settings.py
Add IP:
ALLOWED_HOSTS = ['192.168.1.239']
Here 192.168.1.239 is the IP address of the system where Django is installed.
Finally, run the Django application server with the below command. Here 0.0.0.0:8000 defined that Django will listen on all interfaces on port 8000. You can change this port with any of your choices.
python3 manage.py runserver 0.0.0.0:8000
Step 6 – Manage Firewalld
The system with an active firewall needs to open port to access Django over the network. Run the following commands to allow port 8000 for public users.
firewall-cmd --permanent --add-port=8000/tcp
firewall-cmd --reload
Step 7 – Access Django in Browser
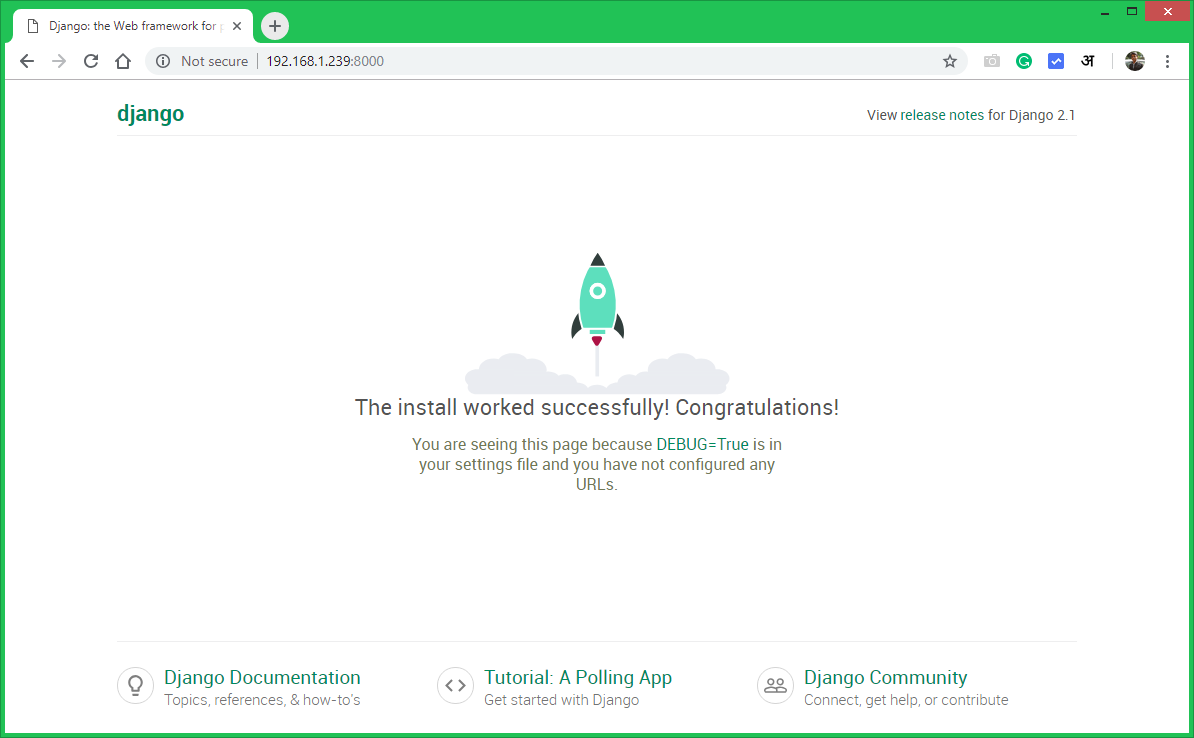
The Django application server is running now. Open your favorite web browser and access to Django system IP on port 8000. This will show you the default Django web page.
http://192.168.1.239:8000
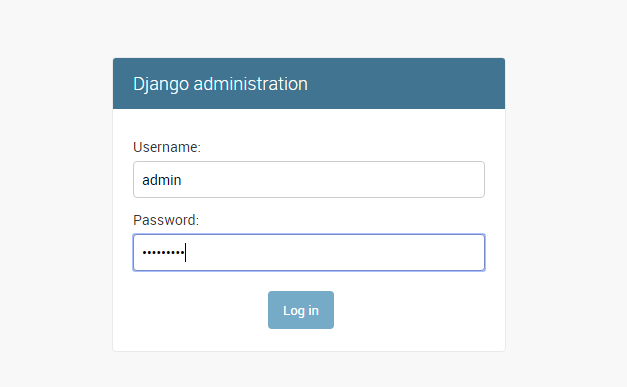
Django also provides an administrative web interface. You can access this at /admin subdirectory URL of your Django application. Use superuser login credentials created in the previous step.
http://192.168.1.239:8000/admin
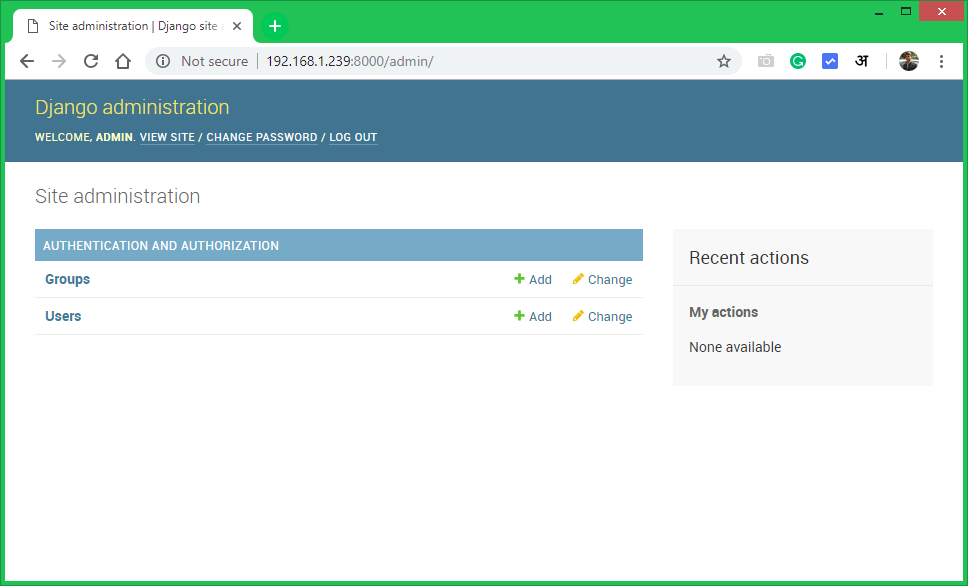
The Django admin dashboard looks like below. Here you can add more users and groups for your application.
Conclusion
You have successfully installed Django and created a sample application on your CentOS 8 or RHEL 8 Linux system.




1 Comment
What a fantastic post!!
I just read this post. It provided me a clear understanding of how to install Django on centos8.
Really a piece of good information you have shared which is very helpful for all beginners of the technology management people. I appreciate the fact that you have explained all the information in a simple manner.
Thanks for sharing such a valuable post.