Golang, or Go is a powerful and efficient programming language favored for its simplicity and high performance. Whether you’re a seasoned developer or just starting out, learning Go can significantly enhance your coding repertoire.
This tutorial will provide step-by-step instructions to install Golang on macOS. Tailored for both beginners and experienced users, this guide aims to simplify the installation process, ensuring you have Go up and running on your macOS system with ease. From downloading the latest version of Go to configuring your environment, each step is designed to make your installation journey smooth and hassle-free.
Prerequisites
Before diving into the installation and configuration of Golang on macOS, it’s important to ensure that your system meets the following prerequisites:
- macOS Version: Ensure that your macOS is version 10.10 or later. Golang supports these versions, providing optimal performance and compatibility.
- Administrator Access: You will need administrator privileges on your macOS system to successfully install Golang. This is necessary for executing certain commands and modifying system files.
- Terminal Knowledge: Basic familiarity with using the macOS terminal is recommended. Commands for installing and configuring Golang are executed in the terminal.
- Internet Connection: A stable internet connection is required to download Golang and any additional tools or editors, such as Visual Studio Code.
Step 1: Downloading Golang on macOS
Begin your journey into the world of Go programming by downloading the latest version of Golang. For macOS users, navigate to the official Go download page. Here, you’ll find the specific download link for Apple macOS, compatible with macOS 10.10 and later versions, exclusively supporting 64-bit systems. The current release, Go 1.23, is tailored for modern macOS systems.
Alternatively, for advanced users, Golang 1.23 can be acquired directly using the curl command:
curl -o golang.pkg https://go.dev/dl/go1.23.6.darwin-amd64.pkg
Step 2: How to Install Golang on macOS
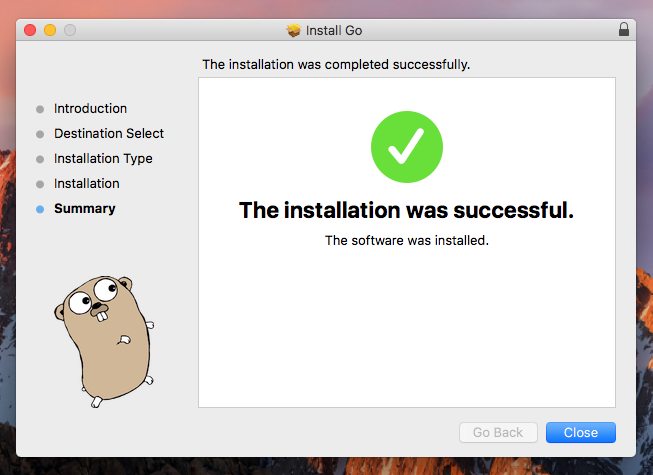
After downloading the Go package for macOS, installation is a breeze. For a GUI-based approach, simply double-click the downloaded file to initiate the user-friendly installation wizard.
For command-line enthusiasts, the installation can be started with the following command:
sudo open golang.pkg
Complete the installation by following the straightforward on-screen instructions.
Step 3: Setting Up Your Go Workspace on macOS
To optimize Go’s functionality on your macOS system, it is vital to set up the GOROOT and GOPATH environment variables. The GOROOT variable indicates the directory where Go is installed, and GOPATH serves as your designated workspace for Go projects.
Incorporate the following lines into your ~/.bashrc or ~/.zshrc file, based on the shell you are using:
export GOROOT=/usr/local/go
export GOPATH=$HOME/go
export PATH=$GOPATH/bin:$GOROOT/bin:$PATH
By adding these lines, you establish the necessary environment variables, integrating Go efficiently with your macOS system’s environment. To activate these changes, you need to source the file you’ve edited. Use the appropriate command based on your shell:
- If you edited ~/.bashrc (for Bash users):
source ~/.bashrc - If you edited ~/.zshrc (for Zsh users):
source ~/.zshrc
This step is critical for ensuring that your shell recognizes the Go installation and workspace configurations, laying the foundation for a seamless Go development experience on macOS.
Step 4: Installing Go Dependency Management Tool
For efficient Go application development, consider installing the Go dependency management tool, govendor. This tool streamlines managing your Go project’s dependencies.
Install govendor using:
go get -u github.com/kardianos/govendor
This step enhances your capability to manage Go packages seamlessly.
Step 5: Verifying Go Installation on macOS
Upon successful installation and configuration of Go on your macOS system, verify the installation by checking the Go version installed. Simply execute:
go version
This command will display the current Go version, confirming a successful setup, such as go1.23. darwin/amd64.
Conclusion
Congratulations! You have successfully installed and configured Go on your macOS system. With Golang now set up, you’re all set to delve into the world of Go programming. You can use any text editor of your choice for development in Go. For an enhanced coding experience, you might consider installing a more advanced code editor.
One highly recommended option is Visual Studio Code, a powerful and versatile editor that supports Go among many other languages. It’s user-friendly and comes with a range of extensions and tools specifically designed for Go development, making coding in Go more efficient and enjoyable.


1 Comment
Thank you sir!