If you’re looking to create a mobile app, Ionic Framework is a powerful and popular option that can help you build cross-platform applications with ease. In this article, we’ll walk you through a step-by-step guide to installing and getting started with Ionic Framework on Linux Mint.
Step 1: Install Node.js and NPM
Before installing Ionic Framework, you’ll need to install Node.js and NPM. These are required for running the framework. To install them, open the terminal on your Linux Mint system and run the following commands to install Node.js and NPM:
sudo apt-get install python-software-propertiescurl -sL https://deb.nodesource.com/setup_16.x | sudo -E bash -sudo apt-get install nodejs npm
To verify the installation, run the following commands:
node -vnpm -v
These commands will display the versions of Node.js and NPM installed on your system.
Step 2: Install Ionic Framework
After installing Node.js and NPM, you can proceed to install Ionic Framework. To install Ionic, follow these steps:
- Open the Terminal on your Linux Mint system.
- Run the following command to install the Ionic CLI:
npm install -g @ionic/cli - To verify the installation, run the following command:
ionic --versionThis command will display the version of Ionic installed on your system.
Step 3: Create a New Ionic Project
After installing Ionic Framework, you can create a new project using the following steps:
- Open the Terminal on your Linux Mint system.
- Navigate to the directory where you want to create your new project.
- Run the following command to create a new Ionic project:
ionic start myApp blankThis command will create a new Ionic project with the name “myApp” and the “blank” template.
- Navigate to the newly created project directory by running the following command:
cd myApp
Step 4: Run the Ionic App
After creating a new Ionic project, you can run the app using the following steps:
- Open the Terminal on your Linux Mint system.
- Navigate to the directory of your Ionic project.
- Run the following command to start the app in the browser:
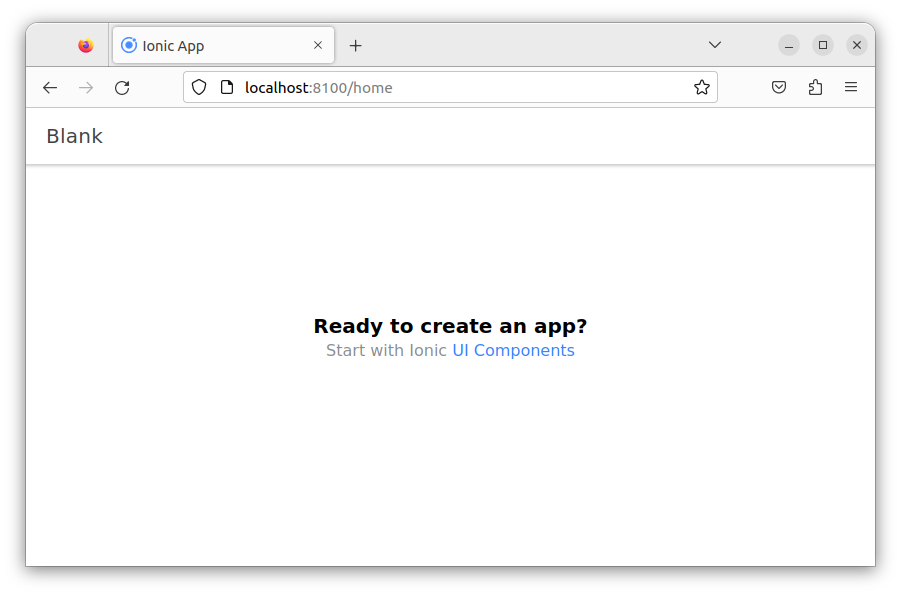
ionic serveThis command will compile and start your app in the default browser.
The default application will listen on localhost:8100. You can access this directly in a web browser.
Congratulations! You have successfully installed and created your first Ionic project on Linux Mint.
Conclusion
Ionic Framework is a powerful and popular option for building cross-platform mobile applications. In this article, we walked you through a step-by-step guide to installing and getting started with Ionic Framework on Linux Mint. With these basic steps, you can start building your own mobile applications with ease.
1 Comment
Could you please address the OpenJDK/ JDK 1.8 vs 11 Issue?