Tasksel is a command line utility for Debian based systems for installing a group of packages used for specific tasks. Tasksel provides a number of group packages to configure your server quickly like “LAMP Server”, “DNS Server”, “Mail Server” and “Tomcat Java server” etc. This article will help you to install tasksel and then install LAMP quickly using tasksel on Debian, Ubuntu and LinuxMint operating systems.
Install Tasksel
The tasksel package is available under default repositories on most of Ubuntu, Debian, and LinuxMint operating systems. Use the following command to install it.
sudo apt-get install tasksel
Install LAMP using Tasksel
After installing tasksel package on your system, let’s install LAMP setup on your Ubuntu, Debian, and LinuxMint system. Execute tasksel command in the terminal with sudo access to install lamp-server.
sudo tasksel install lamp-server
Setup will be completed within few minutes. The MySQL server is installed without any password configured for the root user. You can simply access MySQL without any password.
Then execute the below command to set a new password and secure MySQL installation through a command line wizard.
sudo mysql_secure_installation
Securing the MySQL server deployment.

Connecting to MySQL using a blank password.

VALIDATE PASSWORD PLUGIN can be used to test passwords
and improve security. It checks the strength of password
and allows the users to set only those passwords which are
secure enough. Would you like to setup VALIDATE PASSWORD plugin?

Press y|Y for Yes, any other key for No: y

There are three levels of password validation policy:

LOW    Length >= 8
MEDIUM Length >= 8, numeric, mixed case, and special characters
STRONG Length >= 8, numeric, mixed case, special characters and dictionary file

Please enter 0 = LOW, 1 = MEDIUM and 2 = STRONG: 1
Please set the password for root here.

New password: **********
Re-enter new password: **********

Estimated strength of the password: 100
Do you wish to continue with the password provided?(Press y|Y for Yes, any other key for No) : y
By default, a MySQL installation has an anonymous user,
allowing anyone to log into MySQL without having to have
a user account created for them. This is intended only for
testing, and to make the installation go a bit smoother.
You should remove them before moving into a production
environment.

Remove anonymous users? (Press y|Y for Yes, any other key for No) : y
Success.

Normally, root should only be allowed to connect from
'localhost'. This ensures that someone cannot guess at
the root password from the network.

Disallow root login remotely? (Press y|Y for Yes, any other key for No) : y
Success.

By default, MySQL comes with a database named 'test' that
anyone can access. This is also intended only for testing,
and should be removed before moving into a production
environment.

Remove test database and access to it? (Press y|Y for Yes, any other key for No) : y
 - Dropping test database...
Success.

 - Removing privileges on test database...
Success.

Reloading the privilege tables will ensure that all changes
made so far will take effect immediately.

Reload privilege tables now? (Press y|Y for Yes, any other key for No) : y
Success.

All done!
Test LAMP Stack
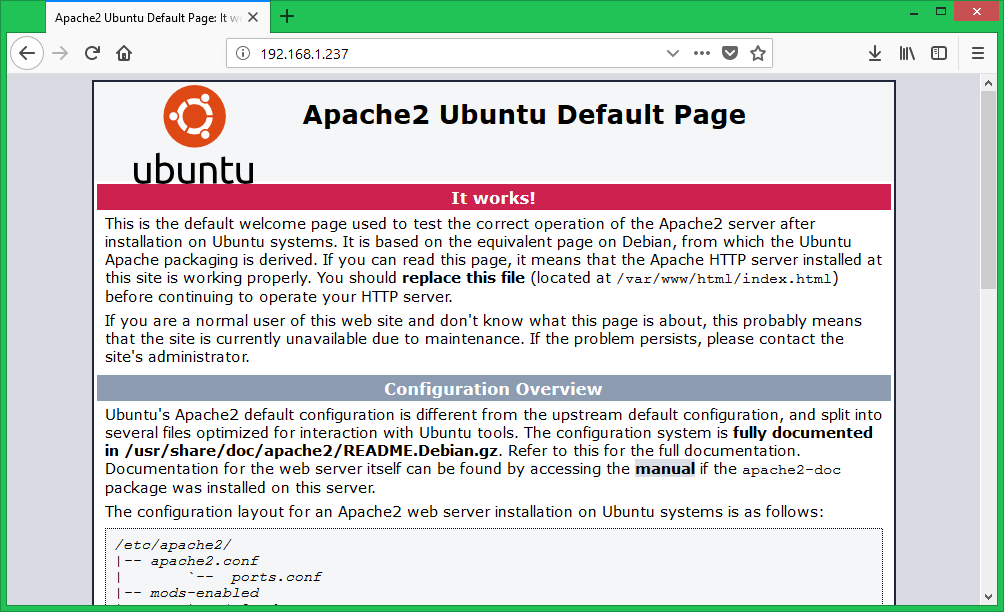
Congratulation’s your LAMP setup has completed. To verify open your web browser and access localhost. You will see a screen like below. It showing that Apache is working fine.
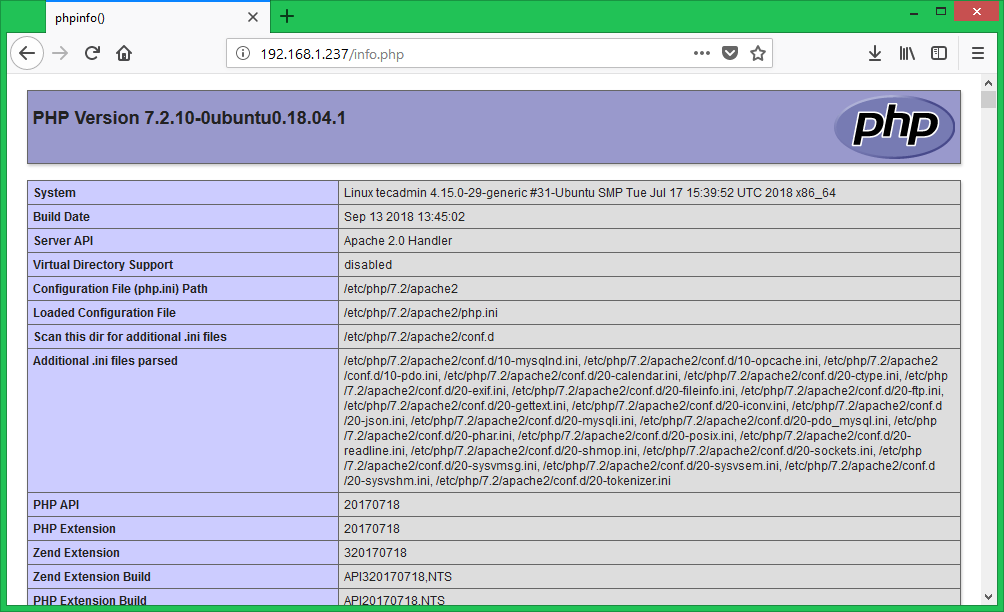
Now create a PHP script in your web server document root. For example: /var/www/html/info.php and add the phpinfo() function to show details about PHP.
1 2 3 | <?php phpinfo(); ?> |
Then access this file in a browser, You will get something like below screen.
This article has been tested with Ubuntu 18.04 LTS operating system.


9 Comments
Thank you, this tutorial helps me a lot
hi
I used the sudo mysql_secure_installation, however when creating database user and password the error i came across was… Your password does not satisfy the current policy requirements
Hi Rahul, thank you for the article. just one thing, should the url for the php info not be phpinfo.php?
Great article. very informative and useful post.
“sudo tasksel lamp-server” should be “sudo tasksel install lamp-server”
Thanks Mubarak,
I have corrected the command.
Pleasant Article. MySQL 8.0 executes a totally new information lexicon. Percona Server will get it fine and dandy, while for MariaDB the selection would be tricky, given how behind it is with MySQL similarity.
Hi Rahul, Thank you for writing this useful topic. I tried to install LAMP in ubuntu in my laptop, but it did not ask me for the password. Apache is installed and I can get http://localhost successfully, But I am not able to login to mysql using MySQL Workbench as its denying root access. What can I do now? Any idea?
It may be no password is set for the root user on mysql. Try running:
sudo mysql_secure_installation