Laravel is an open-source PHP web framework, designed for the faster development of web applications. It is based on the Symfony framework, follows the model–view–controller architectural pattern. At the time of writing this tutorial, Laravel 8 is the latest stable version available.
The Laravel comes with a powerful command-line utility known as Artisan. Which is useful to perform multiple command-line operations.
This guide will help you to set up a new Laravel application on a Ubuntu Desktop system.
Step 1 – Set Up LAMP Stack
First of all, you need to set up the LAMP stack on your Ubuntu system. Laravel required PHP 7.2.5 or higher version to be installed. Follow the below instructions to install all required packages and services on your system.
Install PHP
sudo apt install zip unzip software-properties-commonsudo add-apt-repository ppa:ondrej/phpsudo apt install -y php7.4 php7.4-gd php7.4-mbstring php7.4-xml php-zip
Apache2
sudo apt install apache2 libapache2-mod-php7.4
Install MySQL
sudo apt install mysql-server php7.4-mysql
You also need to to MySQL post installation instructions. Use this tutorial to find more details about MySQL installation.
Step 2 – Installing Composer
PHP Composer is used to installing required dependencies for the PHP application. Execute the following commands to install and configure Composer on your system.
curl -sS https://getcomposer.org/installer | phpsudo mv composer.phar /usr/local/bin/composersudo chmod +x /usr/local/bin/composer
Step 3 – Download and Install Laravel
The latest Laravel version is available under the Github repository. Use the below command to clone the master branch of the Laravel from the GitHub repository.
cd /var/wwwgit clone https://github.com/laravel/laravel.git
Switch to the laravel directory and use the composer to install all dependencies required for the Laravel framework.
cd /var/www/laravelsudo composer install
The dependencies installation may take some time as per your network speed. After successfully installing all dependencies, set the proper permissions on all files.
chown -R www-data.www-data /var/www/laravelchmod -R 755 /var/www/laravelchmod -R 777 /var/www/laravel/storage
Step 4 – Create Environment Settings
Next, create the Laravel environment confiugration file. You can do it by renaming the .evn.example file to .env. This will use to setup application environment for the project.
mv .env.example .env
Now generate base64 random number encryption key, which used by the Illuminate encrypter service.
php artisan key:generate

Application key set successfully.
Edit the .env configuration file and update the required settings. Also, make sure APP_KEY is properly set as generated in the above command.
sudo nano .env
APP_NAME=Laravel
APP_ENV=local
APP_KEY=base64:HFdS7c9rhDp+AeHu7kc2OLBPuxHqq2BQ/1gfFWEpoAk=
APP_DEBUG=true
APP_URL=http://localhost
...
You can also change the APP_NAME with the name of your application and APP_URL to the URL you need to access your Laravel application.
Step 5 – Create MySQL User and Database
Next, create a MySQL database for your Laravel application. Also, create a MySQL user to connect the database from the Laravel application. Login to your MySQL server and create MySQL database and user by running the following commands.
1 2 3 4 5 | CREATE DATABASE laravel; CREATE USER 'laravel'@'localhost' IDENTIFIED BY 'secret'; GRANT ALL ON laravel.* to 'laravel'@'localhost'; FLUSH PRIVILEGES; quit |
Now edit the .env file and update database settings.
DB_CONNECTION=mysql
DB_HOST=127.0.0.1
DB_PORT=3306
DB_DATABASE=laravel
DB_USERNAME=laravel
DB_PASSWORD=secret
Step 6 – Apache Configuration
Next, edit Apache default virtual host configuration file (ie: 000-default.conf) and update Document Root to the Laravel public directory as below:
vim /etc/apache2/sites-enabled/000-default.conf
Update the configuration like below:
<VirtualHost *:80>

        ServerAdmin webmaster@localhost
        DocumentRoot /var/www/laravel/public

        <Directory />
                Options FollowSymLinks
                AllowOverride None
        </Directory>
        <Directory /var/www/laravel>
                AllowOverride All
        </Directory>

</VirtualHost>
Reload Apache configuration changes by restarting the service using the below command
sudo systemctl restart apache2
Step 7 – Access Laravel Application
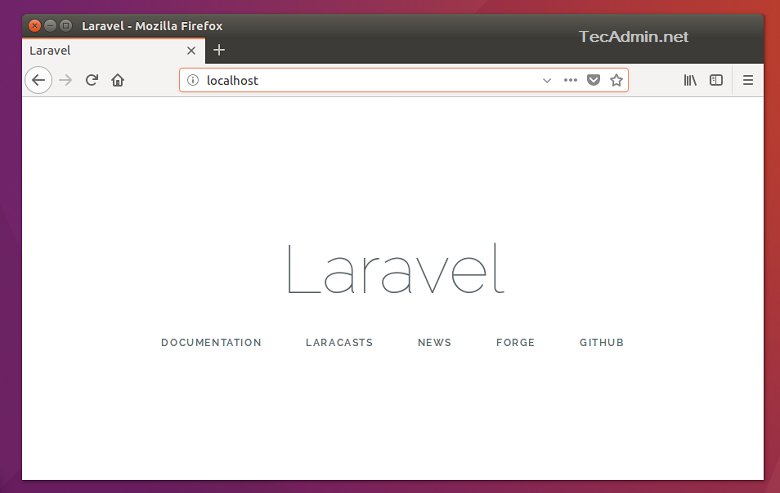
You have successfully configured the Laravel 8 PHP framework on your system. Access Laravel application in your favorite web browser
Let’s start building an awesome application using the latest Laravel PHP Framework.
Conclusion
This tutorial explained to you to create a new Laravel application. Also provided you with steps to configure the Laravel application with Apache webserver.


