Facebook Twitter Instagram
    TecAdmin
    • Home
    • Ubuntu 20.04
      • Upgrade Ubuntu
      • Install Java
      • Install Node.js
      • Install Docker
      • Install LAMP Stack
    • Tutorials
      • AWS
      • Shell Scripting
      • Docker
      • Git
      • MongoDB
    • FeedBack
    • Submit Article
    • About Us
    Facebook Twitter Instagram
    TecAdmin
    Home»Applications»How to Install NetBeans on Ubuntu 18.04

    How to Install NetBeans on Ubuntu 18.04

    RahulBy RahulNovember 4, 20202 Mins Read

    NetBeans is a popular IDE for the Java application development. Which allows applications to be developed from a set of modular software components called modules. NetBeans is available to run on popular operating systems like Windows, macOS, Linux and Solaris systems.

    A snap package is available for the NetBeans installation on Ubuntu 18.04 Linux system.

    This tutorial will help you to install NetBeans IDE on your Ubuntu 18.04 Desktop system using snap package.

    Prerequisites

    Login to your Ubuntu 18.04 Desktop system with sudo privileged account. Then launch a terminal on your system.

    Step 1 – Installing Java

    You must have Java installed on your system to run NetBeans IDE. If you don’t have Java installed on your Ubuntu system, use the following commands to install Java.

    sudo apt update 
    sudo apt install default-jdk 
    

    Step 2 – Install NetBeans on Ubuntu 18.04

    Use snap package to install NetBeans IDE on your Ubuntu Desktop system. The latest Ubuntu system have default Snapd daemon installed.

    You can install snapd (if not available) by executing the following command:

    sudo apt install snapd 
    

    Then run the following command to install Netbeans IDE using snap package

    sudo snap install netbeans --classic 
    

    On successful installation, you will see the below output:

    netbeans 12.1 from Apache NetBeans* installed
    

    All done, You have installed NetBeans on your Ubuntu system.

    Step 3 – Running NetBeans IDE

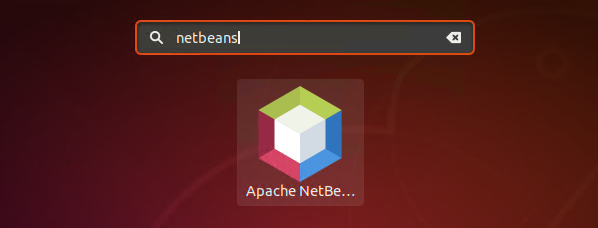
    Search for the NetBeans under the applications. You will see the NetBeans launcher icon like below screenshot. Click on launcher button to start.

    Launch NetBeans on Ubuntu 18.04

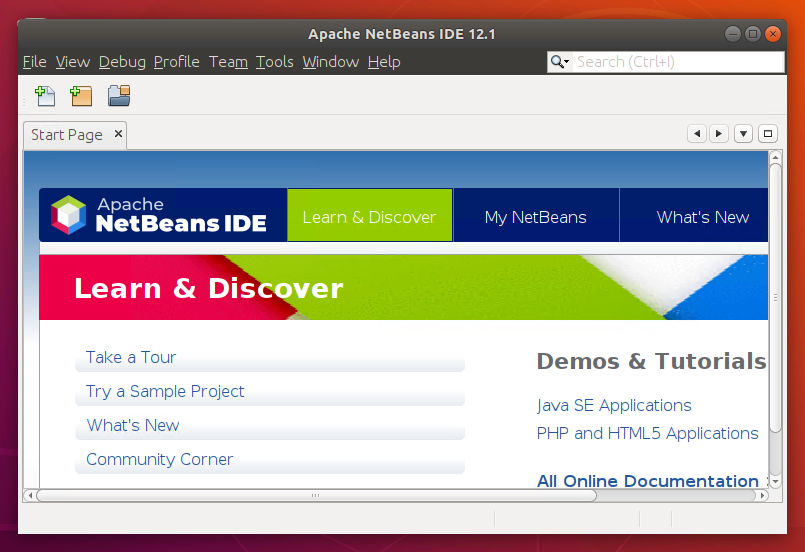
    Netbeans will be started on your Ubuntu system.

    Installing NetBeans on Ubuntu 18.04

    Step 4 – Removing NetBeans from System

    If you no more needed NetBeans IDE on your system. Use the following command to remove it from your Ubuntu system.

    sudo snap remove netbeans 
    

    Conclusion

    In this tutorial, you have learned to install NetBeans on Ubuntu 18.04 Linux system using Snap package.

    IDE Netbeans
    Share. Facebook Twitter Pinterest LinkedIn Tumblr Email WhatsApp
    Previous ArticleHow to Install Visual Studio Code on Ubuntu 18.04
    Next Article How to Install Notepad++ on Ubuntu 18.04

    Related Posts

    10 Best Linux Screen Recording Tools in 2022

    Updated:May 5, 20228 Mins Read

    10 Best Open Source Linux Code Editors

    Updated:September 24, 20216 Mins Read

    How to Install Facebook Messenger on Ubuntu 21.04 & 20.04

    2 Mins Read

    How to Install NetBeans IDE 12 on Fedora 35/34

    Updated:May 16, 20224 Mins Read

    How To Install TeamViewer on Fedora 35/34

    Updated:February 15, 20222 Mins Read

    How to Install PyCharm on Debian 10

    2 Mins Read

    Leave A Reply Cancel Reply

    Recent Posts
    • How to Enable / disable Firewall in Windows
    • How to Install JAVA on Ubuntu 22.04
    • Switching Display Manager in Ubuntu – GDM, LightDM & SDDM
    • Changing the Login Screen Background in Ubuntu 22.04 & 20.04
    • How To Install PHP (8.1, 7.4 or 5.6) on Ubuntu 22.04
    Facebook Twitter Instagram Pinterest
    © 2022 Tecadmin.net. All Rights Reserved | Terms  | Privacy Policy

    Type above and press Enter to search. Press Esc to cancel.