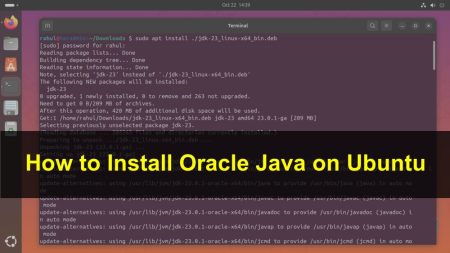
This tutorial will help to install
Step 1 – Search OpenJDK Packages
OpenJDK packages are available under native apt repositories. You can simply use
apt-cache search openjdk
As per above output, you can see
Step 2 – Install JAVA (OpenJDK)
Use the below command to install OpenJDK on your Debian based systems using the package manager from the default repository. The below commands will install Java Development Kit (JDK) and Java Runtime Environment (JRE) both on your system. You can install JRE package only to setup Runtime Environment only.
OpenJDK 11
sudo apt-get install openjdk-11-jre openjdk-11-jdk
OpenJDK 8
sudo apt-get install openjdk-8-jre openjdk-8-jdk
Step 3 – Configure Default Java Version
After installation of Java uses below command to verify the installed version of Java on your system.
java -version

openjdk version "11.0.4" 2019-07-16 LTS
OpenJDK Runtime Environment 18.9 (build 11.0.4+11-LTS)
OpenJDK 64-Bit Server VM 18.9 (build 11.0.4+11-LTS, mixed mode, sharing)
Step 4 – Set JAVA_HOME
Its the best practice to set Java environment variable after installing java. To setup JAVA_HOME add following line to /etc/environment file, Path may be differ with your system architecture.
echo "JAVA_HOME=/usr/lib/jvm/java-11-openjdk-amd64/" >> /etc/environment
source /etc/environment
Use the following command to check the environment value
echo $JAVA_HOME

/usr/lib/jvm/java-11-openjdk-amd64/


7 Comments
What if apt-cache search openjdk doesn’t show any results for openjdk-11?
Quite nice and simple.
Thanks
Thank you for the information.
I’m a Debian user, and this command “update-alternatives –config java” instead “Step 4” work fine for me, always as root user.
I hope my comment can help some one.
Sorry my english, I’m novice.
Thanks Gomez
Thanks! very helpful.
Really needed some briej introducton installing openjdk!
not bad
Thanks