OpenSSH is a set of tools that lets you have secure, encrypted communication over a network using SSH. It includes features for secure remote login, file transfer, and tunneling of applications. OpenSSH is commonly used on Linux systems for secure remote access and file transfers. It is highly reliable and trusted by many users around the world for its strong security measures. In this guide, we will show you how to install or update the OpenSSH server on Ubuntu, Linux Mint, and other Debian-based systems. This will allow you to manage your servers remotely with confidence and ensure your data is protected during transmission.
Step 1: Update Your System
Before installing or updating the OpenSSH server, make sure your system packages are up-to-date. Run these commands:
sudo apt updatesudo apt upgrade
Step 2: Install the OpenSSH Server
To install the OpenSSH server on your Ubuntu or Debian system, use this command:
sudo apt install openssh-server
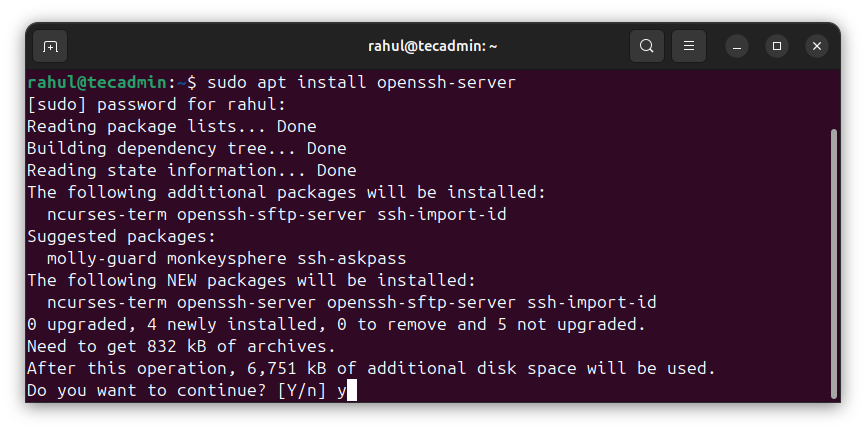
This will download and install the OpenSSH server package and its dependencies.
Step 3: Verify the OpenSSH Server Installation
After the installation, check if the OpenSSH server is running with this command:
sudo systemctl status ssh
You should see output indicating that the OpenSSH server is active and running:
Output:● ssh.service - OpenBSD Secure Shell server Loaded: loaded (/usr/lib/systemd/system/ssh.service; disabled; preset: enabled) Active: active (running) since Tue 2024-05-21 14:43:12 IST; 18min ago TriggeredBy: ● ssh.socket Docs: man:sshd(8) man:sshd_config(5) Process: 5470 ExecStartPre=/usr/sbin/sshd -t (code=exited, status=0/SUCCESS) Main PID: 5471 (sshd) Tasks: 1 (limit: 5124) Memory: 3.4M (peak: 4.3M) CPU: 79ms CGroup: /system.slice/ssh.service └─5471 "sshd: /usr/sbin/sshd -D [listener] 0 of 10-100 startups" May 21 14:43:11 tecadmin systemd[1]: Starting ssh.service - OpenBSD Secure Shell server... May 21 14:43:12 tecadmin sshd[5471]: Server listening on :: port 22. May 21 14:43:12 tecadmin systemd[1]: Started ssh.service - OpenBSD Secure Shell server.
Step 4: Configure the OpenSSH Server
To configure the OpenSSH server, edit the sshd_config file located in the /etc/ssh/ directory. Open the file with this command:
sudo nano /etc/ssh/sshd_config
Here are some common settings you might want to change:
- Port: The default port is 22. You can change it to a different port number for extra security.
- PermitRootLogin: For security, it’s best to disable root login by setting this to no.
- PasswordAuthentication: If you prefer public key authentication, set this to no.
- AllowUsers: To restrict SSH access to specific users, add their usernames here, separated by spaces, e.g., AllowUsers user1 user2.
After making changes, save and close the file. Apply the new settings by restarting the OpenSSH server with this command:
sudo systemctl restart ssh
Step 5: Configure the Firewall (Optional)
If you have a firewall enabled, you need to allow SSH connections. For Ubuntu and Debian systems using UFW, run this command:
sudo ufw allow ssh
If you changed the SSH port in Step 4, use the new port number, e.g., sudo ufw allow 2222/tcp.
Step 6: Test the SSH Connection
To test your SSH connection, open a new terminal on your local machine or another system in the same network. Use this command:
ssh username@your_server_ip_address
Replace username with your system’s username and your_server_ip_address with the IP address of the system where the OpenSSH server is installed.
If you changed the SSH port in Step 4, add the -p flag followed by the new port number, e.g., ssh -p 2222 username@your_server_ip_address.
You will be asked to enter your password or the passphrase for your private key if using public key authentication. After entering it, you will be connected to the remote system via SSH.
Step 7: Update the OpenSSH Server (Optional)
To update the OpenSSH server to the latest version, use the standard package update procedure. Run these commands:
sudo apt updatesudo apt upgrade
After updating, restart the OpenSSH server to apply the changes:
sudo systemctl restart ssh
Conclusion
This guide shows you how to install or update the OpenSSH server on Ubuntu and Debian-based systems. By following these steps, you have successfully installed, configured, and tested the OpenSSH server. With OpenSSH, you can securely access and manage your Linux systems remotely, ensuring safe and encrypted communication over your network.

1 Comment
Hi: Rahul!
I’m running Mininet-VM on Oracle VirtualBox.
When I write “sudo systemctl status ssh” in the Mininet terminal window, it gives me the following error:
*sudo: systemctl: command not found*
so, please help me in this regard!
THANKS