Parse Server is an open source application written on node.js. It is used as Backend As A Service (BAAS) platform. It helps developers to build their mobile application’s backend.
Parse dashboard is another application built on node.js by the parse developers. It is an frontend web interface for managing backend parse server. You can add and manage multiple parse server from single dashboard.
This tutorial will help you to setup parse server and dashboard on CentOS Linux system.
Prerequisites
- Launched a CentOS 8 instance on Digitalocean.
- Setup a sudo privileged account and apply initial security by following initial server setup
- Login to instance via SSH as root account
Step 1 – Install Node.js
Parser server required Node.js to be installed on system. You can install Node.js from the offical yum repository. To configure yum repository execute:
dnf install -y gcc-c++ make
curl -sL https://rpm.nodesource.com/setup_12.x | sudo -E bash -
The run the following commands to install Node.js on your server.
sudo dnf install -y nodejs
Step 2 – Install Yarn
Yarn package is available to install with NPM repository. You can also install yarn using the dnf package manager utility. Execute below commands to add yarn repository to your system:
sudo rpm --import https://dl.yarnpkg.com/rpm/pubkey.gpg
curl -sL https://dl.yarnpkg.com/rpm/yarn.repo -o /etc/yum.repos.d/yarn.repo
Then install yarn using the dnf command:
sudo dnf install yarn --disablerepo=AppStream
Step 3 – Install MongoDB
Add the following content in yum repository configuration file mongodb.repo as per your required MongoDB version and system architecture. For this article, we are using MongoDB 4.2 repository.
sudo vi /etc/yum.repos.d/mongodb.repo
[MongoDB]
name=MongoDB Repository
baseurl=http://repo.mongodb.org/yum/redhat/$releasever/mongodb-org/4.2/$basearch/
gpgcheck=1
enabled=1
gpgkey=https://www.mongodb.org/static/pgp/server-4.2.asc
Save you file and close.
Now install Mongodb server by running the following command.
sudo dnf install mongodb-org
Step 4 – Install Parse Server
You have installed required packages on your system. The Parse server package is available under the global repository. you can install it using the yarn package manager. To install it type:
yarn global add parse-server
Next create a configuration file for your Parse server. Where you can define attributes of the parse server. Create a configuration file and edit in your favorite text editor:
nano config.json
Then, add the following content to the file:
{
  "appName": "My Parse Server",
  "databaseURI": "mongodb://localhost:27017/dev",
  "appId": "KSDJFKDJ9DKFDJDKF",
  "masterKey": "KJDF89DFJ3H37JHFJDF8DFJDF",
  "serverURL": "https://localhost:1337/parse",
  "publicServerURL": "https://0.0.0.0:1337/parse",
  "port": 1337
}
Configuration details:
Save your file. Next run the parse server with nohup command. Also run it as background process.
nohup parse-server config.json &
Your parse server is running now.
Step 5 – Install Parse Dashboard
The Parse development team, also provides a web interface to access Parse server called Parse-dashboard. Which is also available as node module. Use below command to install parse-dashboard:
yarn global add parse-dashboard
Next, create a configuration file for the parse dashboard. Edit file in a text editor:
nano parse-darshboard-config.json
And add the following content:
{
  "apps": [
    {
      "serverURL": "http://67.205.146.114:1337/parse",
      "appId": "KSDJFKDJ9DKFDJDKF",
      "masterKey": "KJDF89DFJ3H37JHFJDF8DFJDF",
      "allowInsecureHTTP": "true",
      "appName": "MyApp1"
    }
  ],
 "users": [
    {
      "user":"admin",
      "pass":"password"
    }
  ],
  "iconsFolder": "icons"
}
You can add multiple parse servers to your Parse dashboard. Add your parse server with serverURL. User the same appID and masterKey as you defined to your parse server.
Save your file and execute the following command to start parse dashboard.
nohup parse-dashboard --dev --config parse-darshboard-config.json &
The above command will start your parse server on port 4040.
Step 6 – Adjust FirewallD Rules
The systems have enabled firewalld, need to allow access on ports running Parse server. We are using the port 1337 for the parse server and 4040 for the dashboard. Execute the following commands to allow access for public users for Parse server. To open port type:
sudo firewall-cmd --permanent --zone=public --add-port=1337/tcp
sudo firewall-cmd --permanent --zone=public --add-port=4040/tcp
Apply the changes by running command:
firewall-cmd --reload
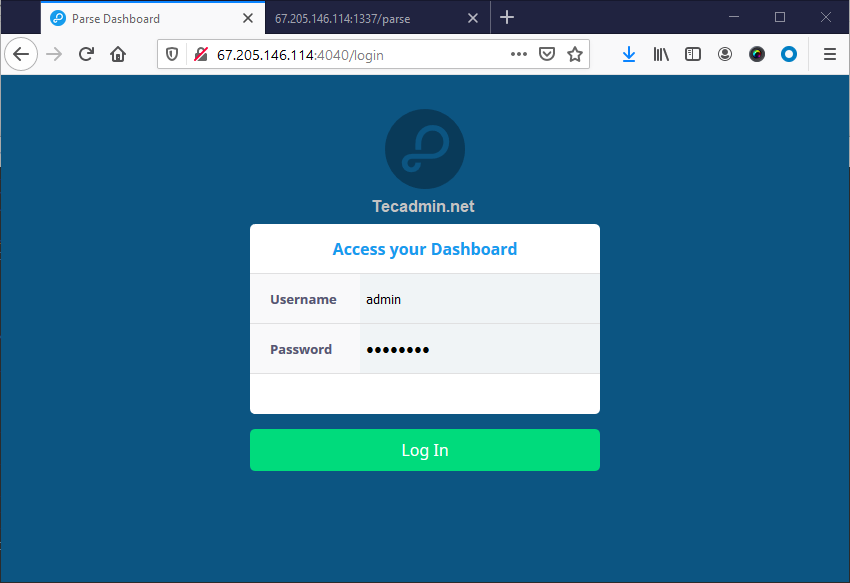
Step 7 – Access Parse Dashboard
Now, you can access your parse dashboard web interface by accessing your server on port 4040. Login to the dashboard username and password defined in parse dashboard configuration file (parse-darshboard-config.json).
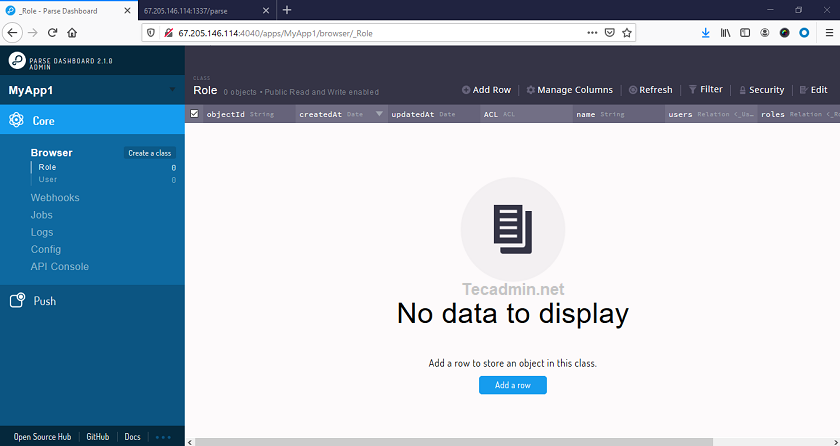
After login you will see the dashboard.
Conclusion
In this tutorial you learned about the installation of parse server and dashboard on CentOS system.


