WordPress is the most popular content management system. Its created with PHP programming language and uses MySQL as the backend database. This article will help you to install latest WordPress on LAMP environment on CentOS, RHEL & Fedora systems. For this tutorial, we assume that you already have LAMP setup on your system. If you do not have LAMP setup use below article to install it. Setup LAMP Stack on CentOS, RHEL and Fedora

Step 1 – Download Latest WordPress
These latest version of WordPress are always available here (.tar.gz) and here (.zip). You can download any files to your system. Use belwo command to download gzip file of latest WordPress to your system using the following command.
$ cd /var/www/html
$ wget https://wordpress.org/latest.tar.gz
Extract the downloaded archive to the document root of your domain and update permissions on files.
$ tar xzf latest.tar.gz
$ chown -R apache.apache wordpress
$ chmod -R 755 wordpress
Step 2 – Create MySQL Database and User
After extracting code we need to create a MySQL database and user account for configuring WordPress. Use following set of commands to create database and user after login with the privileged user.
# mysql -u root -p
1 2 3 4 | mysql> CREATE DATABASE wp_db; mysql> GRANT ALL ON wp_db.* to 'wp_user'@'localhost' IDENTIFIED BY '_secret_password_'; mysql> FLUSH PRIVILEGES; mysql> quit |
Step 3 – Configure Apache VirtualHost
Now the time is to create and configure apache configuration file and add a new virtual host for WordPress setup like below.
# vim /etc/httpd/conf/httpd.conf
Add following setting at end of file
<VirtualHost *:80>
    ServerAdmin webmaster@tecadmin.net
    DocumentRoot /var/www/html/wordpress
    ServerName svr1.tecadmin.net
    <Directory "/var/www/html/wordpress">
         Allowoverride All
     </Directory>
    ErrorLog logs/svr1.tecadmin.net-error_log
    CustomLog logs/svr1.tecadmin.net-access_log combined
</VirtualHost>
If you already have another virtual host created in the config file, make sure to enable NameVirtulHost for using multiple VirtualHosts.
Reload Apache service to read configuration file again.
$ systemctl restart httpd.service
Step 4 – Install Latest WordPress with Web Installer
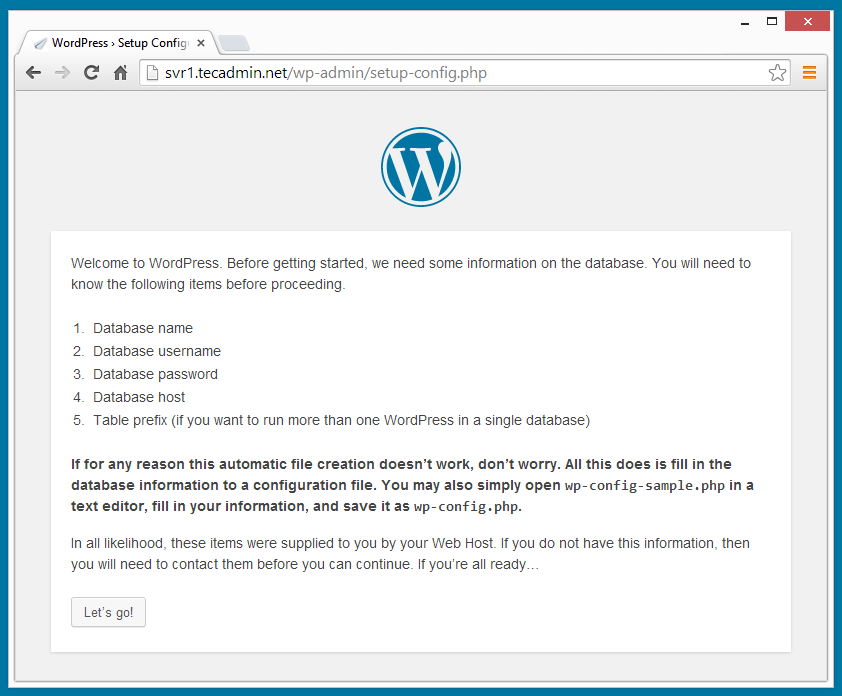
WordPress provides a web installer for easy to setup WordPress without editing files manually. After completing above steps just point your browser to your domain.
4.1. Open URL in Browser and Click on

4.2 In this step just click on
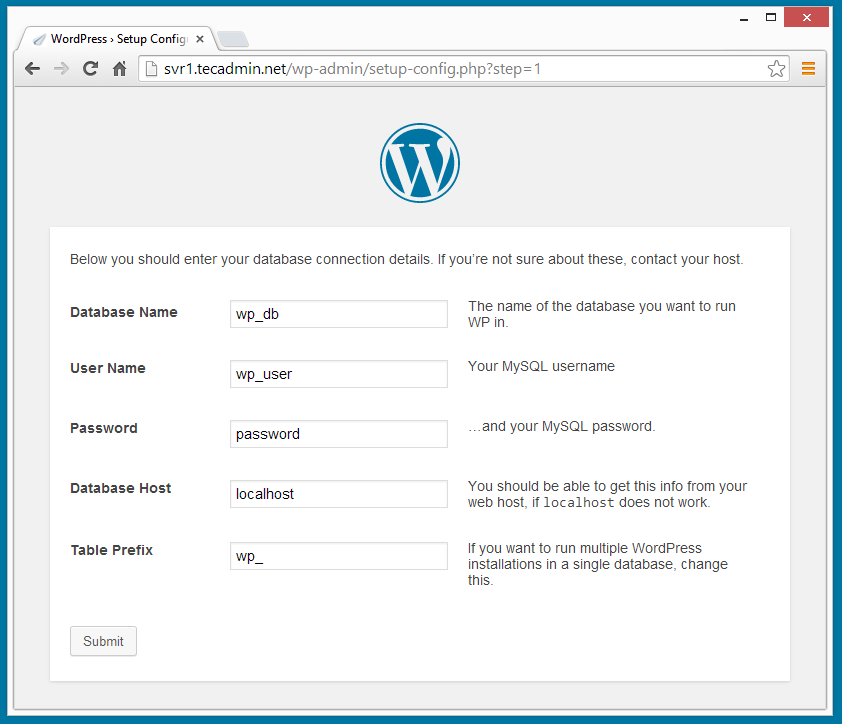
4.3. Fill the database details and click “
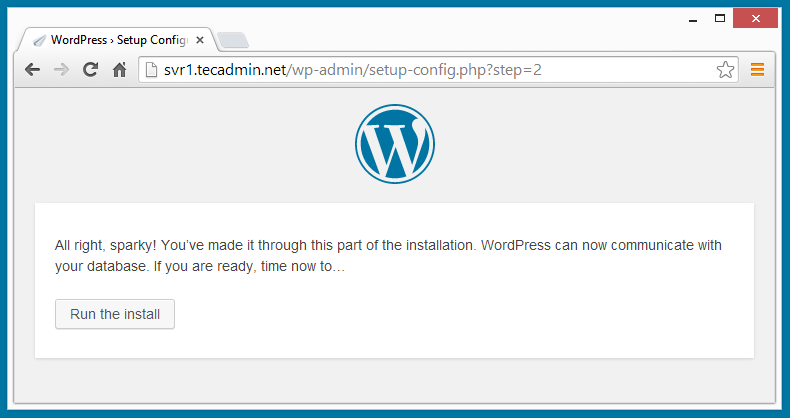
4.4 After submitting database details, click on “
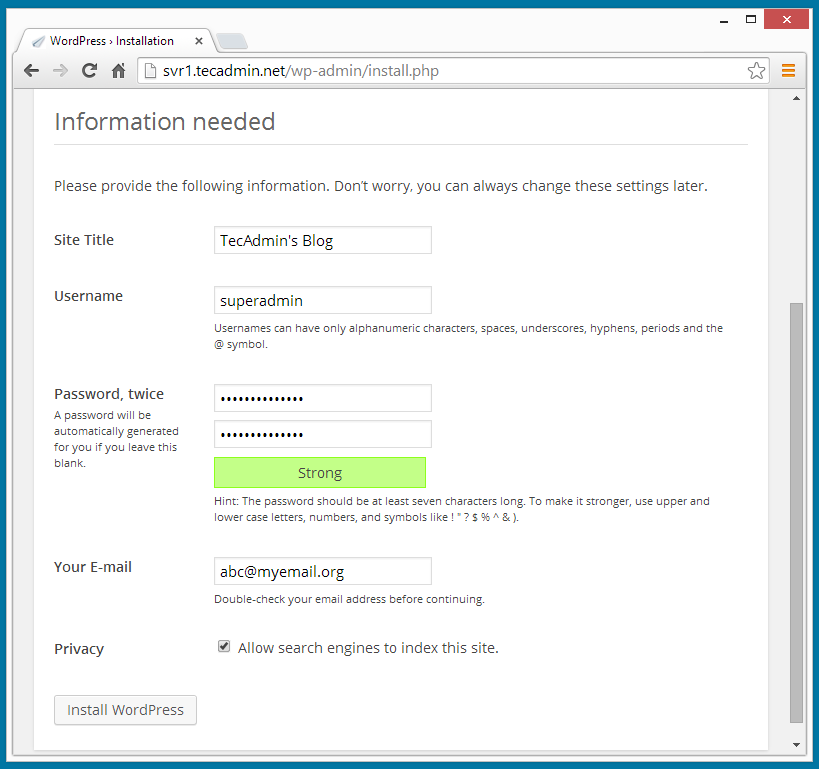
4.5 Enter following details for your WordPress Install and click on
- Blog Title
- Username of admin account (for security do not use as “admin”)
- Admin password ( twice )
- Email ID
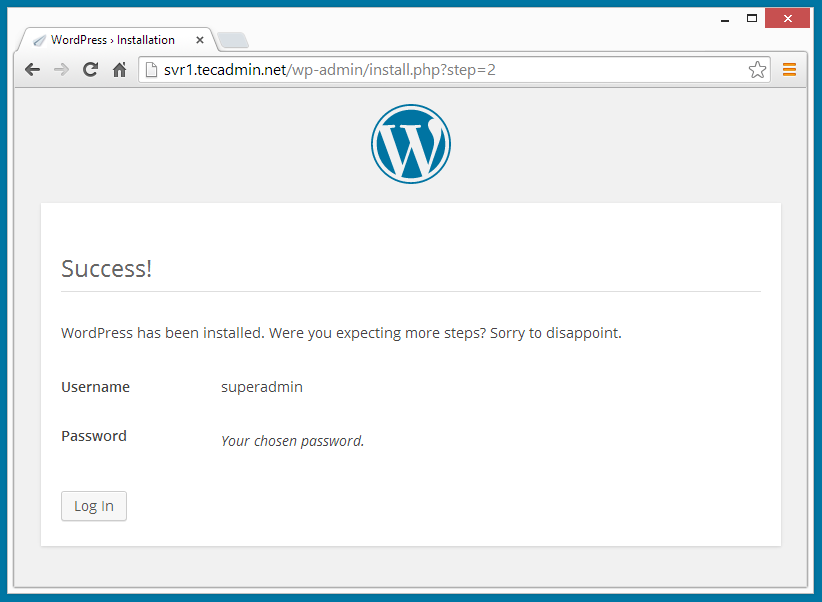
4.6 After completing above step, You have installed WordPress successfully, Now you will get WordPress success installation message.
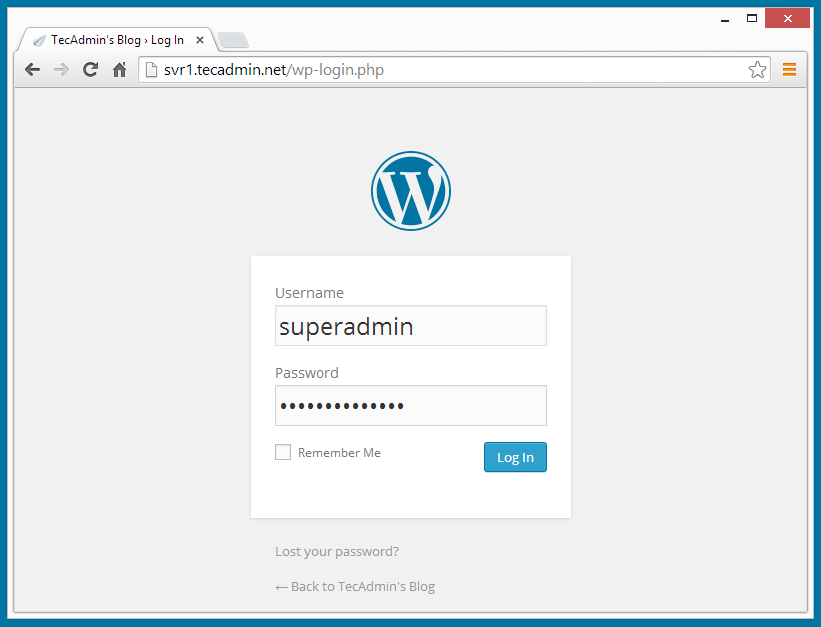
Step 5 – Login To WordPress Admin Panel
After completing installation, you will be redirected to admin panel login screen or you can open url in browser like below
http://svr1.tecadmin.net/wp-admin/
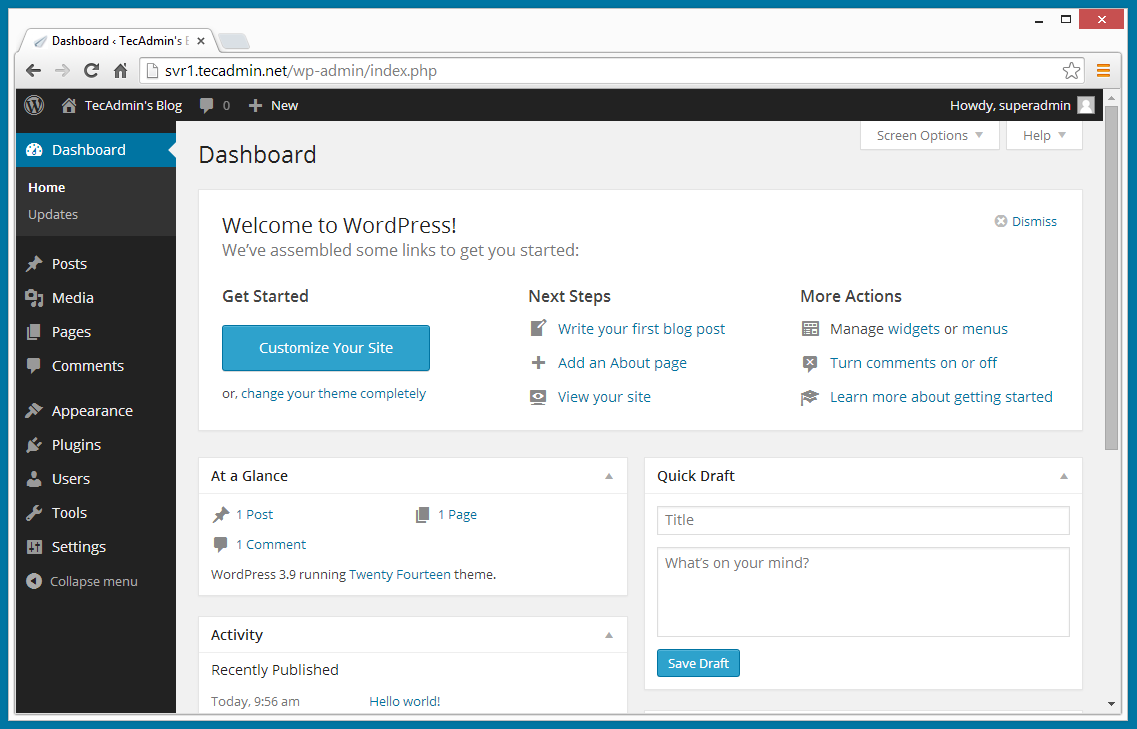
After entering correct login details, you will be redirected to WordPress admin dashboard. where you can create a beautiful blog and connect with the world.

8 Comments
Hi Rahul,
I’ve followed your steps and confirmed that the FastCGI module is enabled using the php_info file but I still can’t upload anything to WordPress… I’m getting the same error Evon was getting. Isn’t this suppose to make 755 work so that I don’t have to use an insecure 777???
Please confirm,
CP
Hey
i have every step but i get this error
Unable to create directory wp-content/uploads/2014/10. Is its parent directory writable by the server?
its my second installation. i have even changed the permission to 777. this is a local installtion
what could the issue.
Hi Evon,
Have you setup proper permissions on parent directories also like uploads, 2014 etc.
Awesome post. Please note that “” in the virtual host section should be “”.
Ugh… the above didn’t past correctly… “” should be “”
grrrr… “Directory” should be “/Directory”
Hi Jason
Thanks to inform.. I have make necessary changes in VirtualHost section..
Thanks for sharing steps.