Zend Framework 3 is latest version available for creating applications. The latest version provides a faster application than previous versions. Zend is an open-source framework for developing web applications and services. It uses a 100% object-oriented code. This tutorial will help you to install Zend Framework on your Ubuntu 18.04 (Bionic) LTS systems.
Prerequsities
- Shell access on Ubuntu 18.04
- Sudo proviledged account access
Step 1 – Install Apache & PHP
The Zend Framework required PHP 5.6 or higher version to run. So make sure you have installed proper PHP version. To install PHP and Apache2 on Ubuntu 18.04 Bionic system follow the below commands.
sudo apt-get install python-software-properties
sudo add-apt-repository ppa:ondrej/php
sudo apt update
sudo apt install -y php apache2 libapache2-mod-php
sudo apt install -y php-mbstring php-mysql php-xml
Step 2 – Install PHP Composer
Now, As you have installed PHP, now install PHP Composer on your system using the following set of commands. This is the simple instruction to download the composer binary file and place it under the bin directory.
curl -sS https://getcomposer.org/installer | sudo php
sudo mv composer.phar /usr/local/bin/composer
sudo chmod +x /usr/local/bin/composer
Step 3 – Install Zend Framework
You can install the Zend framework in multiple ways. But the Composer is the easiest way for the installation of Zend. Create a directory for your a
cd /var/www
composer create-project -sdev zendframework/skeleton-application ZendApp
The above command may time some time as per your network speed. Also, this will ask for some user input. Read the instructions and provide inputs.
Step 4 – Start Web Server
The following command will start a PHP-CLI web server. This is useful for temporarily testing and helpful for development purposes.
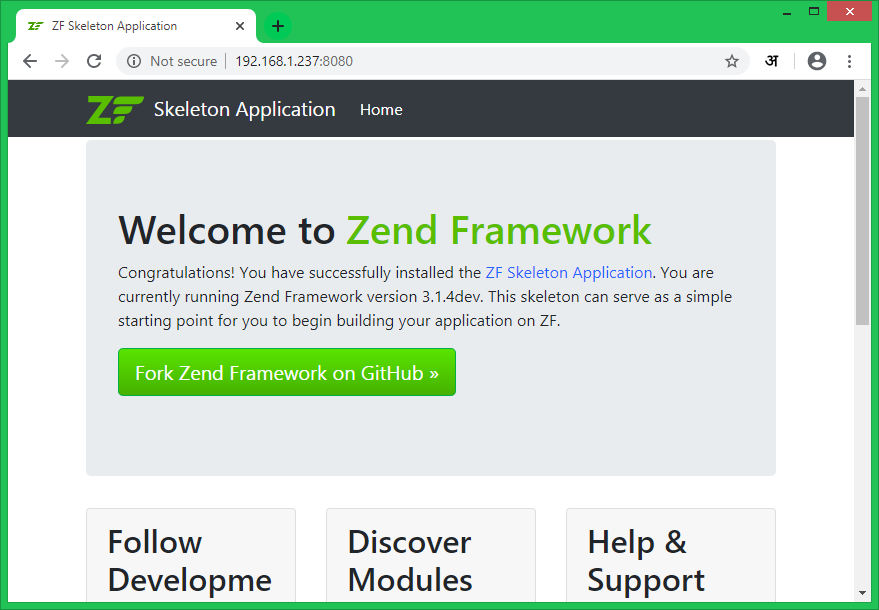
cd /var/www/ZendApp
php -S 0.0.0.0:8080 -t public/ public/index.php
Now access http://localhost:8080 in a web browser. Also, you can access it with the system IP address.
Step 5 – Configure Apache Server
In the above step, you have directly run an application with PHP CLI. You can also host the Zend application with Apache, which is required to set up the staging and production environment. Let’s configure the Zend Framework as a web application with Apache2. Create a configuration file in the Apache for the Zend installation.
sudo vi /etc/apache2/sites-available/zend.example.com.conf
Add the following content in the file. Make the necessary changes as per your directory structure and server name
1 2 3 4 5 6 7 8 9 | <VirtualHost *:80> ServerName zend.example.com DocumentRoot /var/www/ZendApp/public <Directory /var/www/ZendApp/public> AllowOverride All Require all granted </Directory> </VirtualHost> |
Now enable the newly created website with the following command. Also, make sure you have rewrite modules enabled in Apache.
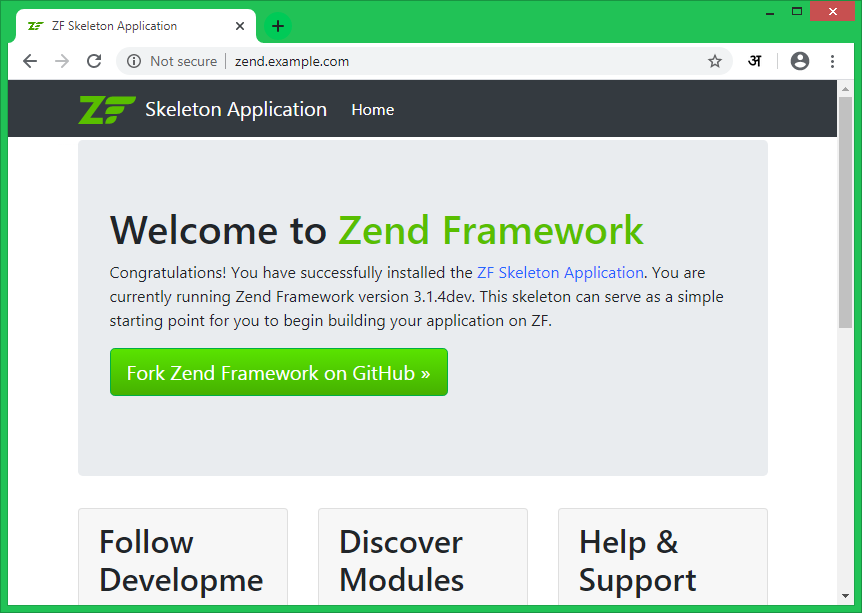
sudo a2enmod rewrite
sudo a2ensite zend.example.com
sudo systemctl restart apache2.service
Now you can access the Zend application with the configured domain in Apache.
Conclusion
All done! you have installed the Zend framework and created an application on your system. Let’s enjoy development with Zend Framework.


6 Comments
how can you install skeleton-application with composer ^ 2.0 under ubuntu 20.04?
while installing php 5 it shows “package php 5 is not available”
what to do now?
That is an outdated tutorial, We have noted it and will update as soon as possible.
To install PHP 5.6, use: https://tecadmin.net/install-php5-on-ubuntu/
my zent project folder is not comming after /public directory
but zend framework is nunning http://*/*/public
exp : http://*/*/public/test(something)
kindly support we didn’t install zend server, configured only zend framwork.
How to check it,Kindly support it
Hi Rahul,
in point 3, you should remove the sudo before ‘cd’, and it is highly recommended not to sudo the composer.
Hi ,
I am getting Internal Server Error error when run the site zend2.example.com