CakePHP is a PHP framework for rapid development of web application. Recently CakePHP has released its latest version 3.8 with a variety of changes to improve speed and security. This article will help you to Setup CakePHP 3.8 (or latest version) on Ubuntu 18.04 & 16.04 LTS systems.
Requirements:-
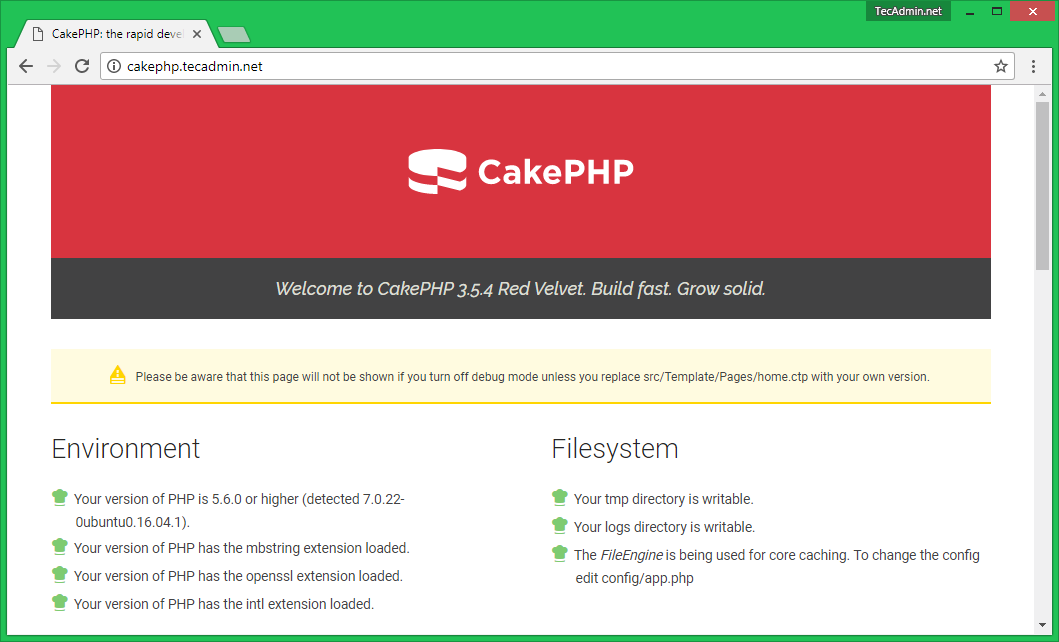
- PHP 5.6.0 or greater (including PHP 7.3).
- MySQL (5.5.3 or greater)
- PHP mbstring extension
- PHP intl extension
Step 1 – Install LAMP Server
You can skip this step for the system having LAMP setup already. If you don’t have LAMP installed on your system proceed with the following commands to Setup LAMP on your Linux Server.
sudo apt-get update
sudo apt-get install curl apache2 mysql-server \
    libapache2-mod-php php php-mysql php-mbstring php-intl php-xml
Step 2 – Install Composer
Now CakePHP is using a composer for managing dependencies. So first we need to install Composer using the following command on the system. If already installed then just update to the latest version.
Install Composer:
curl -sS https://getcomposer.org/installer | php
mv composer.phar /usr/local/bin/composer
chmod +x /usr/local/bin/composer
Update Composer:
composer self-update
Step 3 – Create CakePHP 3 Application
After installing the composer on your system. Let’s create CakePHP application named “MyApp” using composer command as below.
composer create-project --prefer-dist cakephp/app MyApp

Now set the proper permission for your project files. For Debian based system Apache default uses www-data as the user. So change files ownership as per your setup.
chown -R www-data:www-data MyApp
chmod -R 755 MyApp
chmod -R 777 MyApp/tmp
Step 4 – Setup Database for CakePHP
For this article, we are using MySQL as the database server. First, use the following commands to create a MySQL database and create.
1 2 3 4 | mysql> CREATE DATABASE mydb; mysql> GRANT ALL ON mydb.* to 'myuser'@'localhost' IDENTIFIED BY '_password_'; mysql> FLUSH PRIVILEGES; mysql> quit |
Now edit config/app.php configuration file and search for your database setting. Make necessary changes as per below details
'Datasources' => [
'default' => [
'className' => 'Cake\Database\Connection',
'driver' => 'Cake\DatabaseDriver\Mysql',
'persistent' => false,
'host' => 'localhost ',
//'port' => 'nonstandard_port_number',
'username' => 'myuser ',
'password' => '_password_ ',
'database' => 'mydb ',
'encoding' => 'utf8',
'timezone' => 'UTC',
'cacheMetadata' => true,
Here, you have two options to run your CakePHP application. For development, the system follows Step 5(A) and for Production deployment follow step 5(B).
Step 5(A) – Deploy CakePHP on Development System
First is to use its built-in web server preferred for development purpose installation. This will make your application available at http://host:port. From the app directory, execute:
bin/cake server
By default, without any arguments provided, this will serve your application at http://localhost:8765/.
You can also specify your own host and port like below
bin/cake server -H 192.168.10.123 -p 1234
This will serve your application at http://192.168.10.123:1234/

Step 5(B) – Deploy CakePHP on Production System
Second is deploy with external web servers like Apache it’s preferred for production use. Let’s create an Apache VirtualHost configuration file using the following content.
1 2 3 4 5 6 7 8 9 10 11 | <VirtualHost *:80> ServerAdmin webmaster@tecadmin.net ServerName cakephp.tecadmin.net DocumentRoot /var/www/html/MyApp/webroot <Directory /var/www/html/MyApp> Allowoverride All </Directory> </VirtualHost> |
Change the ServerName and document root as per your setup. After that reload your Apache service and access your CakePHP like http://cakephp.example.com.


2 Comments
Very informative article, thanks alot
Very interesting subject, thanks for putting up.