The PHP FPM (FastCGI Process Manager) is used for deploying PHP based websites over Nginx web server. FPM is a process manager to manage the FastCGI SAPI (Server API) in PHP. This tutorial will help you to install and configure Nginx with PHP-FPM on Ubuntu 20.04 system.
Prerequisites
Shell access with sudo privileged account to Ubuntu 20.04 system.
Step 1 – Installing Nginx
Nginx packages are available under default repositories. SSH to your Ubuntu 20.04 LTS system with sudo privileges account and install Nginx web server from the official repository.
sudo apt update
sudo apt install nginx
Step 2 – Installing PHP
For the PHP installation we recommend to use ppa:ondrej/php PPA, which provides latest PHP versions for Ubuntu systems. Use the below couple of commands to add the PPA to your system.
sudo apt install software-properties-common
sudo add-apt-repository ppa:ondrej/php
Then install PHP 7.4 the latest version available on the day of writing this tutorial. Simply execute follows commands for the installation of PHP and PHP-FPM packages.
apt update
sudo apt install php7.4 php7.4-fpm
After installing above packages php7.4-fpm service will automatically be started. You can make sure by typing below command on terminal.
sudo systemctl status php7.4-fpm

● php7.4-fpm.service - The PHP 7.4 FastCGI Process Manager
     Loaded: loaded (/lib/systemd/system/php7.4-fpm.service; enabled; vendor preset: enabled)
     Active: active (running) since Tue 2020-06-16 05:15:57 UTC; 1 day 10h ago
       Docs: man:php-fpm7.4(8)
   Main PID: 882699 (php-fpm7.4)
     Status: "Processes active: 0, idle: 2, Requests: 2, slow: 0, Traffic: 0req/sec"
      Tasks: 3 (limit: 2283)
     Memory: 12.1M
     CGroup: /system.slice/php7.4-fpm.service
             ├─882699 php-fpm: master process (/etc/php/7.4/fpm/php-fpm.conf)
             ├─882714 php-fpm: pool www
             └─882715 php-fpm: pool www

Jun 16 05:15:57 tecadmin systemd[1]: Starting The PHP 7.4 FastCGI Process Manager...
Jun 16 05:15:57 tecadmin systemd[1]: Started The PHP 7.4 FastCGI Process Manager.
Step 4 – Configuring NGINX with FPM
Next, create a Nginx server block configuration file to run PHP with FPM. Create and Edit a VirtualHost host configuration file in a text editor. You can create new VirtualHost as per your requirements, so make sure to enable any new VirtualHost.
sudo vim /etc/nginx/sites-available/example.com
Use the below basic Nginx Virtual host configuration with php fpm settings. Update the configuration as followings.
1 2 3 4 5 6 7 8 9 10 11 12 13 14 15 | server { listen 80; root /var/www/html; index index.php index.html index.htm; server_name example.com; location / { try_files $uri $uri/ =404; } location ~ \.php$ { include snippets/fastcgi-php.conf; fastcgi_pass unix:/var/run/php/php7.4-fpm.sock; } } |
Save your changes to the configuration file and create a link to site enabled directory.
sudo ln -s /etc/nginx/sites-available/example.com /etc/nginx/sites-enabled/example.com
Then restart Nginx service to reload the changes.
sudo systemctl restart nginx
Step 4 – Testing the Setup
Your server setup is completed now. Let’s create a PHP script with phpinfo() function and place it to your server document root. Use below command to create php script:
echo "<?php phpinfo(); ?>" > /var/www/html/info.php
Then access info.php viausing server IP address (for default VirtualHost) or configured domain in Nginx VirtualHost.
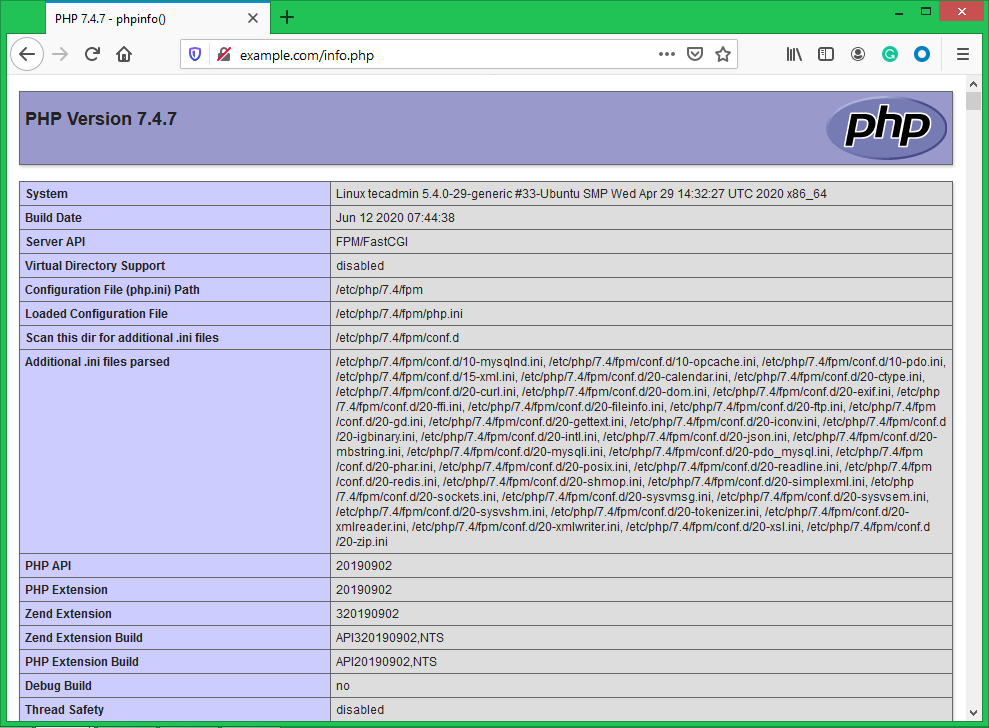
Slide down the page and see the value of $_SERVER[‘SERVER_SOFTWARE’]. This will the show the web server details.
Conclusion
In this tutorial, you have learned to configure Nginx web server with PHP-FPM on your Ubuntu 20.04 Linux system.

1 Comment
Why the info.php file is downloading instead of executing.