You can use phpMyAdmin to manage your MySQL databases on a VPS. It’s an excellent tool for browsing, editing, creating, and dropping tables, as well as modifying columns and data. You don’t need to SSH into remote machines or load up some new terminal window to execute a few SQL queries every time you want to run some database queries. Instead, you can use a program like phpMyAdmin and keep everything in one place.
This blog will show you how to install and set up phpMyAdmin on Ubuntu 22.04 server.
Step 1 – Install Apache and PHP
We are assuming you already have installed the MySQL server on Ubuntu system. So just install the other required packages to run and access phpMyAdmin.
sudo apt install apache2 wget unzipsudo apt install php php-zip php-json php-mbstring php-mysql
Once the installation is finished, enable and start the Apache web server.
sudo systemctl enable apache2sudo systemctl start apache2
Step 2 – Install phpMyAdmin on Ubuntu 22.04
You can quickly install the phpMyAdmin from the default Ubuntu repositories. But they contain an older version of phpMyAdmin. If you are okay with the old version simply type apt install phpmyadmin, but to install the latest version, you need to download it from the official website.
Your system is ready for the phpMyAdmin installation. Download the latest phpMyAdmin archive from the official download page, or use the below commands to download phpMyAdmin 5.2 on your system. Once the downloading is finished, extract the archive and move it to the proper location.
wget https://files.phpmyadmin.net/phpMyAdmin/5.2.0/phpMyAdmin-5.2.0-all-languages.zipunzip phpMyAdmin-5.2.0-all-languages.zipsudo mv phpMyAdmin-5.2.0-all-languages /usr/share/phpmyadmin
Next, create tmp directory and set the proper permissions. This is a necessary step to make it work properly.
sudo mkdir /usr/share/phpmyadmin/tmpsudo chown -R www-data:www-data /usr/share/phpmyadminsudo chmod 777 /usr/share/phpmyadmin/tmp
Step 3 – Configure phpMyAdmin
Now, you need to configure the webserver to serve phpMyAdmin on the network. Create an Apache configuration file for phpMyAdmin and edit it in a text editor:
sudo vim /etc/apache2/conf-available/phpmyadmin.conf
add the below content to the file.
1 2 3 4 5 6 7 8 9 10 11 12 13 14 15 16 17 18 19 | Alias /phpmyadmin /usr/share/phpmyadmin Alias /phpMyAdmin /usr/share/phpmyadmin <Directory /usr/share/phpmyadmin/> AddDefaultCharset UTF-8 <IfModule mod_authz_core.c> <RequireAny> Require all granted </RequireAny> </IfModule> </Directory> <Directory /usr/share/phpmyadmin/setup/> <IfModule mod_authz_core.c> <RequireAny> Require all granted </RequireAny> </IfModule> </Directory> |
Save your file. Press ESC key to switch to command more. Then type :wq (colon+w+q) and hit Enter button.
After making all the changes, make sure to start the Apache service to reload all settings.
sudo a2enconf phpmyadminsudo systemctl restart apache2
Step 4 – Adjusting FirewallD
The systems with enabled firewalls need to allow HTTP service from the firewall. Run the below commands to open a port for the webserver in the firewall.
sudo firewall-cmd --permanent --add-service=httpsudo firewall-cmd --reload
Step 5 – Create a MySQL Database and User
Connect to the MySQL server running on your system.
mysql
Execute the following MySQL queries one by one to create a database and user. Also, assign the privileges to the user on the database.
1 2 3 4 5 6 7 8 9 10 11 | mysql> CREATE DATABASE tecadmin; Query OK, 1 row affected (0.01 sec) mysql> CREATE USER 'tecadmin'@'localhost' IDENTIFIED BY 'Pa$$w0rd'; Query OK, 0 rows affected (0.01 sec) mysql> GRANT ALL ON tecadmin.* TO 'tecadmin'@'localhost'; Query OK, 0 rows affected (0.01 sec) mysql> FLUSH PRIVILEGES; Query OK, 0 rows affected (0.00 sec) |
Step 6 – Access phpMyAdmin
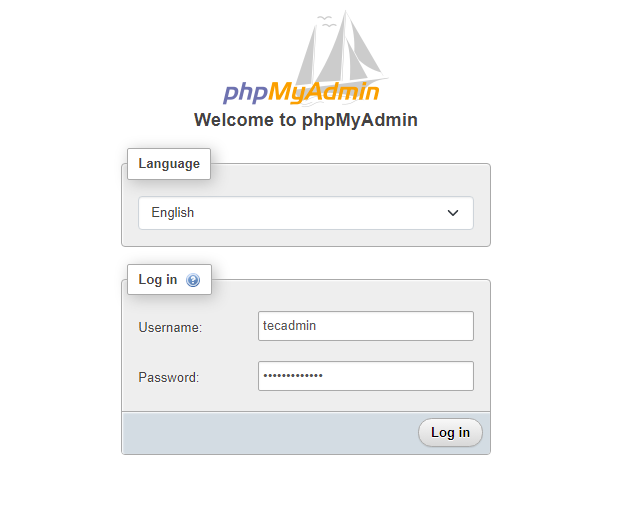
All done. You have finished the setup with the phpMyAdmin on the Ubuntu Linux system. Now access phpMyAdmin with the server IP address or domain name.
http://your-server-ip-domain /phpmyadmin
Replace

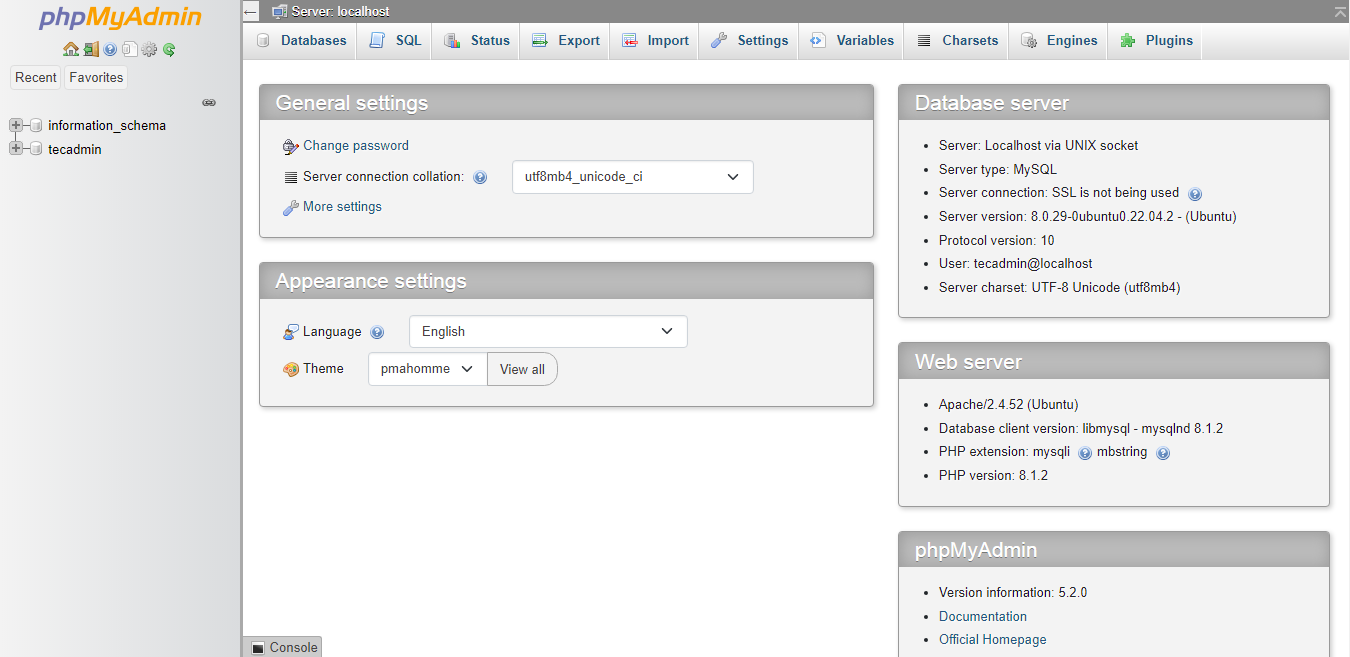
Log in with the username and password used to access MySQL on the command line.

Conclusion
You have successfully configured phpMyAdmin on the Ubuntu system. Also you can disable root user login for the for the security purposes in phpMyAdmin.
You can use phpMyAdmin to administer the MySQL server without login in through the command line.


6 Comments
This recipe is incomplete.
To continue do:
cd /usr/share/phpmyadmin
cp -a config.sample.inc.php config.inc.php
export SECRET=`php -r ‘echo base64_encode(random_bytes(24));’`
echo “\$cfg[‘blowfish_secret’] = ‘$SECRET’;” >> ./config.inc.php
cd /usr/share/phpmyadmin/sql
mysql -u root -p < create_tables.sql
mysql -u root -p
use phpmyadmin;
CREATE USER 'pma'@'localhost' IDENTIFIED BY '$pmapass333BB';
GRANT ALL PRIVILEGES ON `phpmyadmin`.* TO 'pma'@'localhost' WITH GRANT OPTION;
FLUSH PRIVILEGES;
vim /usr/share/phpmyadmin/config.inc.php
/*
* phpMyAdmin configuration storage settings.
*/
/* User used to manipulate with storage */
$cfg['Servers'][$i]['controlhost'] = 'localhost';
// $cfg['Servers'][$i]['controlport'] = '';
$cfg['Servers'][$i]['controluser'] = 'pma';
$cfg['Servers'][$i]['controlpass'] = '$pmapass333BB';
/* Storage database and tables */
$cfg['Servers'][$i]['pmadb'] = 'phpmyadmin';
$cfg['Servers'][$i]['bookmarktable'] = 'pma__bookmark';
$cfg['Servers'][$i]['relation'] = 'pma__relation';
$cfg['Servers'][$i]['table_info'] = 'pma__table_info';
$cfg['Servers'][$i]['table_coords'] = 'pma__table_coords';
$cfg['Servers'][$i]['pdf_pages'] = 'pma__pdf_pages';
$cfg['Servers'][$i]['column_info'] = 'pma__column_info';
$cfg['Servers'][$i]['history'] = 'pma__history';
$cfg['Servers'][$i]['table_uiprefs'] = 'pma__table_uiprefs';
$cfg['Servers'][$i]['tracking'] = 'pma__tracking';
$cfg['Servers'][$i]['designer_coords'] = 'pma__designer_coords';
$cfg['Servers'][$i]['userconfig'] = 'pma__userconfig';
$cfg['Servers'][$i]['recent'] = 'pma__recent';
$cfg['Servers'][$i]['favorite'] = 'pma__favorite';
$cfg['Servers'][$i]['users'] = 'pma__users';
$cfg['Servers'][$i]['usergroups'] = 'pma__usergroups';
$cfg['Servers'][$i]['navigationhiding'] = 'pma__navigationhiding';
$cfg['Servers'][$i]['savedsearches'] = 'pma__savedsearches';
$cfg['Servers'][$i]['central_columns'] = 'pma__central_columns';
$cfg['Servers'][$i]['designer_settings'] = 'pma__designer_settings';
$cfg['Servers'][$i]['export_templates'] = 'pma__export_templates';
systemctl restart apache2
Then log out and log back in to phpmyadmin.
Thank you very much… Worked like a charm 🙂
If you want to use php < 8 on ubuntu and have problems with phpMyAdmin 5.2.1 (latest release currently) i suggest you follow this guide and install phpmyadmin 4.9.11.
Thanks, very useful post
This error shows when I access the IP in the browser
<?php
declare(strict_types=1);
use PhpMyAdmin\Common;
use PhpMyAdmin\Routing;
if (! defined('ROOT_PATH')) {
// phpcs:disable PSR1.Files.SideEffects
define('ROOT_PATH', __DIR__ . DIRECTORY_SEPARATOR);
// phpcs:enable
}
if (PHP_VERSION_ID < 70205) {
die('PHP 7.2.5+ is required.Currently installed version is: ‘ . PHP_VERSION . ”);
}
// phpcs:disable PSR1.Files.SideEffects
define(‘PHPMYADMIN’, true);
// phpcs:enable
require_once ROOT_PATH . ‘libraries/constants.php’;
/**
* Activate autoloader
*/
if (! @is_readable(AUTOLOAD_FILE)) {
die(
‘File ‘ . AUTOLOAD_FILE . ‘ missing or not readable.’
. ‘Most likely you did not run Composer to ‘
. ‘‘
. ‘install library files.’
);
}
require AUTOLOAD_FILE;
global $route, $containerBuilder, $request;
Common::run();
$dispatcher = Routing::getDispatcher();
Routing::callControllerForRoute($request, $route, $dispatcher, $containerBuilder);
I was able to fix this issue by running command below:
sudo apt-get install php
Why are there two “phpmyadmin” aliases on the phpmyadmin.conf