Apache Solr is a popular open-source search platform built on Apache Lucene. It’s widely used for enterprise search and analytics applications. Installing Solr on Debian Linux involves setting up Java, downloading Solr, and configuring it to run as a service.
Installing Apache Solr on Debian Linux is a technical process that involves several steps. Here’s a comprehensive guide on how to accomplish this:
Prerequisites
- A Debian Linux system
- Basic knowledge of Linux commands
- Root or sudo privileges
Step 1: Update the System
Before installing any package, it’s always a good idea to update your system. Open the terminal and run:
sudo apt-get updatesudo apt-get upgrade
Step 2: Install Java
Solr requires Java to run. Check if Java is installed by typing:
java -version
If Java is not installed, install the default JDK with the command:
apt-get install default-jdk
Step 3: Download Apache Solr
Go to the Apache Solr website to find the latest version. Download it using wget:
wget https://downloads.apache.org/solr/solr-9.4.1/solr-9.4.1.tgz
Replace 9.4.0 with the latest version number.
Then extract the downloaded tar file using:
tar xzf solr-9.4.1.tgz
Step 4: Install Solr
Navigate to the Solr installation script directory:
cd solr-9.4.1/bin
Run the installation script:
sudo ./install_solr_service.sh ../../solr-9.4.1.tgz
Step 5: Start the Solr Service
Once installed, you can start Solr with the following command:
sudo service solr start
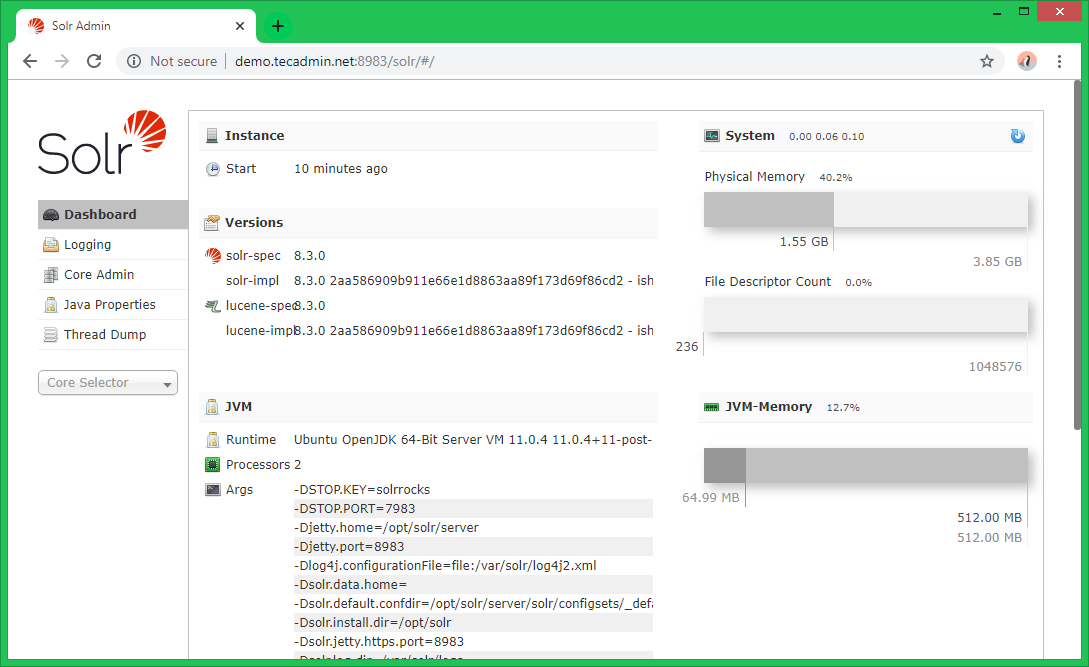
Step 6: Verify the Installation
Verify that Solr is running by accessing the Solr dashboard in your web browser:
http://your_server_ip:8983/solr
Step 7: Create a Solr Collection
After successful installation of Solr on your system. You may need to create a collection in Apache Solr using the following command.
sudo su - solr -c "/opt/solr/bin/solr create -c mycol1 -n data_driven_schema_configs"
Step 8: Configure Solr (Optional)
For production environments, it’s important to configure Solr according to your needs. This can include setting up cores, memory allocation, and security settings.
Conclusion
You have successfully installed Apache Solr on Debian Linux. It’s now ready for you to create search indexes and start integrating it into your applications.
This article provides a basic outline for installing Apache Solr on Debian Linux. For more complex setups or troubleshooting, it’s recommended to consult the official Solr documentation or seek assistance from the Solr community.

1 Comment
Hi Rahul,
Great post from you, about installing latest Solr.. 🙂
btw,
http://demo.tecadmin.net:8983/
Please explain how to change access by localhost (127.0.0.1) to domain (http://demo.tecadmin.net:8983)
(include with all setting authentication in access solr by domain)
https://lucidworks.com/post/securing-solr-basic-auth-permission-rules/
Iam using latest nginx (1.16) on centos 7