Firefox Developer Edition is the perfect browser for Ubuntu users who want to take their web development skills to the next level. It comes packed with powerful features that make coding, debugging, and testing websites easier than ever. For starters, it has a built-in JavaScript debugger that makes it simple to identify and fix errors. Plus, it has numerous performance and security enhancements that help you create faster more secure websites.
Firefox Developer Edition also has a built-in Responsive Design View that makes it easy to test websites on different devices and viewports. And best of all, it’s completely free and open source. So if you’re an Ubuntu user looking to get the most out of your web development experience, Firefox Developer Edition is the way to go. With its powerful features and performance enhancements, you can take your coding skills to the next level.
In this article, we will show you how to install Firefox Developer Edition on an Ubuntu or Debian system.
Step 1: Download Firefox Developer Edition
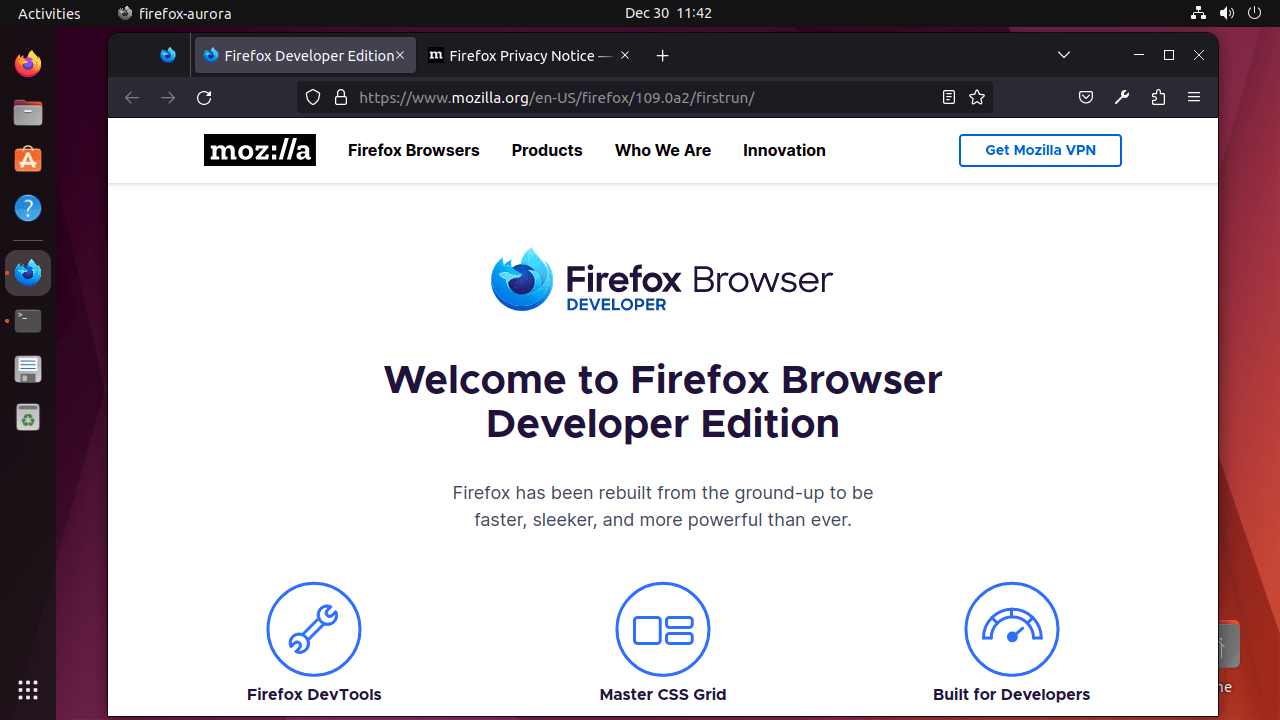
The first step is to download Firefox Developer Edition from the Firefox Developer Edition download page (https://www.mozilla.org/en-US/firefox/developer/). Click on the “Download Firefox Developer Edition” button to download the installation package.
Step 2: Installing Dependencies
Before you can install Firefox Developer Edition, you will need to install some dependencies. Open a terminal and run the following command to install the necessary packages:
sudo apt-get install libgtk2.0-0 libasound2 libdbus-glib-1-2
Step 3: Install Firefox Developer Edition
Next, navigate to the directory where you downloaded the installation package using the “cd” command. For example, if you downloaded the file to the “Downloads” directory, you can use the following command:
cd Downloads
Then, run the following command to install Firefox Developer Edition:
sudo tar xjf firefox-*.tar.bz2 -C /opt
The above command will extract all files under the /opt/firefox directory.
Then create a soft link of `firefox` file under `/usr/local/bin/` directory, so it will be accessible from anywhere the system.
ln -s /opt/firefox/firefox /usr/local/bin/firefox-developer
This will install Firefox Developer Edition on your system.
Step 4: Start Firefox Developer Edition
To start Firefox Developer Edition, click on the Firefox Developer Edition icon in the Applications menu or on the desktop. Alternatively, you can also start Firefox Developer Edition from the terminal by running the following command:
firefox-developer
Conclusion:
In this article, we have shown you how to install Firefox Developer Edition on an Ubuntu or Debian system. We hope this information was helpful and will make it easier for you to use Firefox Developer Edition on your system.

5 Comments
In Ubuntu 2.04 there is no icon in the Applications menu, nor on the desktop, and /usr/local/bin/ only has a generic icon. How do I get an icon o the desktop or at least in the Applications menu?
The icons are in different folder for the version 102.0b2 (64-bit). I can find it in: /usr/local/firefox_dev/browser/chrome/icons/default/default128.png
I could install it with the proposed modification. Yet it always opened a new tab with the following address:
http://www.xn--class=firefoxdev-bg6i.com/
No idea what this is, and I just really understand well a 25% of the proposed solution code. Yet I just changed the ” –'” in ” –class=firefoxdev” for a ” –” (as I haven’t seen the previous before) and now it is working normally, without the annoying tab…
So the final exec line is:
Exec=/usr/local/firefox_dev/firefox –class=firefoxdev
Thank you for good article!
Some changes appeared in firefox_dev.desktop file:
Icon=/usr/local/firefox_dev/browser/chrome/icons/default/default128.png
Hope it will help somebody)
I add ” –class=firefoxdev” to the exec command, otherwise Gnome Shell will still group it together with regular Firefox