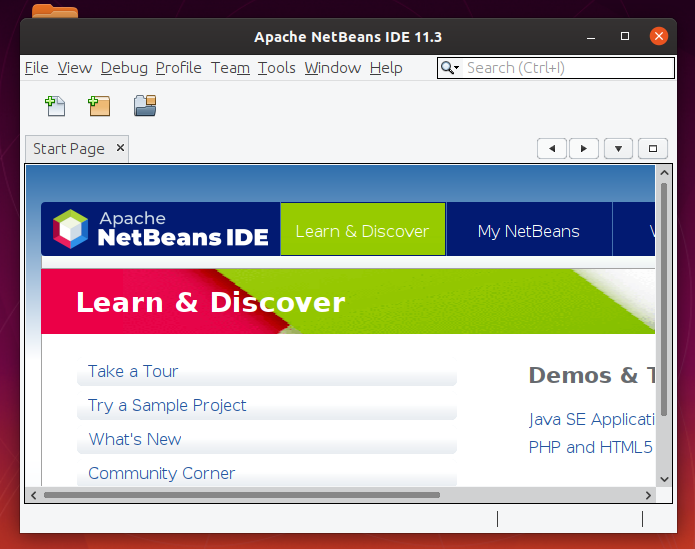
NetBeans is a popular IDE for Java and other application development. Which allows applications to be developed from a set of modular software components called modules. NetBeans is available to run on popular operating systems like Windows, macOS, Linux, and Solaris systems.
This tutorial helps you to install Netbeans IDE on your Ubuntu 20.04 LTS Linux system.
Prerequisites
Apache NetBeans IDE requires Java 8 or later Java Development Kit installed on your system. To install Java on your system, execute the following command
sudo apt install default-jdk
Install Netbeans on Ubuntu
We use the snap package to install Netbeans IDE on the Ubuntu Linux system. The latest Ubuntu system has default Snapd installed for application installation. Open a terminal on your system and run the following command to install Netbeans IDE.
sudo snap install netbeans --classic
On successfull install, you will se output like below:
netbeans 11.3 from Apache NetBeans* installed
Running Netbeans IDE
Search for the Netbeans under the applications. You will see the NetBeans launcher icon like the below screenshot. Click on the launcher button to start.
Netbeans will be started on your Ubuntu system.
Remove Netbeans
Once you don’t need Netbeans on your system. Use the following command to remove Netbeans from your Ubuntu system using the snap command.
sudo snap remove netbeans
Conclusion
In this tutorial, you have learned to install Netbeans IDE using Snap packages on the Ubuntu system.


5 Comments
It was quick and reliable for me. Thanks a ton!
Gracias, funcionó.
Thanks
Thanks! it’s working now!!
Thanks Admin