Nextcloud is a web based application provides self-hosted file hosting service. You can install nextcloud application on your server and use it as your own file server. Where you can easily upload/sync files from the client machine. It also provides options to sync and share across devices—all under your control. This tutorial will help you to install Nextcloud on CentOS 8 Linux system.
Prerequisites
- The newly installed system’s follow initial server setup.
- Shell access with sudo privileges account.
Step 1 – Disable SELinux
Before starting, it is a good idea to disable the SELinux in your system.
To disable SELinux, open the /etc/selinux/config file:
nano /etc/selinux/config
Change the following line:
SELINUX=disabled
Step 2 – Install LAMP Stack
The first of all, to set up Nextcloud you must have running LAMP server on your CentOS 8 system. If you already have running LAMP stack skip this step else use the following commands to install it.
Install Apache2
sudo dnf install httpd
Install MySQL
sudo dnf install @mysql
sudo mysql_secure_installation
Install PHP
NextCloud required PHP 5.6 or higher version. Let’s install PHP on your system using below comamnd.
sudo dnf install php php-gd php-curl php-zip php-dom php-xml php-simplexml php-mbstring php-intl php-json
Step 3 – Download Nextcloud
After successfully configuring lamp server on your system, Let’s download latest Nextcloud from its official website.
cd /tmp
wget https://download.nextcloud.com/server/releases/nextcloud-18.0.1.zip
Now extract downloaded archive under website document root and set up appropriate permissions on files and directories.
cd /var/www
sudo unzip /tmp/nextcloud-18.0.1.zip
sudo chown -R apache:apache nextcloud
sudo chmod -R 755 nextcloud
Nextcloud required a directory to keep its data. So create a data directory and set the proper permissions on nextcloud directory
mkdir -p /var/nextcloud/data
sudo chown -R apache:apache nextcloud
sudo chmod -R 755 nextcloud
Step 4 – Create MySQL User and Database
After extracting code, let’s create a MySQL database and user account for configuring Nextcloud. Use following set of command to login to MySQL server and create database and user.
mysql -u root -p Enter password: mysql> CREATE DATABASE nextcloud;mysql> CREATE USER 'nextcloud'@'localhost' IDENTIFIED BY '_password_';mysql> GRANT ALL ON nextcloud.* to 'nextcloud'@'localhost';mysql> FLUSH PRIVILEGES;mysql> quit
Step 5 – Configure Apache
Now configure Apache server to host Nextcloud. Create a configuration file with an Alias to Nextcloud directory.
sudo vim /etc/httpd/conf.d/nextcloud.conf
Add below values:
1 2 3 4 5 6 7 8 9 10 11 12 13 | Alias /nextcloud"/var/www/nextcloud" <Directory /var/www/nextcloud> Options +FollowSymlinks AllowOverride All <IfModule mod_dav.c> Dav off </IfModule> SetEnv HOME /var/www/nextcloud SetEnv HTTP_HOME /var/www/nextcloud </Directory> |
Save file and close it. Now, restart Apache service to reload changes.
sudo systemctl restart httpd
Step 6 – Run Nexctloud Web Installer
Now access the Nextcloud directory on a web browser as below. Change localhost to your server IP address or domain name.
http://webhost.tecadmin.net /nextcloud/
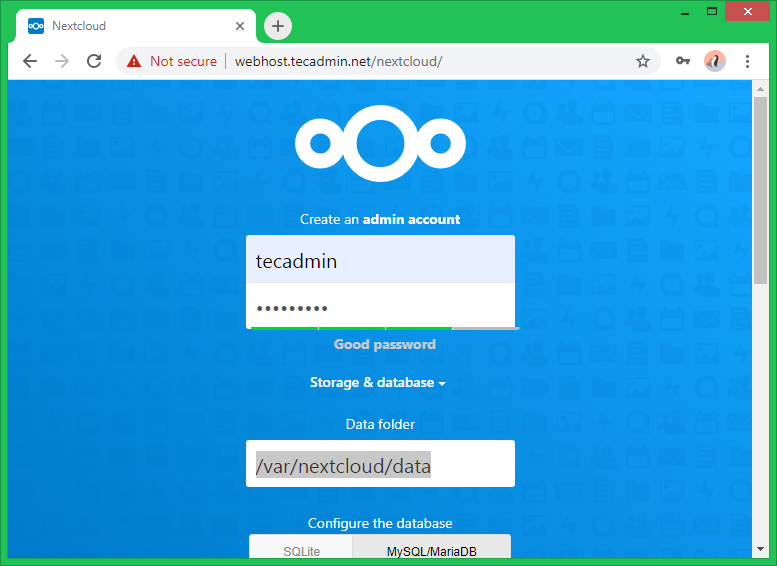
Enter new admin credentials to create an admin account and provide the location of the data folder.
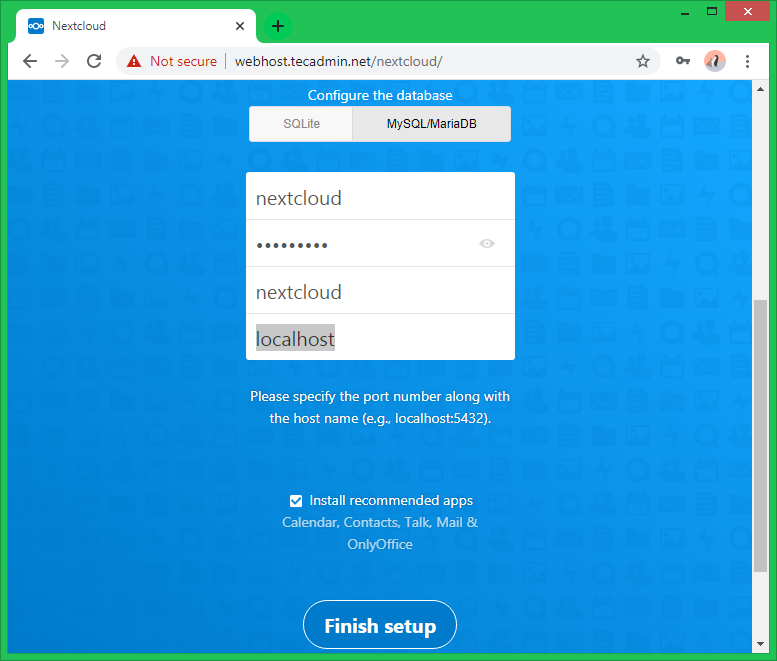
Now slide your page down and input the database credentials and click on Finish Setup.
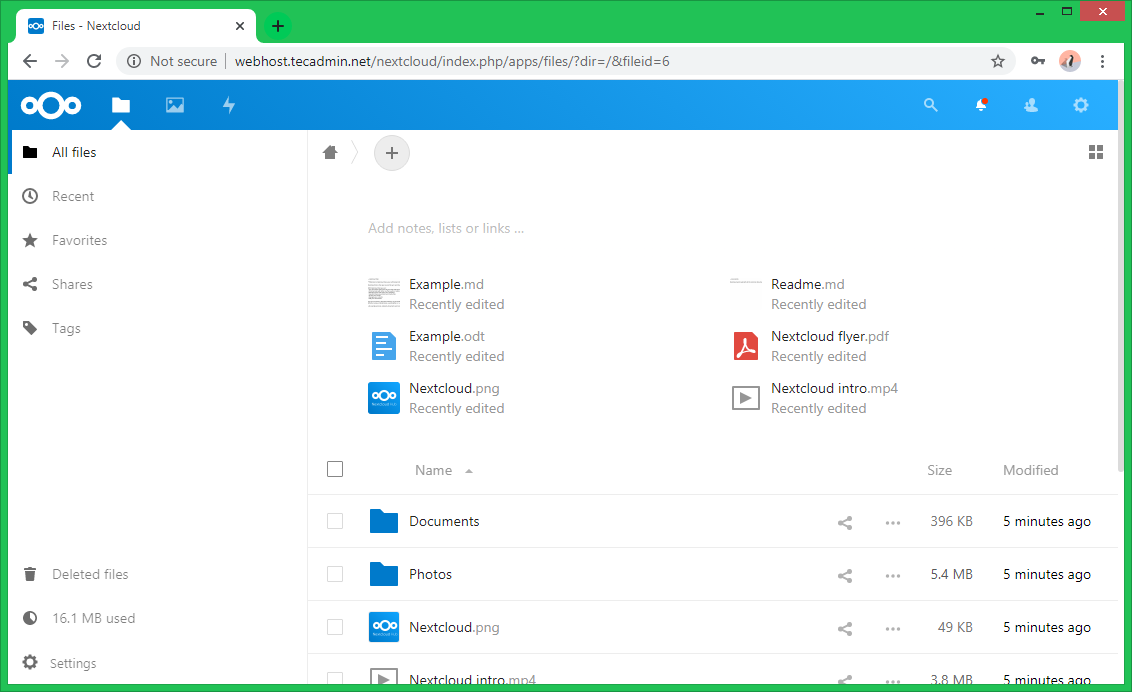
After completing the setup you will get the admin dashboard. Where you can create a user, groups, assigned them permissions, etc.
Conclusion
Congratulations, You have a working Nextcloud file hosting service on your CentOS 8 Linux system.

2 Comments
Step 1 – Disable SELinux
Rahul, please don’t make people lower the security of their server just because you cannot be bothered to do the tiny little bit of research that it takes to know how to install Nextcloud on a SELinux enabled server.
Thanks for this, a very helpful and complete guide.
It seems silly, but Apache was throwing an error because of a lack of a space in first line of the the nextcloud.conf file. Took me longer than I care to admit to figure that one out.
Alias /nextcloud “/var/www/nextcloud”
Options +FollowSymlinks
AllowOverride All
Dav off
SetEnv HOME /var/www/nextcloud
SetEnv HTTP_HOME /var/www/nextcloud