Symfony is a web application framework written in PHP. Its provides a set of reusable PHP components. Symfony 2.8 is the current stable version available in series of Symfony 2 framework. Symfony is providing 30 stand-alone components for your applications. This tutorial will help you to install Symfony 2 framework on CentOS, Red Hat and Fedora operating systems.
Step 1 – Setup Yum Repositories
First you need to add REMI and EPEL rpm repositories in your system. these repositories have updated packages. Use one of the below command as per your OS version and system architecture.
CentOS/RHEL 7, 64 Bit System: # rpm -Uvh http://free.nchc.org.tw/fedora-epel/7/x86_64/e/epel-release-7-5.noarch.rpm # rpm -Uvh http://rpms.famillecollet.com/enterprise/remi-release-7.rpmCentOS/RHEL 6, 64/32 Bit System: # rpm -Uvh http://download.fedoraproject.org/pub/epel/6/x86_64/epel-release-6-8.noarch.rpm # rpm -Uvh http://rpms.famillecollet.com/enterprise/remi-release-6.rpmCentOS/RHEL 5, 64/32 Bit System: # rpm -Uvh http://dl.fedoraproject.org/pub/epel/5/x86_64/epel-releas5-4.noarch.rpm # rpm -Uvh http://rpms.famillecollet.com/enterprise/remi-release-5.rpm
Step 2 – Install Apache, MySQL and PHP
To start with Symfony 2 installation, we first need to setup a running LAMP server. If you have already running LAMP stack skip this step else use followings commands to setup lamp stack.
Install Apache
# yum --enablerepo=remi,epel install httpd
Install MySQL
# yum --enablerepo=remi,epel install mysql-server
# service mysqld start
# /usr/bin/mysql_secure_installation
Install PHP
# yum --enablerepo=remi,epel install php php-mysql php-intl
# service httpd restart
Step 3 – Setup Symfony Installer
Symfony provides its own installer for creating new projects. Below commands will help you to setup Symfony installer on your system.
# curl -LsS https://symfony.com/installer -o /usr/local/bin/symfony
# chmod a+x /usr/local/bin/symfony
Step 4 – Create New Symfony 2 Application
After successful setup of Symfony installer on your system. Let’s start with your new Symfony application. Navigate to your web document root and create a new Symfony application.
# cd /var/www/html
# symfony new myproj 2.8
Now change to newly created directory and check if all requirements are properly installed on your system. If everything is fine you will get following results.
# php myproj/bin/symfony_requirements

 [OK]
 Your system is ready to run Symfony2 projects
Step 5 – Start Application in Development Mode
Now start development with Symfony 2 php framework and built great application’s. To view changes in browser you can start Symfony developer web server using following command. By default web server will start on port 8000.
# php bin/console server:run

 [OK] Server running on http://127.0.0.1:8000
 // Quit the server with CONTROL-C.
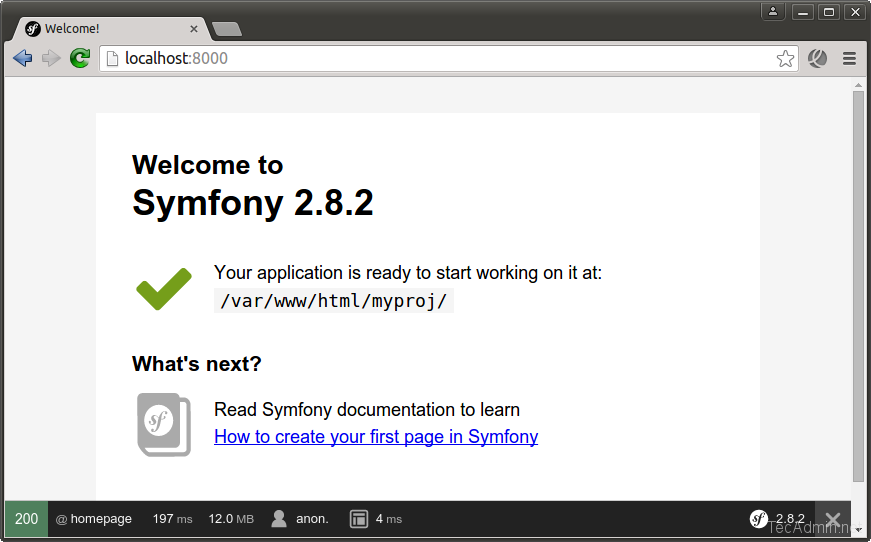
Now access new Symfony 2 application in your browser by accessing http://127.0.0.1:8000 or http://localhost:8000 .

Step 6 – Create Apache VirtualHost
Now If you need to configure Symfony 2 with sub domain. Create a new Apache configuration file under directory /etc/httpd/cond.d/ and add Virtual Host for your Symfony 2 application.
# vim /etc/http/conf.d/symphony2.example.com.conf
directory and add below content.
<VirtualHost *:80>
    ServerName symphony2.example.com
    DocumentRoot /var/www/html/myproj/web

    <Directory /var/www/html/myproj/web>
        AllowOverride All
        Order Allow,Deny
        Allow from All
        <IfModule mod_rewrite.c>
            Options -MultiViews
            RewriteEngine On
            RewriteCond %{REQUEST_FILENAME} !-f
            RewriteRule ^(.*)$ app.php [QSA,L]
        </IfModule>
    </Directory>

    ErrorLog /var/log/httpd/myproj_error.log
    CustomLog /var/log/httpd/myproj_access.log combined
</VirtualHost>
After making all changes, now restart Apache server to changes take effect.
# sudo service httpd restart
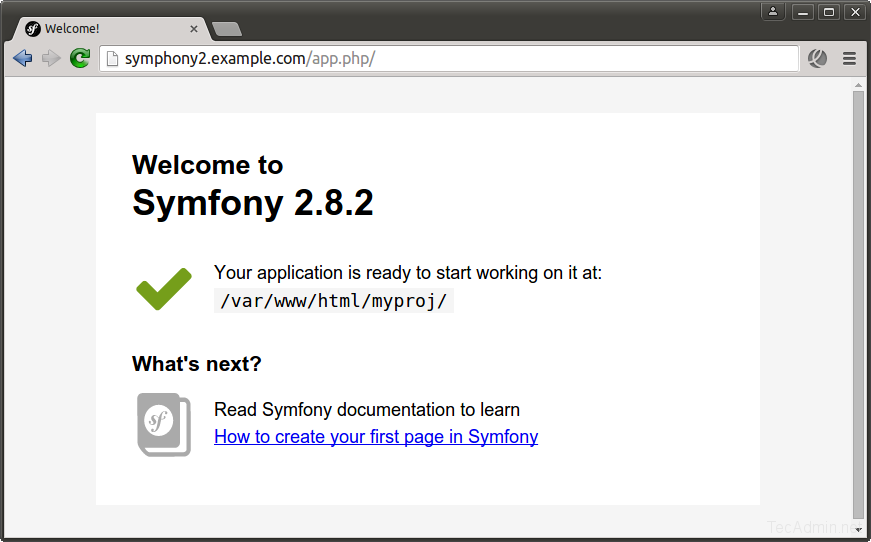
Now make a host file entry to access new Symfony 2 application in your browser with your domain name like http://symfony2.example.com. Change symfony2.example.com and 127.0.0.1 as per your setup.
# echo "127.0.0.1 symphony2.example.com " >> /etc/hosts

Click here to read more about Symfony framework.


4 Comments
how can I do it if i don’t have a domain, just the ip address?? and to access it from another computer just use the ip?
Hi Ericksho,
Just put your ip address in Apache virtualhost in place of symphony2.example.com and access this using ip…
Hi, I tried that but didn’t work, the browser shows:
The myip page isn’t working
myip is currently unable to handle this request.
It was a permission problem, thanks!!!