Wine (originally an acronym for “Wine Is Not an Emulator”) is a compatibility layer capable of running Windows applications on several POSIX-compliant operating systems, such as Linux, macOS, & BSD. The Winehq team has announced the latest stable release 7.0 on January 18, 2022. Its source code is available for download from its official site. You may also use the package manager to install wine. Wine is an Open Source implementation of the Windows API and will always be free software.
This article will help you to install Wine 7.0 Stable Release on Debian 10 Buster Linux system using the official repository.
Step 1: Prerequsiteis
In order to run Winehq, You need to enable i386 architecture on your Debian system. Also, import the GPG key to your system by which the wine packages are signed.
sudo dpkg --add-architecture i386wget -qO - https://dl.winehq.org/wine-builds/winehq.key | sudo apt-key add -
Use one of the following commands to enable the Wine apt repository in your system based on your operating system and version.
sudo apt-add-repository https://dl.winehq.org/wine-builds/debian/
Step 2: Install Wine on Debian 10
Your system is ready to install Winehq. Update the apt information with the newly added repositories. Execute the following commands. The --install-recommends option will install all the recommended packages by winehq-stable on your system.
sudo apt updatesudo apt install --install-recommends winehq-stable
The wine packages are installed under /opt/wine-stable directory. So set the wine bin directory to the PATH environment to access commands system-wide.
export PATH=$PATH:/opt/wine-stable/bin
Step 3: Check Wine Version
Wine installation successfully completed. Use the following command to check the version of wine installed on your system
wine --version

wine-7.0
How to Use Wine (Optional)
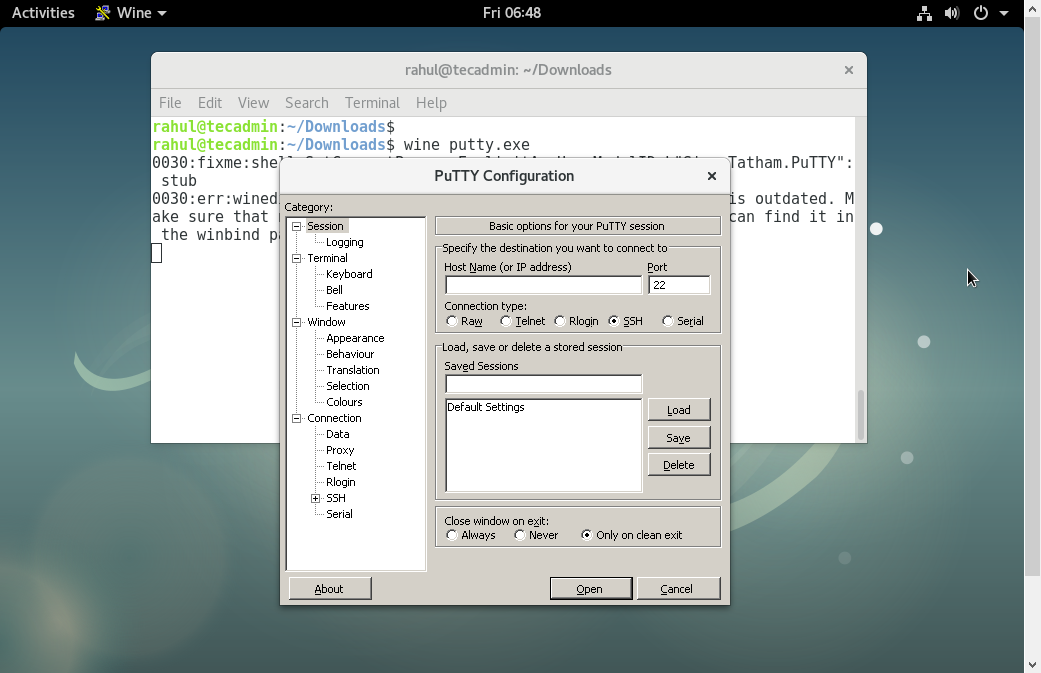
To use wine we need to log in to the Debian desktop system. After that download a windows .exe file like PuTTY on your system and open it with Wine as below screenshot or use the following command.
wine ~/Downloads/putty.exe

7 Comments
Not correct: sudo apt install –install-recommends winehq-stable
Right: sudo apt install wine
Not correct: version installed wine is now 4.02
And main version 4.02 available in standard repository, if you need wine-staging 4.17, when do add repository.
Só uma observação, caso o comando
#sudo apt-add-repository https://dl.winehq.org/wine-builds/debian/
Não funcione… Basta utilizar o comando:
#sudo apt-get install software-properties-common
em seguida utilizar o primeiro comando.
Muitooo obrigado !
Estava já desistindo =D
Hi!
Wine is at version 4.0.2 now and I’ve found out that there are symlinks set during the installation of the package, so you don’t have to expand the $PATH-variable to /opt/wine-stable/bin anymore, at least I did not have to ..
Thanks for the great tutorial!
Great tutorial. keep it up. stay cool.
Well done!
Congratulations!
hello , tnx dear
but I have debian xfce , and the installion dnt complete …
I can not run any application