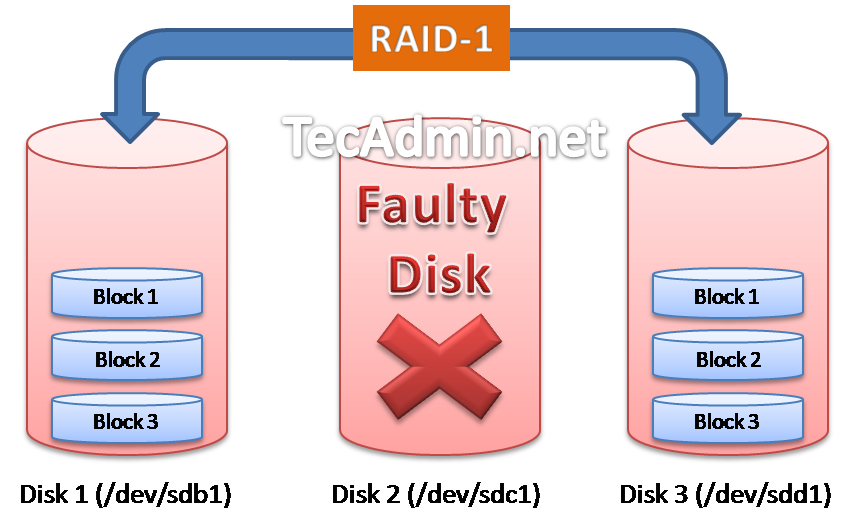
In the previous article we describe to how to Setup RAID-1 in RHEL/CentOS systems. Some times disks attached with the array get failed working, RAID simply mark it as faulty device and do not use it any more. In that situation we need to replace the faulty device with new working device. The below image is showing that /dev/sdc1 disk has been marked as faulty and new disk attached has taken place of that with complete data sync.
In this article you will get to how to check which device is faulty and how to remove them from raid array. This article will step by step help you to How to Replace Faulty Device from RAID Array.
Step 1: Identify Faulty Device
Its importent to identify the correct disk which is marked a faulty by raid, use mdadm –status to check status of all disks attached in RAID.
[root@server1 ~]# mdadm --detail /dev/md0

/dev/md0:
        Version : 1.2
  Creation Time : Tue Mar 25 19:30:56 2014
     Raid Level : raid1
     Array Size : 5252187 (5.01 GiB 5.38 GB)
  Used Dev Size : 5252187 (5.01 GiB 5.38 GB)
   Raid Devices : 2
  Total Devices : 2
    Persistence : Superblock is persistent

    Update Time : Tue Mar 25 22:40:08 2014
          State : clean, degraded
 Active Devices : 1
Working Devices : 1
 Failed Devices : 1
  Spare Devices : 0

           Name : server1:0  (local to host server1)
           UUID : 32a1c5ed:7d6a99a6:29d422f9:a3559b48
         Events : 18

    Number   Major   Minor   RaidDevice State
       0       8       17        0      active sync   /dev/sdb1
       1       0        0        1      removed

       1       8       33        -      faulty spare   /dev/sdc1
If you looks the above output, the disk /dev/sdc1 is showing faulty and added as spare disk. So our target it to remove /dev/sdc1 and add a new disk in place of that. Also make sure to set file system type as Linux raid autodetect.
[root@server1 ~]# mdadm /dev/md0 --fail /dev/sdc1

mdadm: set /dev/sdc1 faulty in /dev/md0
Step 2: Create New Disk
I have attached a new virtual disk /dev/sdd in system. Lets make a partition on disk as /dev/sdd1 of same size of faulty disk.
[root@server1 ~]# fdisk /dev/sdd

Device contains neither a valid DOS partition table, nor Sun, SGI or OSF disklabel
Building a new DOS disklabel with disk identifier 0xe70cdc62.
Changes will remain in memory only, until you decide to write them.
After that, of course, the previous content won't be recoverable.

Warning: invalid flag 0x0000 of partition table 4 will be corrected by w(rite)

WARNING: DOS-compatible mode is deprecated. It's strongly recommended to
         switch off the mode (command 'c') and change display units to
         sectors (command 'u').

Command (m for help): n
Command action
   e   extended
   p   primary partition (1-4)
p
Partition number (1-4): 1
First cylinder (1-1305, default 1):
Using default value 1
Last cylinder, +cylinders or +size{K,M,G} (1-1305, default 1305): +5G

Command (m for help): t
Selected partition 1
Hex code (type L to list codes): fd
Changed system type of partition 1 to fd (Linux raid autodetect)

Command (m for help): w
The partition table has been altered!

Calling ioctl() to re-read partition table.
Syncing disks.
Step 3: Remove Faulty Disk on RAID
Lets remove faulty disk from RAID array
[root@server1 ~]# mdadm /dev/md0 --remove /dev/sdc1

mdadm: hot removed /dev/sdc1 from /dev/md0
Step 4: Attach New Disk in RAID
As we have removed faulty disk from RAID array, Lets attach new disk /dev/sdd1 in place of that.
[root@server1 ~]# mdadm /dev/md0 --add /dev/sdd1

mdadm: added /dev/sdd1
As soon new disk attached to RAID array, it will automatically start syncing data to disk, To view status of sync use
[root@server1 ~]# cat /proc/mdstat

Personalities : [raid1]
md0 : active raid1 sdd1[2] sdb1[0]
      5252187 blocks super 1.2 [2/1] [U_]
      [====>................]  recovery = 22.8% (1200000/5252187) finish=0.2min speed=240000K/sec

unused devices: