Deploy A Static Website with Docker
The static websites are the HTML pages, directly severed by any web servers. It may also include some other static assets like css, js and images. In this tutorial you will learn, how to deploy a static website on Docker container.
1. Create A Static Website
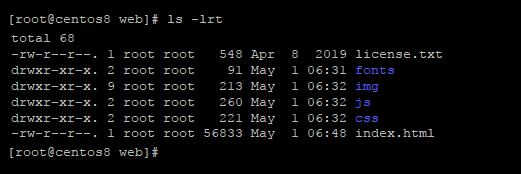
We assume you already have a static site on your system. For this tutorial, I have downloaded a static website from here. After making some changes, placed all files in a directory on Docker server.
2. Create Dockerfile
Next, create a Dockerfile in the same directory. Edit your Dockerfile in your favorite text editor:
nano Dockerfile
Choose one of the below content for your Dockerfile in regards to web server.
To Use Nginx Web server
FROM nginx
COPY . /usr/share/nginx/html
To Use Apache Web server
FROM apache
COPY . /var/www/html
Based on the comparison about Apache vs Nginx to run static site. We prefer to go with the Nginx web server.
3. Build Docker Image
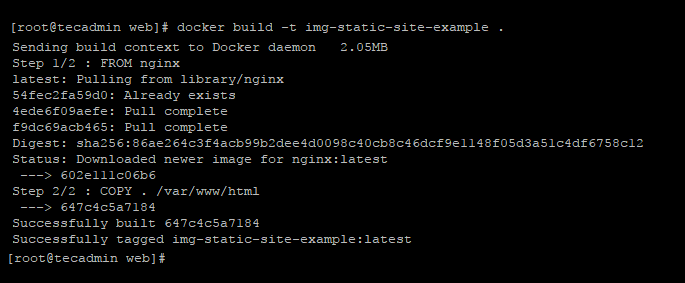
Now, You have a Dockerfile for your static site. You can now create a docker image with these files. To create a Docker image run:
docker build -t img-static-site-example .
The above command will create a Docker image with name img-static-site-example. Use “docker images” command to list available images on local system.
4. Run Docker Container
Now, you have a docker image now. Use this docker image to launch a new container on your system. To run your Docker container using the newly created image, type:
docker run -it -d -p 80:80 img-static-site-example
In case the port 80 is occupied by the host machine or any other docker container. You can change the host machine port to something else.
docker run -it -d -p 8080:80 img-php-apache-example
The “-d” option detach the container from current shell and run in background. This will print container ID on screen.
Use “docker ps” command to view the running container. In case you didn’t find any container, use “docker ps -a” to view all containers (in any state) on your machine.
5. Access Your Application
Once the container is up and running. All the on port 8080 of host machine will be redirected to container’s port 80.
Access you docker host using IP address (or hostname/domain name) on port 8080 to view application.
6. Add Docker Compose (Optional)
Before start using docker compose, You must have docker-compose binary on your system. Use this tutorial to get docker-compose on your system.
This will help you to easily rebuild docker images and re-create containers without stopping and creating them manually..
Let’s create a file in current directory with name docker-compose.yml.
nano docker-compose.yml
Add the following content.
version: '3'
services:
  web:
    image: img-static-site-example
    build: .
    container_name: my-static-site
    restart: always
    ports:
      - "8080:80"
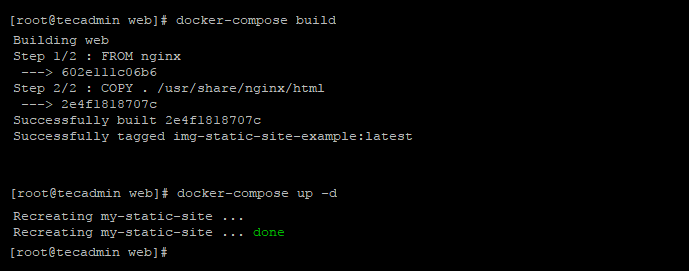
Now, build your docker image. This will create a docker image with the help of Dockerfile available in current directory.
docker-compose build
Then run your docker container using the following command.
docker-compose up -d
Once you have the docker container up and running. You can rebuild image and recreate your container any time by running these two commands.
For example, you have make a change your site. Just run these two commands on terminal.
docker-compose build
docker-compose up -d
This will rebuild the docker image and recreate the docker container as showing in the screenshot:
Conclusion
In this tutorial, you learn how to deploy a static site with docker containers. If this tutorial help you, please do not forgot to thump up and share with your social network.


